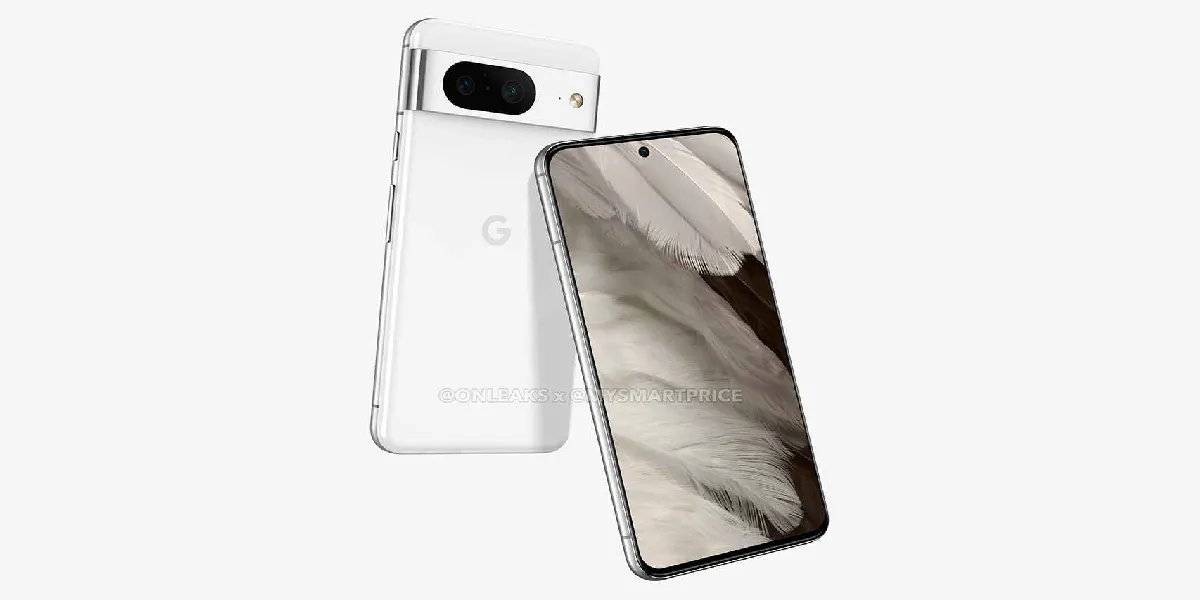
Learn how to master the audio magic eraser feature on your Pixel 8 and 8 Pro with this step-by-step guide. Say goodbye to unwanted background noise!
Welcome to a friendly guide on how to use the Audio Magic Eraser feature on your Pixel 8 or 8 Pro. With this handy tool, you can easily remove unwanted sounds and noises from your videos. Whether you're recording a family gathering, a concert, or a nature scene, the Audio Magic Eraser can help you achieve a more captivating video with improved audio quality. Follow the step-by-step instructions below to make the most out of this feature.
Step 1: Open the Google Photos app
To begin, open the Google Photos app on your Pixel 8 or 8 Pro device. If you don't have it installed, you can download it from the Google Play Store. The Google Photos app is a powerful tool for managing and editing your photos and videos, and it's the perfect platform for using the Audio Magic Eraser.
Step 2: Select the video you want to edit
Once you have the Google Photos app open, locate and select the video you wish to edit using the Audio Magic Eraser feature. You can browse through your albums or use the search function to find specific videos. Once you've found the video, simply tap on it to open it.
Step 3: Tap on the Audio tab
After opening the video, you'll notice a row of tabs at the bottom of your screen. Tap on the "Audio" tab to access the audio editing options. This will take you to the section where you can make adjustments to the audio of your video.
Step 4: Tap on the Audio Eraser button
Within the audio editing section, you'll find various tools and options. Look for the "Audio Eraser" button and tap on it. This action activates the Audio Magic Eraser tool, allowing you to remove unwanted sounds and noises from your video.
Step 5: Identify and remove unwanted sounds
Once you've activated the Audio Magic Eraser, the app will automatically analyze the audio in your video and identify various sounds and noises that can be removed. These may include background noise, wind, or unwanted conversations. To remove a specific sound, select it from the list displayed on your screen. You can also adjust the levels of the selected sound by moving the slider provided.
Step 6: Let AI do the work for you
If you prefer a more automated approach, simply press the "Auto" button. The artificial intelligence (AI) algorithms built into the Audio Magic Eraser will analyze your video and remove unwanted sounds based on their patterns and characteristics. This can save you time and effort, especially if you have a long video with multiple unwanted sounds.
Step 7: Test your edited video
To ensure that your edited video meets your expectations, it's important to test it before saving the changes. Press the play button to preview your video with the adjusted audio levels. This allows you to listen to the audio and make any necessary refinements. You can repeat the previous steps if there are still unwanted sounds that need to be addressed.
Step 8: Adjust audio levels dynamically
While previewing your video, you have the option to dynamically adjust the audio levels. This feature enables you to fine-tune the sound and achieve the desired outcome. If you find that certain sounds are too loud or too soft, simply adjust the sliders to balance the audio levels.
Step 9: Save your edited video
Once you're satisfied with the changes you've made, it's time to save your edited video. Tap on the "Save Copy" button to save a copy of your edited video while keeping the original intact. This way, you can always go back to the original video if needed. Once the saving process is complete, you'll receive a notification.
Congratulations! You've successfully learned how to use the Audio Magic Eraser on your Pixel 8 or 8 Pro device. With this friendly guide, you can now enhance your videos by removing unwanted sounds and noises effortlessly. Whether you're recording a special moment with your loved ones or capturing the beauty of nature, the Audio Magic Eraser can help you achieve a more immersive video experience with improved audio quality. Enjoy creating captivating videos that truly stand out!
Learn how to fix Pixel 8 and 8 Pro MMS picture sending and receiving issues with our comprehensive guide.
Discover effective solutions to eliminate stutters and scrolls lag in select apps on Pixel 8 and 8 Pro.

Discover the secrets to achieving a top-rated level in Geometry Dash on our website.

Learn how to invite players to your guild in Warcraft Rumble with our comprehensive guide. Join the ranks of the elite today!

Discover the secrets to earning gold in My Time at Sandrock with our comprehensive guide.

Discover the secrets to obtaining gold in Warcraft Rumble with our expert tips and tricks.

Discover the secrets to upgrading your net in Fae Farm and level up your skills in no time.

Discover the secrets of upgrading the assembly station in My Time at Sandrock with our comprehensive guide.

Discover effective methods to remove unwanted traits from your Sims in The Sims 4 and enhance their virtual lives.

Discover the secrets of Vertruse Tomb with our step-by-step guide on solving the puzzle in Wartales.

