

Read on to see how one can fix 'detection error on HDD0 (Main HDD)' in Lenovo devices, as all is set below.
This is usually the warning one gets if one uses Lenovo when it fails to load up completely at star-up and often leaves the user at a blank screen or an error message. In such a case, this error number indicates a possible hardware failure due to inability of the system BIOS to interact with the hard drive.
How to resolve Detection Error on Main Hard Drive (HDD0)
The most common causes for this error are the failure of the hard drive or an issue in the connection between it and the motherboard. Other probable causes include BIOS error, incomplete upgrade of system, and conflict between Chipset Driver and Intel RST driver.
Following are some methods to correct this error.
1. Remove the Battery or CMOS Battery
This could be as a result of an ill-performing CMOS or laptop battery. This normally happens immediately after a system shutdown or after changing hardware settings. The normal consequence of these problems, which is usually due to some kind of incompatible data from overclocking, is a BIOS/UEFI setup that's wrong.
Chapter 1.1: Disassembling the Laptop
Take the power cord and plug it out of the laptop.
Flip over and see the bottom of the laptop.
Find the latch on the bottom for taking out the battery and open it. After the latch is opened, gently pull. Removing the locks from the battery
Note that steps may vary for different brands; however, mostly it would require sliding the latch and holding it down until the latch holds it in position for battery release.
Wait a full minute with the battery out then reinstall it and power up the laptop to see if this will rectify the issue.
1.2. The CMOS Battery Unit Removal
Switch the machine off and unplug it from the wall. Remove power by flipping the PSU switch, which is located on the rear.Turning Off the Power Supply Unit
Ground yourself with a static wristband as you carefully take off the slide cover. Wear a static wristband to prevent your computer's components from being damaged by static electricity.
Locate the CMOS battery near the SATA/ ATI slots of the motherboard and carefully remove it using your finger nail or a non-conductive tool. Removing the CMOS battery unit
Pull it out from its slot and let it sit for one full minute.
Put the cover back, plug it back in, and power your computer on to see if the startup issue remains.
2. Check That the HDD Is Properly Connected
To solve this problem, one should check that the HDD is properly connected. Perhaps the notice of a problem is because of inappropriate connection of the motherboard and hard disk. The solution for the problem mentioned above includes attaching the HDD tightly. This will restore the proper communication between the hard drive and the motherboard, hence the BIOS with no potential problems will be able to detect the HDD.
Shut down your computer and then unplug the power cord. Or, if you'd like to keep the internal components safe from static electricity, put on an anti-static wrist strap.
Open your computer casing for access to the hard drive. If you have two, choose one that has an operating system upon it.
Disconnect the power cord and data cable from both the hard drive and the motherboard. A SATA port and cable example
Make sure the ports of both ends are clean, and if so replace the cables.
Now, to check if the problem is solved, properly reconnect the hard disk drive, close the case, and power the computer on.
3. Enable UEFI Boot Mode
With UEFI, the old system of BIOS is overcome, and newer hardware is much more compatible and boots much faster. If the system can't correctly detect hard drives because of older compatibility concerns, turning on UEFI resolves this. It fixes problems with previous BIOS modes by improving communication between the motherboard and the drive.
While booting, continuously press the Setup key-such keys might be F2, F4, F6, F8, Del, or even Esc. Move to setup
Boot / Legacy Boot Priority is located under Boot Settings in the Advanced Settings of BIOS.
Make UEFI the first priority.
When you have made all changes, exit BIOS and reboot your computer to check whether this is the solution to the problem.
4. Lenovo HDD Firmware Update (if applicable)
This problem may occur if the Chipset Driver and the Intel RST driver aren't compatible. That is a known issue in most of the Lenovo laptops, specifically regarding the ThinkPads. For this very problem, Lenovo has issued a hotfix. It is recommended that you install this update to avoid any further problems in data access and for the good health of your system.
Select the affected drive, run fwwbinsd.exe with administrator privileges, unpack the Lenovo auto-updater you downloaded, then click Start update.
Update HDD firmware
Reconnect the hard drive to the original computer to check if the problem has gone away.
5. Wake the Drive from Hibernation Manually
Changing the BIOS SATA controller mode to Compatibility will power up the drive and the problem is resolved if it happens because of a storage device stuck in Hibernation. Change back to AHCI after normal operation is back.
Once power up, using the Setup key (BIOS), go to the BIOS Setup Menu. Go to the BIOS menu
In order to wake the drive, go to the Devices or SATA Controller area and change the mode from Compatible.Waking up the sleeping beast
To restore the SATA Controller to AHCI, save your changes, restart, then go back into BIOS.From IDE to AHCI: The Switch
Save changes and restart.
6. BIOS UPDATE
If your Lenovo laptop still refuses to work after going through the remedies highlighted above, then it might be a problem with the BIOS glitch. A BIOS upgrade allows smooth communication between hardware components such as a hard disk controller. The upgrades fix the detection errors by ensuring that the firmware on the motherboard detects and communicates with the HDD properly.
This concludes our guide on How to Fix 'Detection Error on HDD0 (Main HDD)' in Lenovo Devices, we hope it has been of great help.
Discover how Lenovo is shaping the future of technology advertising, driving innovation and expanding market reach in the digital landscape.
Explore Lenovo's innovative journey in technology advertising, showcasing how the brand has transformed its marketing strategies to connect with consumers.
I will teach you How to locate the serial number of your Lenovo product
Continue reading and you will know How to Enable or Disable MIUI Optimization on Xiaomi Devices, since today we are going to help you with that.

Get ready so you can learn How to Recover a Password-Protected ZIP File, which we will tell you about today.

Keep reading because today we are going to tell you How to Fix "Pardon The Interruption" Microsoft Store Error, so stay tuned.

Get comfortable to learn how to Stop Command Prompt from Popping Up Randomly, because here we will be telling you how to go about it.
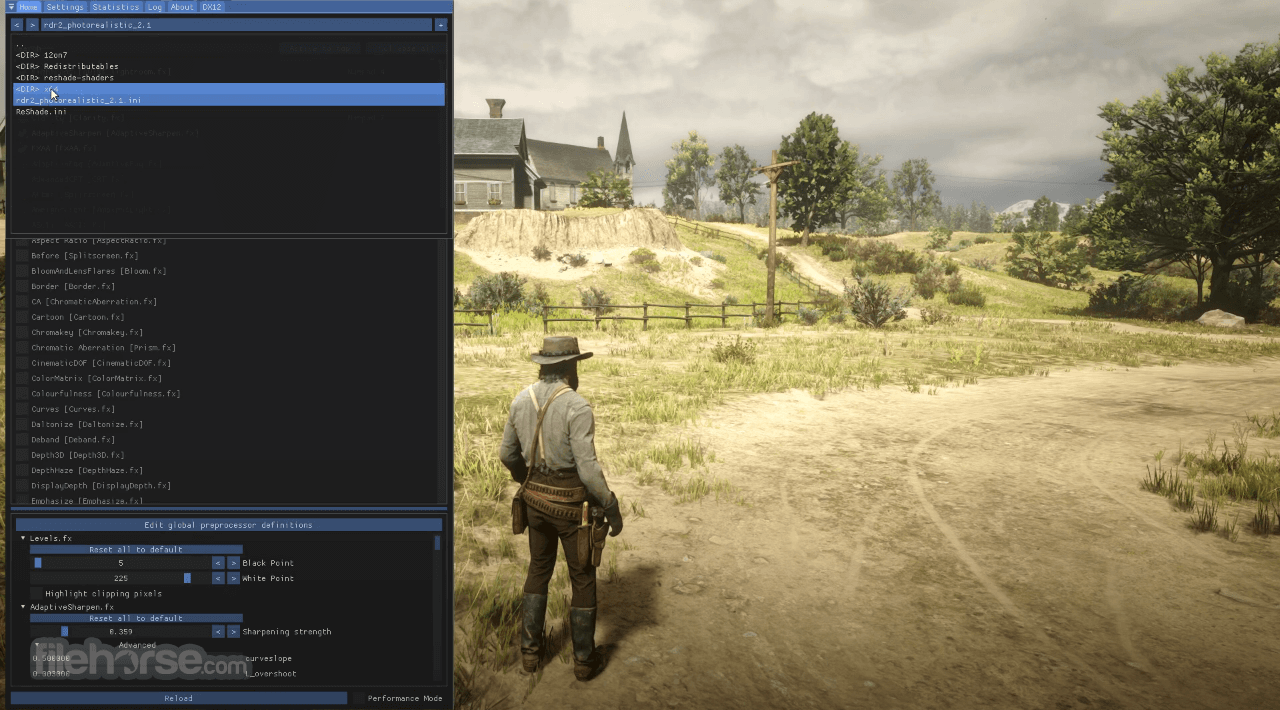
Continue reading; that way you will be able to learn how to fix reshade not working with games, as here is all you need.

Get ready to learn How to Get the Ice Breaker Exotic Weapon in Destiny 2, as today we'll be covering it for you.

Well, in this case, we hope that you are ready to learn How to Learn Death Step in Blox Fruits because today we are going to tell you about it.

Continue reading and you'll learn How to Get Chain Glove in Slap Battles, because today we will help you with this.