
Learn how to troubleshoot and fix the issue of your graphics card not being detected by Windows. Find step-by-step solutions on our website.
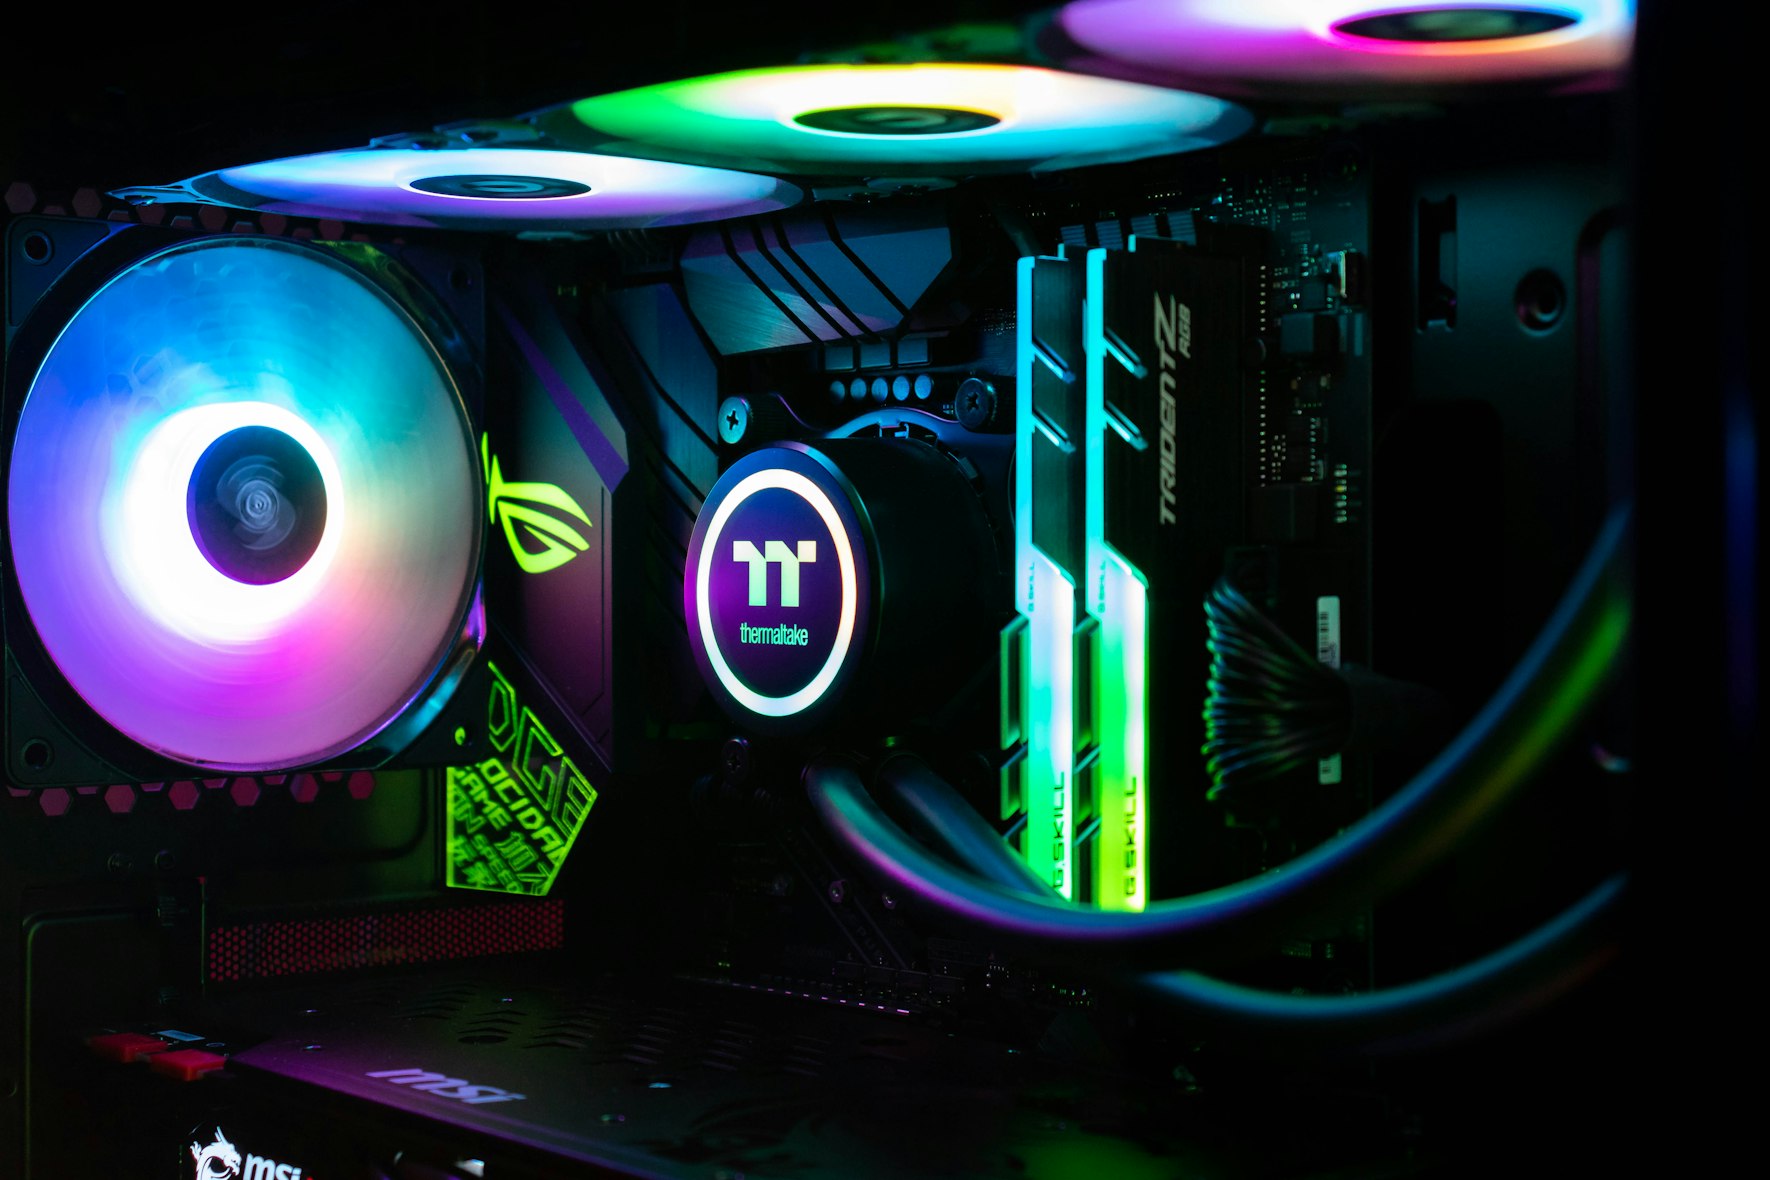
A graphics card, also known as a video card or GPU, is a crucial component for any computer that requires heavy graphics processing. It is responsible for rendering images, videos, and animations on your screen. However, at times, you may encounter an issue where your graphics card is not detected by Windows. This can be frustrating and can hinder your ability to use your computer for tasks such as gaming or graphic design. In this article, we will discuss some steps you can take to fix this issue.
Ensure Your GPU Is Really Not Detected
Before taking any further steps, you must first confirm that your graphics card is not being detected by your computer. Sometimes, a simple glitch or error can cause your GPU to not show up in the device manager. To check this, follow these steps:
1. Right-click on the Start menu and select 'Device Manager.'
2. Expand the 'Display adapters' section.
3. If you see your graphics card listed, it means it is being detected by your computer. If not, then proceed with the following steps.
Make Sure Your Graphics Card Is Enabled
It is possible that your graphics card is disabled in your computer's BIOS settings. To enable it, follow these steps:
1. Restart your computer and enter the BIOS menu by pressing the designated key (usually F2 or Delete) during boot-up.
2. Navigate to the 'Advanced' or 'Advanced BIOS settings' section.
3. Look for an option related to your graphics card, such as 'Primary Display Adapter' or 'Graphics Configuration.'
4. Change the setting to 'PCI-E' or 'Auto.'
5. Save the changes and exit the BIOS menu. Your computer will restart and the graphics card should now be enabled.
Install the GPU Correctly
If you have recently installed a new graphics card, it is possible that it is not properly installed. To fix this, follow these steps:
1. Shut down your computer and unplug it from the power source.
2. Open your computer case and locate the PCIe slot where your graphics card is installed.
3. Remove the graphics card from the slot and reinsert it, making sure it is firmly in place.
4. Close the computer case and plug it back in.
5. Turn on your computer and check if the graphics card is now detected.
Ensure Your Power Supply Unit Is Compatible
Graphics cards require a certain amount of power to function properly. If your power supply unit (PSU) is not compatible with your graphics card, it may not be able to provide enough power, resulting in your graphics card not being detected. To check this, follow these steps:
1. Determine the wattage of your graphics card. This information can usually be found on the manufacturer's website or on the box it came in.
2. Check the wattage of your PSU. This information can usually be found on the side of the unit or in the manual.
3. If the wattage of your PSU is lower than the graphics card, you will need to upgrade your PSU.
Update or Reinstall the Drivers
Outdated or corrupted drivers can also cause your graphics card to not be detected by Windows. To fix this, you can try updating or reinstalling the drivers. Follow these steps:
1. Right-click on the Start menu and select 'Device Manager.'
2. Expand the 'Display adapters' section.
3. Right-click on your graphics card and select 'Update driver.'
4. Choose to update the driver automatically and follow the on-screen instructions.
5. If the update does not work, you can try uninstalling the driver and then reinstalling it.
6. Restart your computer and check if the graphics card is now detected.
Ensure Your Graphics Card Isn't Faulty
If none of the above solutions work, it is possible that your graphics card is faulty. To confirm this, you can try testing the GPU on another computer. If it is still not detected, then it may need to be replaced.
A graphics card not being detected by Windows can be a frustrating issue, but it can be fixed by following the steps outlined in this article. It is important to check all possible causes, from incorrect installation to compatibility issues, before concluding that the graphics card is faulty. With the right troubleshooting steps, you can get your graphics card up and running again and enjoy all its features and benefits.
Resolve the Windows couldn’t connect to the ProfSVC service error with our easy troubleshooting guide. Get your system running smoothly again!
To learn how to fix Windows stuck in diagnostic boot mode here is a complete guide.
The day of the day we follow you step by step How to resolve the error in acquiring the final user license, Event ID 1014.
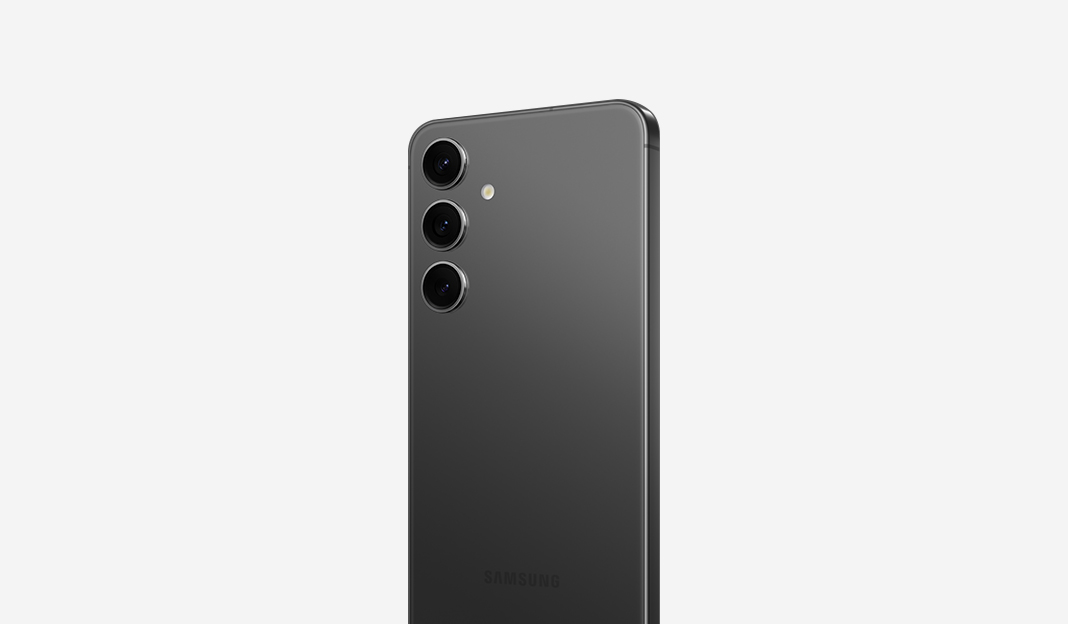
Learn how to fix the issue of Samsung S24, S24 Plus, or S24 Ultra not appearing on your PC. Our website provides step-by-step solutions for this common problem.

Learn how to troubleshoot and fix the Samsung Galaxy S24 Ultra power button not working issue with our comprehensive guide. Get your device back to normal functionality today!

Learn how to reset your Netgear router with our comprehensive step-by-step guide. Regain control of your network and troubleshoot connectivity issues easily.

Learn the step-by-step process of transferring WhatsApp chats from Android to iPhone seamlessly. Expert tips and guides available on our website.

Learn how to troubleshoot and fix the power button issue on your OnePlus 12 and 12R with our comprehensive guide. Get your device working again in no time!

Discover effective solutions to resolve the GPS issues on your Samsung Galaxy S24 Ultra with our comprehensive guide. Get your GPS back on track today!

Learn how to troubleshoot and fix Samsung S24, S24 Plus, or S24 Ultra phones that are not receiving incoming calls. Get step-by-step instructions on our website.

Learn how to resolve the issue of iOS 17.4.1 getting stuck on "Update Requested" with our comprehensive guide. Get your device back up and running smoothly.