
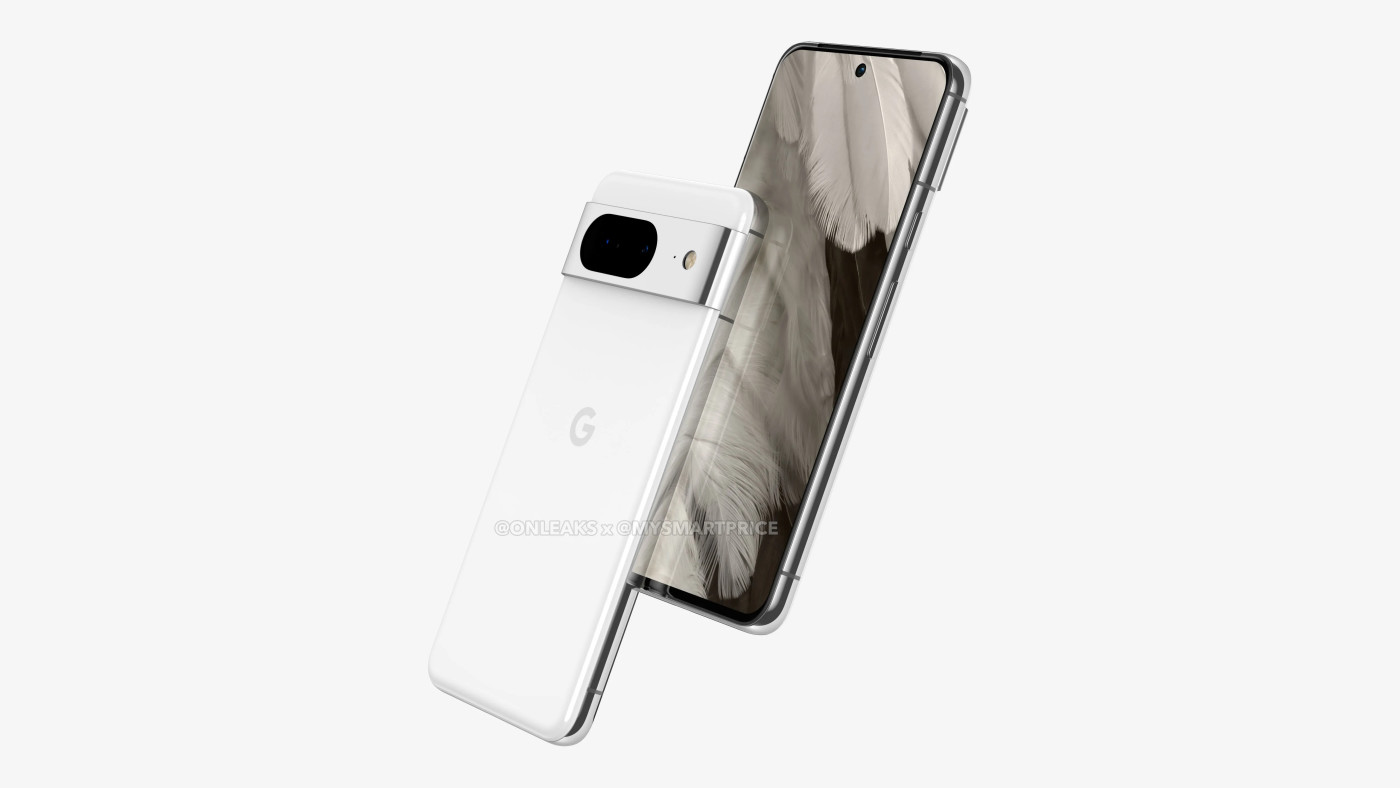
Learn how to enhance your photos with Magic Editor on Pixel 8 and 8 Pro using our step-by-step guide.
Title: Unleash Your Creativity: A Comprehensive Guide on How to Use the Magic Editor in Google Photos on Pixel 8 and 8 Pro:
Welcome to this friendly guide on using the Magic Editor in Google Photos on your Pixel 8 or 8 Pro. In this blog post, we will walk you through the steps to edit your photos using this exciting feature. The Magic Editor, although still under development, offers various editing options such as changing the sky, adjusting objects or people, and more. To ensure a seamless experience, make sure your photos are backed up to Google Photos and that you have a stable internet connection.
I. Accessing the Magic Editor
A. Open the Photos app on your Pixel 8 or 8 Pro:
The first step to access the Magic Editor is to open the Photos app on your Pixel 8 or 8 Pro. This app is pre-installed on your device, so you can easily find it in your app drawer or on your home screen.
B. Select the desired photo you want to edit:
Once you have opened the Photos app, navigate to the photo you want to edit. You can either scroll through your photo library or use the search bar to find a specific image.
C. Tap on the "Edit" option:
With the desired photo selected, tap on the "Edit" option located at the bottom of the screen. This will open up a range of editing tools for you to choose from.
II. Navigating the Magic Editor
A. Look for the Magic Editor icon within the editing tools:
Within the editing tools, you will find a range of options to enhance your photo. Look for the Magic Editor icon, which is represented by a wand or a magic wand. It may be placed alongside other editing options such as filters, brightness, and cropping.
B. Tap on the icon to access the Magic Editor:
Once you have located the Magic Editor icon, tap on it to access the Magic Editor. This will open up a new interface with a variety of editing options specifically designed to add a touch of magic to your photos.
III. Exploring Editing Options
A. Changing the Background Sky
1. Select the "Change Sky" option from within the Magic Editor:
One of the exciting features of the Magic Editor is the ability to change the background sky in your photos. To do this, select the "Change Sky" option from within the Magic Editor menu.
2. Browse through different sky options provided by Google Photos:
Google Photos provides a wide range of sky options for you to choose from. Browse through the options available to find a sky that suits the mood and atmosphere you want to create in your photo.
3. Choose a sky that suits your preference and tap "Apply":
Once you have found the perfect sky, tap on it to select it. The sky will be applied to your photo, instantly transforming the background and giving it a magical touch.
B. Repositioning and Adjusting Objects or People
1. Locate the "Reposition" or "Adjust" option within Magic Editor:
In addition to changing the sky, the Magic Editor allows you to reposition and adjust objects or people within your photo. To do this, locate the "Reposition" or "Adjust" option within the Magic Editor menu.
2. Use touch gestures to move objects or adjust their position as desired:
Once you have selected the "Reposition" or "Adjust" option, you can use touch gestures such as pinch-to-zoom or swipe to move objects or adjust their position within the frame.
3. Make necessary adjustments by dragging sliders for optimal results:
To further enhance the repositioned or adjusted objects or people, the Magic Editor provides additional sliders for you to make necessary adjustments. These sliders allow you to fine-tune the position, size, or orientation of the objects or people in your photo.
C. Removing Objects or People
1. Find the "Remove" option in Magic Editor's menu:
Another powerful feature of the Magic Editor is the ability to remove unwanted objects or people from your photo. To do this, find the "Remove" option within the Magic Editor's menu.
2. Use your finger or stylus to highlight unwanted objects/persons within the photo:
Once you have selected the "Remove" option, you can use your finger or a stylus to highlight the unwanted objects or people within the photo. Simply trace around the area you want to remove.
3. Tap "Apply" for Google Photos to remove the selected objects/people:
After you have highlighted the unwanted objects or people, tap on the "Apply" button. Google Photos will then work its magic and remove the selected elements seamlessly from your photo.
IV. Considerations and Limitations
A. Compatibility with Other Devices
1. While Magic Editor is designed for Pixel 8 and 8 Pro, it may work on other devices:
Although the Magic Editor is specifically designed for the Pixel 8 and 8 Pro, it may also work on other devices. However, be aware that the availability and functionality of the Magic Editor may vary depending on your device and its specifications.
2. Ensure your photos are backed up to Google Photos and have a stable internet connection:
To ensure a smooth editing experience, make sure your photos are backed up to Google Photos and that you have a stable internet connection. This is crucial as the Magic Editor relies on cloud processing to perform its editing magic.
Now that you know how to use the Magic Editor in Google Photos on your Pixel 8 or 8 Pro, you can unleash your creativity and enhance your photos effortlessly. Experiment with the various editing options available, but keep in mind that this feature is still under development, so some limitations may exist. Enjoy editing your photos using this exciting tool and watch as your images come to life with a touch of magic!
Learn how to master the audio magic eraser feature on your Pixel 8 and 8 Pro with this step-by-step guide. Say goodbye to unwanted background noise!
Learn how to fix Pixel 8 and 8 Pro MMS picture sending and receiving issues with our comprehensive guide.
Discover effective solutions to eliminate stutters and scrolls lag in select apps on Pixel 8 and 8 Pro.

Discover effective solutions to resolve the issue of Warcraft Rumble not loading on our website.

Learn how to fix FiveM Status Code 400 with our comprehensive guide.

Get step-by-step instructions to resolve F1 TV App Error Code BM2001 on our website and enjoy uninterrupted streaming of your favorite Formula 1 races.

Learn how to fix BDO stuck on "Now Processing" with our comprehensive guide.

Learn how to troubleshoot and resolve issues with Twitch Prime subscriptions not appearing on your account.

Discover effective solutions to resolve HDR not working issues in The Talos Principle 2 with our comprehensive guide.
Discover effective solutions to resolve the issue of Shadowheart not following in Baldur's Gate 3 on our website.
Discover the hidden treasures of black diamonds in the depths of Return to Moria.