

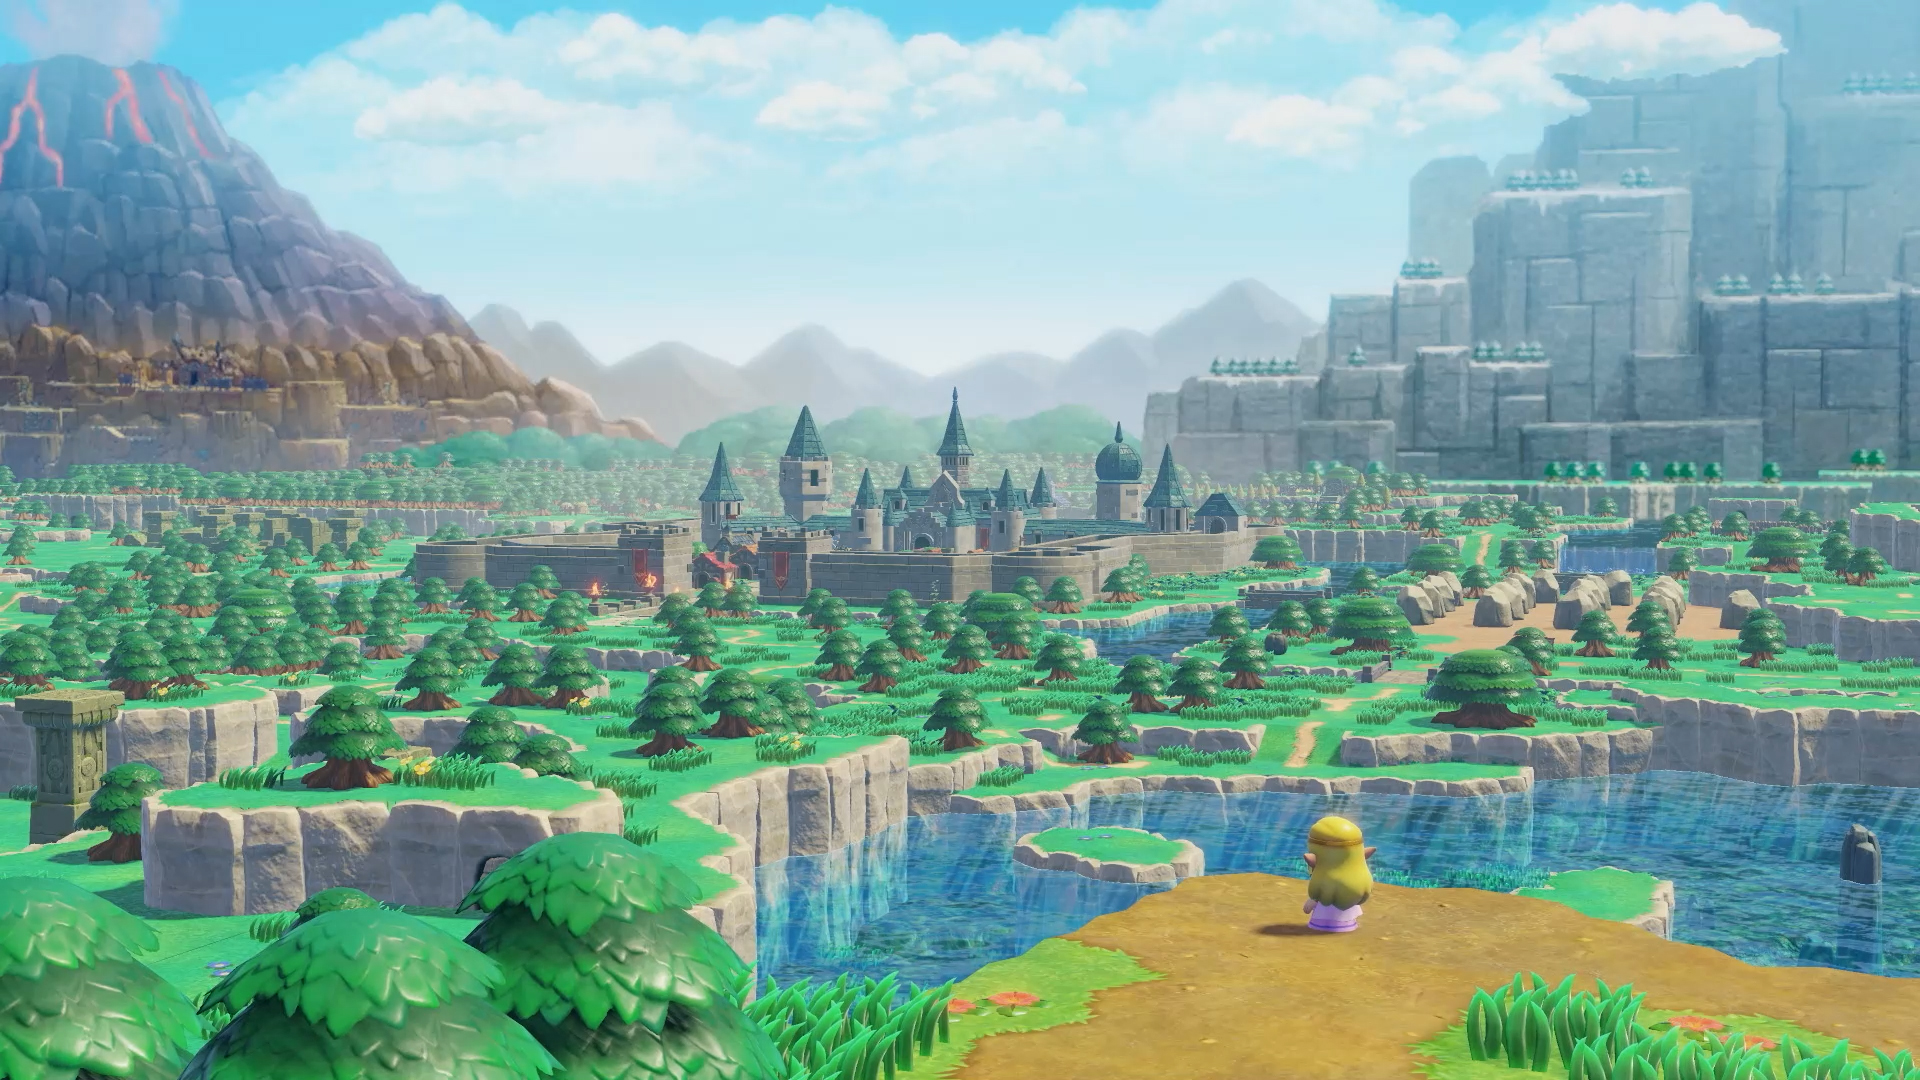
Préparez-vous pour apprendre comment terminer Gerudo Sanctum en Zelda Echoes of Wisdom, car ici nous vous expliquerons comment le faire.
Dans ce nouveau The Legend of Zelda: Echoes of Wisdom, les joueurs devront affronter le deuxième ou le troisième donjon connu sous le nom de Sanctum Gerudo. Découvrez comment le terminer et obtenir tous les trésors en suivant les étapes ci-dessous!
Guide pas à pas du sanctuaire Gerudo
À votre arrivée au sanctuaire Gerudo, suivez Link tandis qu'il monte l'échelle. Vous serez introduit dans une salle avec plusieurs canons à vent. Dirigez-vous vers la droite afin d'escalader le mur, en évitant les canons à vent à votre gauche et à votre droite. Si vous parvenez à y parvenir, sautez lorsque vous atteignez le sommet, en vous dirigeant vers la gauche du seul canon à vent - vous pouvez pousser le rocher par-dessus. Ensuite, montez l'échelle par laquelle le canon envoyait le vent. Vous serez conduit dans la salle principale du donjon. Une fois que vous avez activé le point de cheminement, dirigez-vous vers l'ouest. La salle commencera à se remplir de tuiles volantes.
Ne vous mettez pas en travers de leur chemin pendant qu'ils filent à toute allure dans la pièce ; si vous parvenez à en détruire un, vous obtiendrez une roupie rouge. De retour dans le hall principal, allez à droite. Tirez le levier vers l'arrière en utilisant Bind aussi loin que possible pour qu'il atteigne le rebord avant que la porte ne se ferme. Ensuite, montez sur le tapis roulant et créez une plate-forme pour vous aider à faire un bond. Vous utiliserez Bind dans la pièce adjacente pour déchirer les murs et trouver le coffre avec la petite clé à l'intérieur. Maintenant que la porte a été déverrouillée, retournez dans la pièce principale et traversez-la. Copiez simplement une statue de serpent dans cette pièce, puis entrez dans la pièce avec les deux Mothulas. En mode Swordfighter, vous pouvez sauter et trancher ces Mothulas volants, ou vous pouvez invoquer des Boarblins Boomerang ou des Echoes à longue portée pour les éliminer.
Entrez dans la salle de gauche et descendez une fois vaincu. D'autres tapis roulants descendent dans une fosse sans fin, avec une pile de boîtes au-dessus. Vous avez deux choix : utiliser un écho, comme l'Ignizol pour briser les boîtes, ou vous lier à un écho de Mothula pour ignorer complètement la fosse. Descendez l'échelle de l'une des manières mentionnées ci-dessus. Vous devez d'abord vaincre le reste des Caromodillos en utilisant un Caromodillo Lv. 2 dans cette salle verticale avant de pouvoir récupérer le coffre contenant l'œuf d'or. Vous aurez également besoin d'un Holmill pour pouvoir creuser sous terre. Continuez à descendre et vous atteindrez la salle avec la tablette et le point de cheminement.
This is your first main puzzle you will face while playing The Legend of Zelda: Echoes of Wisdom. A tablet will inform you to "seek two different tributes" and let you know that the first floor is where you can find the clues to do so. Note that before you leave, you should use Bind on the wall to the right of this room to open up a passageway. To get past the Holmill, head right and use the wind cannons to blow the sand off of the floor. This will reveal a tablet, which shows that original statue is blue with large tusks. To encounter a Poe, enter the main tablet chamber again and go left into the room.
Mothula will be able to attack the Poe from a distance because he will morph into a form that shoots lethal fire. After defeating him take his Echo and open the chest to obtain the Dungeon Map. When you exit the Sanctum and head south, you will see Link running around. Note the hole in the wall; if you build a couple of platforms you can reach a hidden room containing 35 rupees; and then follow him. Once you've left, follow Link through to the sandy area; watch your step so that you get the chest containing the red rupee inside. On the tower, Bind and twist the ladder on the right side so you can climb up it. Up there open the chest for the purple rupee.
Next move left and do the mini-platforming level. Eventually you will reach the very top of the Sanctum. Once defeated Mothula you can find, with the wind gun on the beach, a chest containing a monster stone. Starting from the Sanctum on the right, go down the stairs and take an old bed staircase to go to an area that is completely filled with ReDeads. The ReDeads in this hall can hardly be evaded since they stun you and give heavy damages. If you're feeling combative, a Mothula is a good long-range weapon or you can get decent damage by hitting them in the short hallway with a Caromodillo Lv. 2. Bind the tower again after you've gotten past them to grab a handle; this time it's behind a cactus on the left, but it will work either way. After spinning the tower, go to the top and find a statue of a hawk there, emulating it. Head back to the Sanctum and this time enter through the right-hand door. There's quicksand, but you'll be in another room with a timed lever puzzle as your reward.
While avoiding or killing the Sand Piranha, create platforms across the quicksand by using the C-buttons to change camera views, then go through the door opposite of where you came in. In this small room, there is a ReDead, a couple Gibdos, and several statues. To complete the task, lay down some Echoes, mirroring an Echo from the cat statue after using Swordfighter Mode and destroying most-if not all-of them. Use Bind on the statue in your way onto the next chamber. Approach and activate the waypoint to proceed to the next room with the dungeon miniboss. How To Fight Echo Link
You will have to fight Echo Link once more, but this time he will be completely unarmed in a large arena. Of course, with his new bow, Echo Link can run around the large arena with speed. The arena itself is not especially designed to be friendly, with all the heaps of sand and bottomless pits. As a matter of fact, it will be pretty hard to get near him in general, because his rate of fire is significantly higher than that of your Echoes. In the first phase, summon Echoes like Club Boarblins, which serve quite well close to him, and then walk up to him, fixing him in place. You can stun him for a couple of seconds just to give the Boarblins some time to close the distance to him and start hitting him. Once he's taken a few hits from them, a cinematic should trigger that shows he is now in his second phase. In this phase, you will also have to fight against three Echo Links of the same speed and his arrow strike that shoots in three different directions.
You can continue as you have. In order to lessen the possibility of excessive damage from the other two Echo Links, try to stay behind the arena walls as you pick them off one by one. The same technique you've used thus far will be effective. Your Echoes do the rest when you bind the Echo Link. If you defeat all three in Swordfighter Mode, you are allowed to shoot arrows.
Gerudo Sanctum Walkthrough Part 2
Once you've fought Echo Link again, head up the ladder, and, in Swordfighter Mode, fire off the bow to bring the Beetle Mound down, enabling you to pass into the right-hand lane. Once across, head up the ladder. Once the next waypoint has been activated you are able to halt the fire by placing stones along the conveyor belt. Make your way to the end of the two conveyor belts, clone the elephant statue, pull the small key from the chest. Warp instantly to the waypoint before the Echo Link fight, and back track to the quicksand room; use the little key on the door. Even without any obvious handles in this room, a means of progression can still be found by utilizing Bind on the off-coloured wall, pulling it open.
To continue past this room, all three torches in this room must be lit.
Engender an Ignizol and hurl it up at the top-right torch to illuminate it.
Rotate the fire-spewing turret so that it faces the bottom torch and bind. At the left low side of the room is a platform maker. OK, with the help of Bind shoot the wind cannon out over the abyss. If you are lucky you can now use a little of the old bedding to catapult the Ignizol into the torch. This opens a tablet. You'll learn that the second statue depicts a flying beastie. Go back to the central room with the central tablet. The entrance has now opened, thanks to the hawk and elephant statues.
Pour déverrouiller la porte du boss d'une autre zone, vous devez entrer et, en utilisant Bind, débrancher un autre bac à sable. En entrant dans la pièce que ce bouchon bloquait, vous obtenez la clé du boss dans le coffre. Tournez d'abord le premier anneau avec un engrenage jusqu'à ce qu'un espace s'aligne avec l'espace du sol. Réorientez ensuite le deuxième anneau avec Bind et alignez enfin les anneaux avec l'engrenage. Montez les escaliers, tirez la clé du boss et préparez-vous à combattre le monstre. Comment combattre Mogryph Contrairement à vos anciens boss dans The Legend of Zelda: Echoes of Wisdom, Mogryph est vraiment agile. Dans sa première phase, Mogryph s'enterrera dans le sable et balayera la pièce avec de larges coups. Tous les échos proches de lui seront détruits par son cri, et ils lanceront également du sable dans l'arène. Pendant ce temps, Mogryph creuse fréquemment son chemin hors du sol juste vers vous. Il est résistant aux échos, donc toute tentative de les utiliser contre lui serait inutile. Si la chance lui sourit, il peut les détruire d'un seul coup depuis son dépôt.
Alors que Morgryph creuse sous terre et s'arrête à l'un des quatre monuments, invoquez votre propre statue et placez-la entre vous et lui. Morgryph sera surpris lorsqu'il chargera sur elle. Passez en mode Swordfighter ou invoquez Echoes pour lui crier dessus jusqu'à ce qu'il se réveille. Faites-le une deuxième fois et il passera à la phase deux : il lui poussera des ailes et transformera la majeure partie de l'arène en sables mouvants. Il ajoutera deux nouvelles attaques au répertoire de Morgryph. L'une est une attaque de tornade aérienne et l'autre est une attaque de sables mouvants volants.
Même s'il dispose de toutes ses attaques normales, il vous attaque désormais trois fois et charge à travers l'arène sans toucher le sol.
Vous devrez sauter d'île en île de sable pour éviter les sables mouvants et échapper à ses attaques.
Invoquer une statue dans son ombre l'étourdira juste avant de s'envoler, ce qui vous permettra d'infliger des dégâts maintenant. Attaquez-le à nouveau avec le mode Swordfighter activé. Si à tout moment vous jouez à ce jeu et que vous avez besoin de soins, détruire quelques tas de sable devrait vous rapporter suffisamment de cœur pour vous maintenir jusqu'à ce que vous le vainquiez. Il doit mourir pour que le sanctuaire Gerudo soit libéré. C'est tout ce qu'il faut savoir sur Comment terminer le sanctuaire Gerudo dans Zelda Echoes of Wisdom, alors espérons que nous avons pu vous aider autant que possible.
Si vous ne savez pas comment terminer la quête Snowball Magic dans Zelda Echoes of Wisdom, voici un guide complet.
Je vous recommanderai où aller après le confinement de Deku Scrub dans Zelda Echoes of Wisdom ?
Je vais vous expliquer où aller après Stilled Heart Lake dans Zelda Echoes of Wisdom ?

Aujourd'hui, dans notre article, nous vous montrons comment faire le tour d'Antony en EA FC 25 de manière simple.

Si vous ne savez pas comment jouer en tant qu'aventurier sans terre dans Crusader Kings 3, voici un guide étape par étape qui vous aidera.

Préparez-vous à apprendre comment quitter la Banque de Vie dans Wuthering Waves, car aujourd'hui nous vous dirons quoi faire.

Aujourd'hui, dans notre article, vous apprendrez comment détruire toutes les géométries paracausales dans Destiny 2 de manière simple.
Vous vous demandez si vous devez d'abord vous rendre dans le désert Gerudo ou dans les eaux de Jabul en Zelda Echoes of Wisdom ? Eh bien, voici la meilleure réponse.

Si vous ne savez pas comment démarrer le DLC Shattered Space dans Starfield, voici un guide complet qui vous aidera.
Vous vous demandez si vous pouvez jouer en solo aux opérations dans Warhammer 40K Space Marine 2 ? Eh bien, voici un guide avec la meilleure réponse.

Voici un guide complet pour vous apprendre à obtenir des jetons Wolverine et Deadpool dans Monopoly GO.