

¿Su computadora se niega a arrancar debido a algún error de memoria? Lo más probable es que tenga algo que ver con la RAM. Le mostraremos cómo solucionar errores de "memoria corregible" en esta publicación.
Cómo solucionarlo Se ha detectado memoria corregible en memory slot
¿Qué es el error Se ha detectado un error de memoria corregible?
Los errores de RAM ECC corregibles significan que su sistema ha leído y corregido con éxito un pequeño problema de memoria. Aunque en la mayoría de los casos no es un problema inmediato, puede ser un indicio temprano de problemas con un módulo de memoria. Estos errores pueden surgir de muchos factores, incluido el sobrecalentamiento, irregularidades en el suministro eléctrico o fallas directas de hardware. Los errores de esta naturaleza nunca deben ignorarse para lograr la mejor estabilidad y rendimiento. Esta es una guía de solución de problemas paso a paso para ayudarle a corregir los errores "Se ha detectado memoria corregible" en su computadora con Windows 11/10.
Título mejorado:
Solución de problemas del error "Se ha detectado memoria corregible"
Este párrafo revisado explica en detalle las posibles causas de los errores de ECC y la urgencia con la que deben resolverse, lo que hace que la descripción general sea más completa. El título modificado también hace justicia al contenido.
1] Reintentar el arranque
Si aparece un mensaje de error durante la secuencia de inicio, lea atentamente la pantalla para encontrar la tecla de acceso directo que se indica. Muy a menudo, la tecla es F1, pero puede ser otra tecla de función para reiniciar el sistema. Presione la tecla apropiada para intentar recuperarse del error. Si su sistema se inicia sin más problemas una vez que presiona la tecla adecuada, se trata de un problema único. Por otro lado, si aún persiste, entonces se trata de un problema más grave que requiere más pasos para solucionarlo.
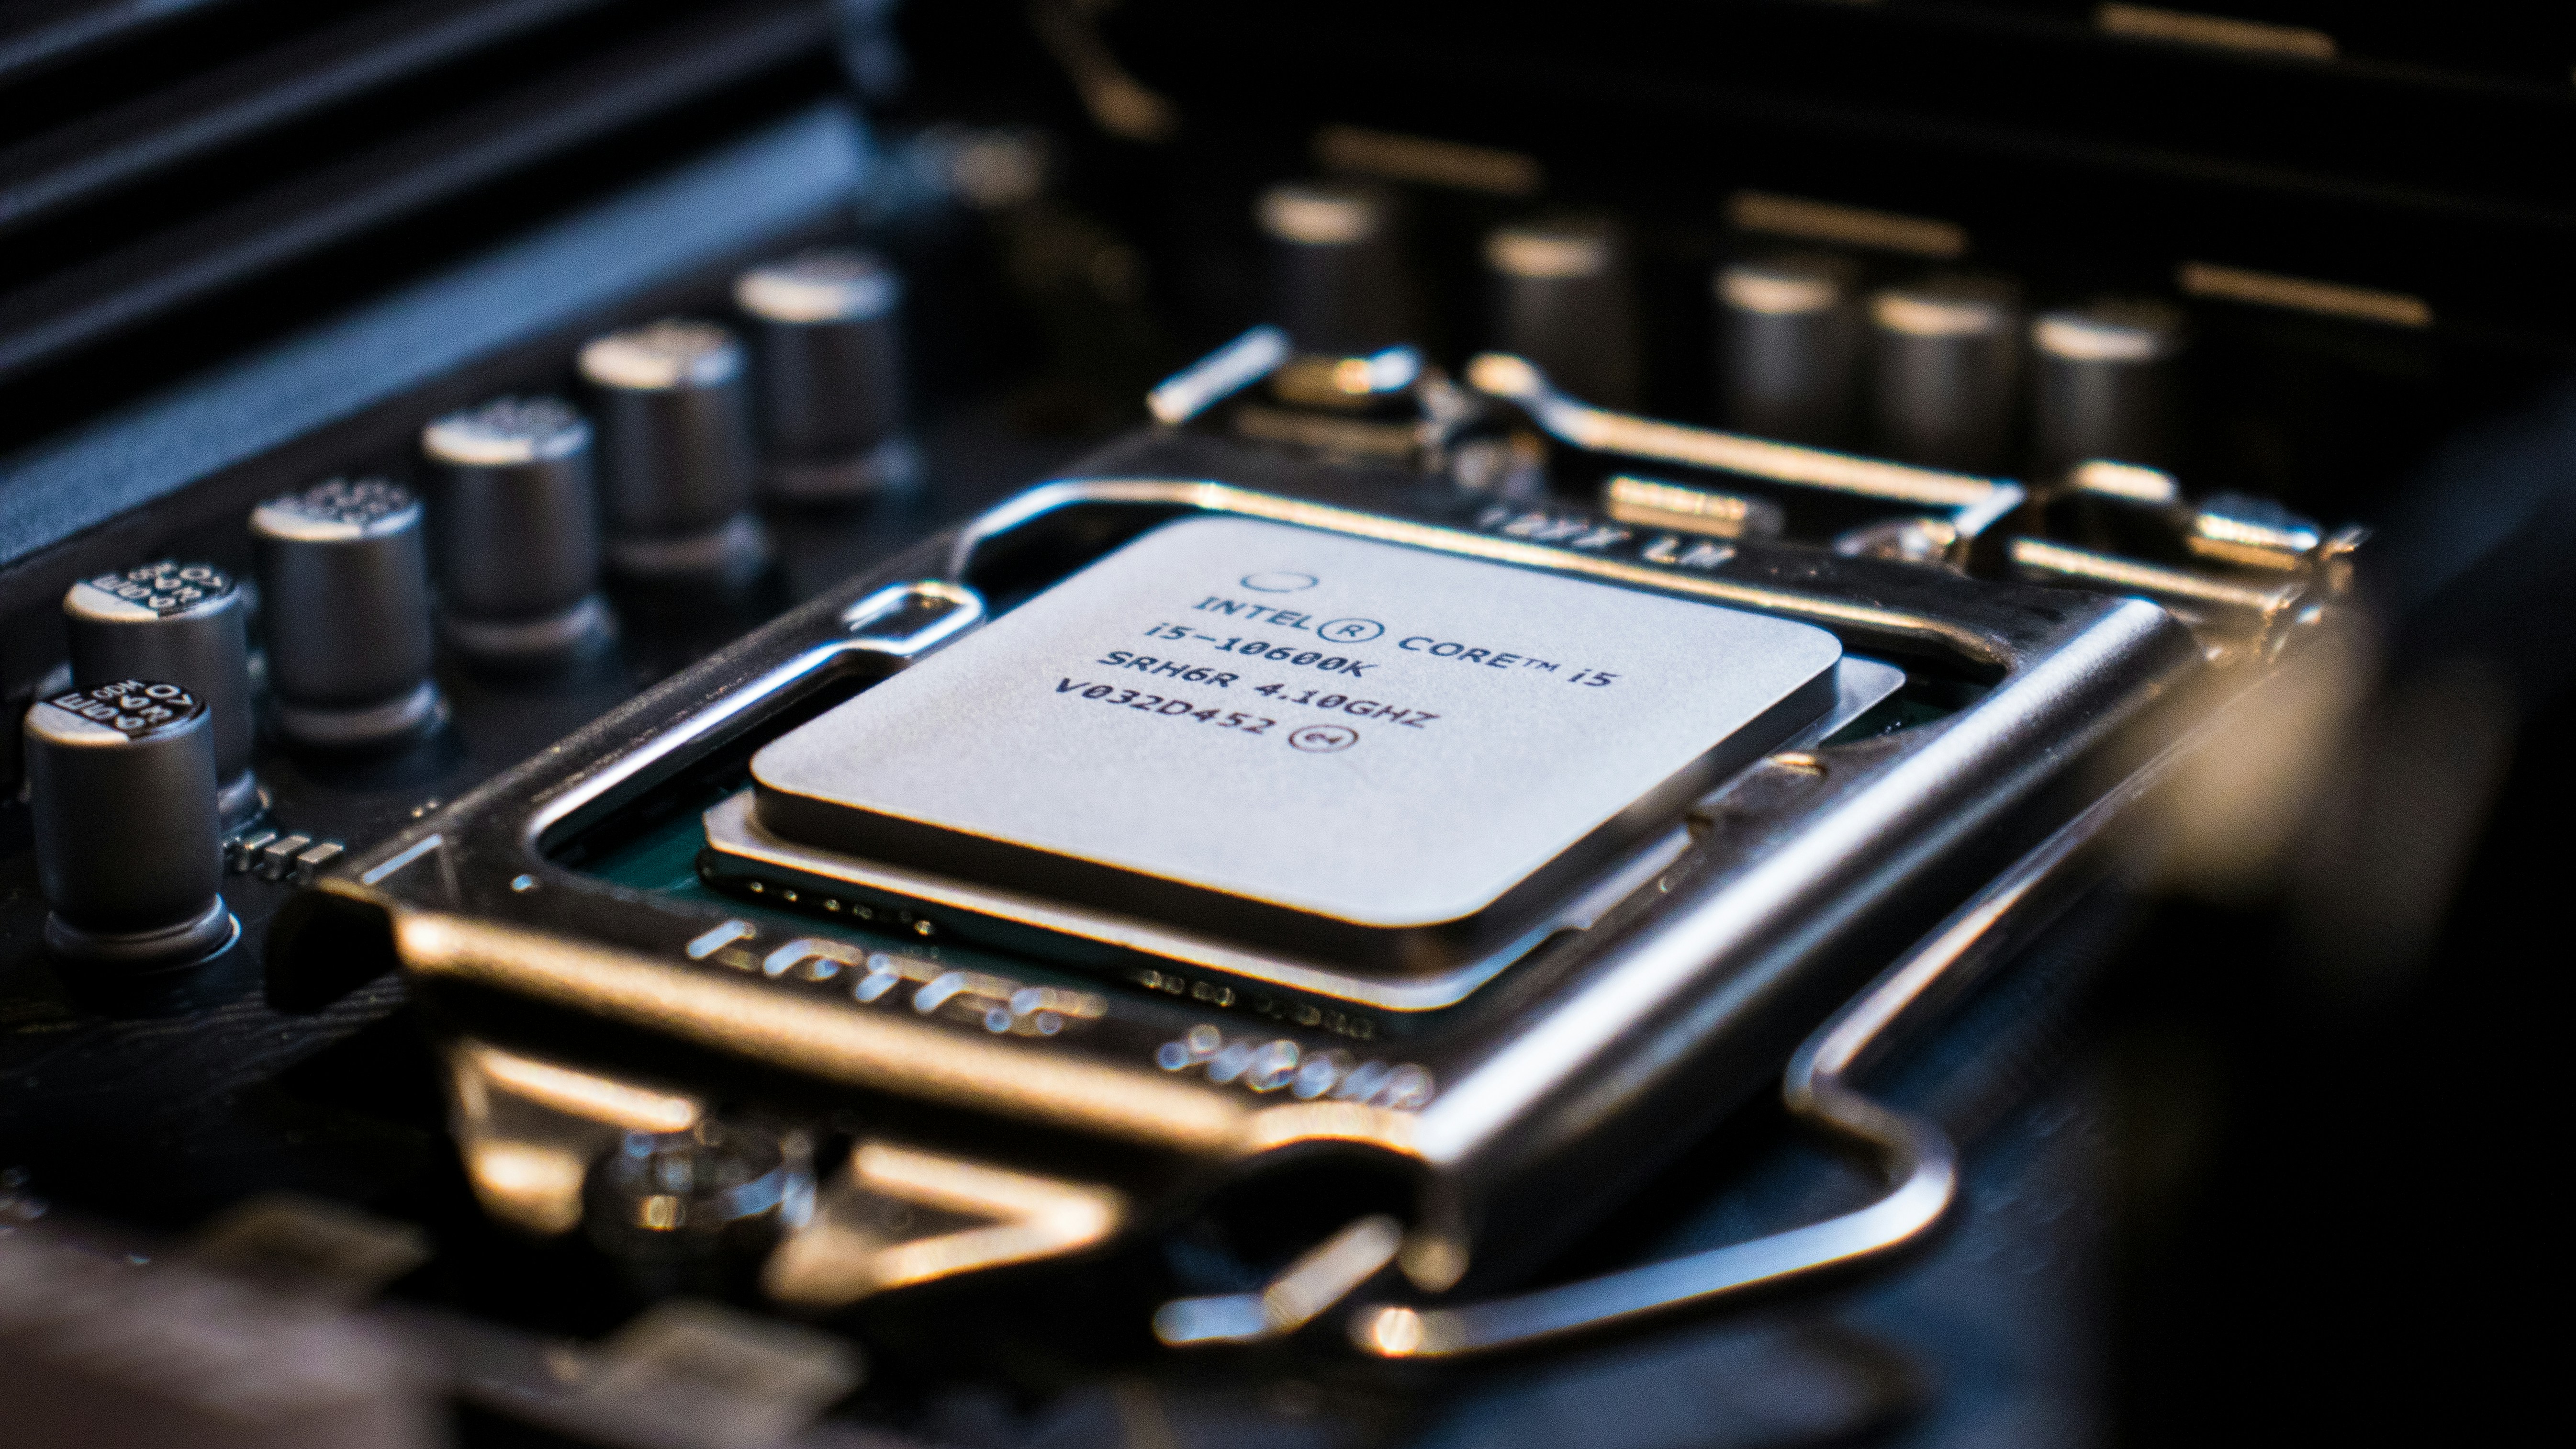
2]Vuelva a colocar la memoria RAM
La RAM debe instalarse correctamente para garantizar la estabilidad y el rendimiento del sistema. En primer lugar, retire el panel posterior de la carcasa de su computadora para acceder a las ranuras de RAM. Habrá dos clips de retención a ambos lados de la ranura de RAM. Presiónelos suavemente hacia abajo para desbloquear la ranura. Alinee con cuidado el módulo RAM con la ranura correspondiente, notando la muesca en la memoria RAM, que debe estar alineada con la llave en la ranura. Asegúrese de que el módulo esté centrado entre los dos clips para una distribución uniforme.
Sujetándolo firmemente, pero no demasiado, aplique un poco de presión hacia abajo para insertar la memoria RAM directamente en la ranura. Es posible que sienta cierta resistencia; Esto es bastante normal ya que el módulo encaja en el mecanismo de bloqueo de la ranura. Aplique presión constante hasta que escuche o sienta un clic definitivo, fijando así la RAM de forma segura en su lugar. Nunca fuerces el módulo, ya que esto puede causar daños tanto a tu RAM como a tu placa base.
Una vez instalado, asegúrese de que la memoria RAM esté completamente asentada y que ambos clips de retención estén completamente cerrados. Si puede ver una parte del módulo o los clips no parecen estar bien cerrados, vuelva a colocar la RAM con cuidado. Una instalación inadecuada puede provocar inestabilidad del sistema, fallas o incluso daños al hardware.
Con estos pasos, puede estar seguro de tener su RAM instalada correctamente y su sistema funcionando a toda velocidad.
3] Ejecute la memoria RAM en otra ranura
Puede ser que el problema que está experimentando no pertenezca a su dispositivo RAM sino al memory slot en el que reside. Simplemente retire la memoria RAM con cuidado e insértela en la otra ranura de la placa base de su computadora. Antes de reinstalar, verifique que no haya polvo, suciedad o corrosión en los contactos dorados de la RAM y la ranura, lo que podría obstaculizar la conexión eléctrica y, por lo tanto, impedir el rendimiento. Luego, los contactos se pueden limpiar suavemente usando un paño suave sin pelusa o aire comprimido para asegurar que habrá un buen contacto. Si no se siente cómodo haciéndolo usted mismo, es posible que desee consultar a un técnico que pueda hacerlo por usted.
4]La RAM está funcionando
Si el memory slot no es el problema, entonces debemos mirar más de cerca la memoria RAM. Lo sacaremos y lo pondremos dentro de otra computadora. Luego podemos probar si el problema está en la RAM.
5]Actualice el firmware de su BIOS
Si la RAM parece funcionar bien en otra computadora pero no en la suya, descarte todos los pasos de solución de problemas. Luego reemplace la RAM. Ahora, toma la RAM de un amigo e instálala en tu computadora. Si esto soluciona el problema, definitivamente indicaría un problema con la memoria RAM original o probablemente una incompatibilidad del BIOS. Actualice el firmware de su BIOS ahora e intente reinstalar su dispositivo RAM original; mira si todavía tienes el problema.
De esta manera, llegamos al final de nuestra guía sobre Cómo reparar Se ha detectado memoria corregible en el memory slot. Esperamos que consigas solucionar el problema muy rápido.

Si te preguntas cómo desbloquear autos de recompensa en The Crew, aquí tienes una guía con la mejor respuesta.

While basic disks are the user-oriented solution, structured with primary and extended partitions, dynamic disks are much more complex and based on volumes. This basically makes the former ideal for most of the desktop and laptop computers in which simple data storage and retrieval suffice as the ba

Prepárese si no sabe cómo arreglar el mouse que no hace clic en Windows 11, porque hemos cubierto todo aquí.

Hoy os enseñamos a hacer tortitas de arroz especiadas en palia de forma sencilla.

Continúe leyendo si no sabe cómo reparar el cargador de la computadora portátil que no funciona después de una sobrecarga de energía, porque aquí lo tenemos cubierto para usted.
Prepárese para aprender cómo solucionar el uso elevado de CPU, memoria y disco de SecurityHealthSystray.exe, porque a continuación encontrará todo al respecto.

Authentication using Windows Hello for Business in a Windows domain environment requires that a very strong certificate validation takes place. A client machine will present a certificate to the domain controller, which then needs to validate that certificate and ensure it is trusted. The KDC servic

Si no sabes Cómo solucionar el error de pantalla azul al conectar un monitor externo, no te preocupes, porque en esta ocasión cubriremos todo lo que hay que saber.