

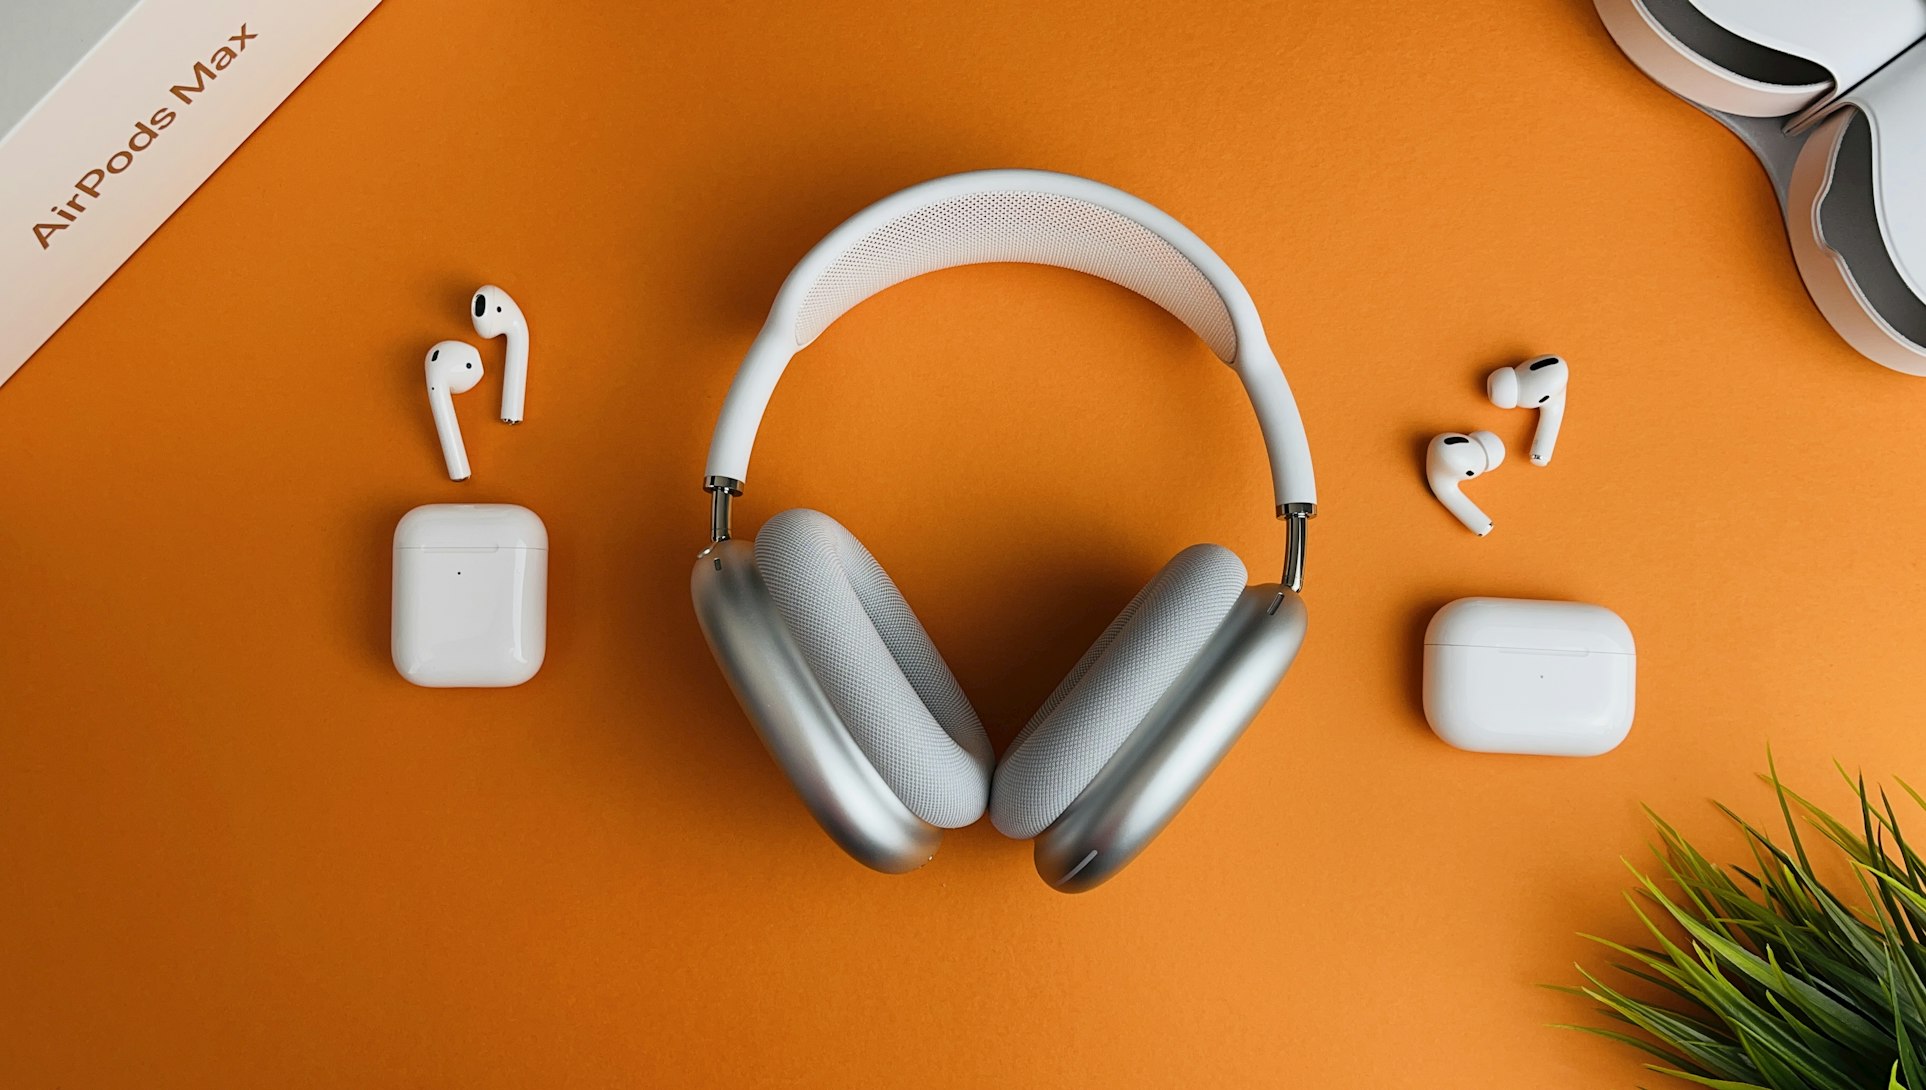
Learn how to effortlessly connect your AirPods to your Windows device and enjoy wireless audio on the go.
How to Connect AirPods to Windows: A Friendly Guide:
Hey there! If you're looking to connect your AirPods to your Windows PC, you've come to the right place. It's a simple process, and I'll walk you through it step by step. Let's get your AirPods up and running with your Windows device in no time!
In this comprehensive guide, we'll cover everything you need to know about connecting your AirPods to your Windows PC. From accessing settings to customizing gestures, we've got you covered. So, grab your AirPods and let's dive in!
Step 1: Accessing Settings
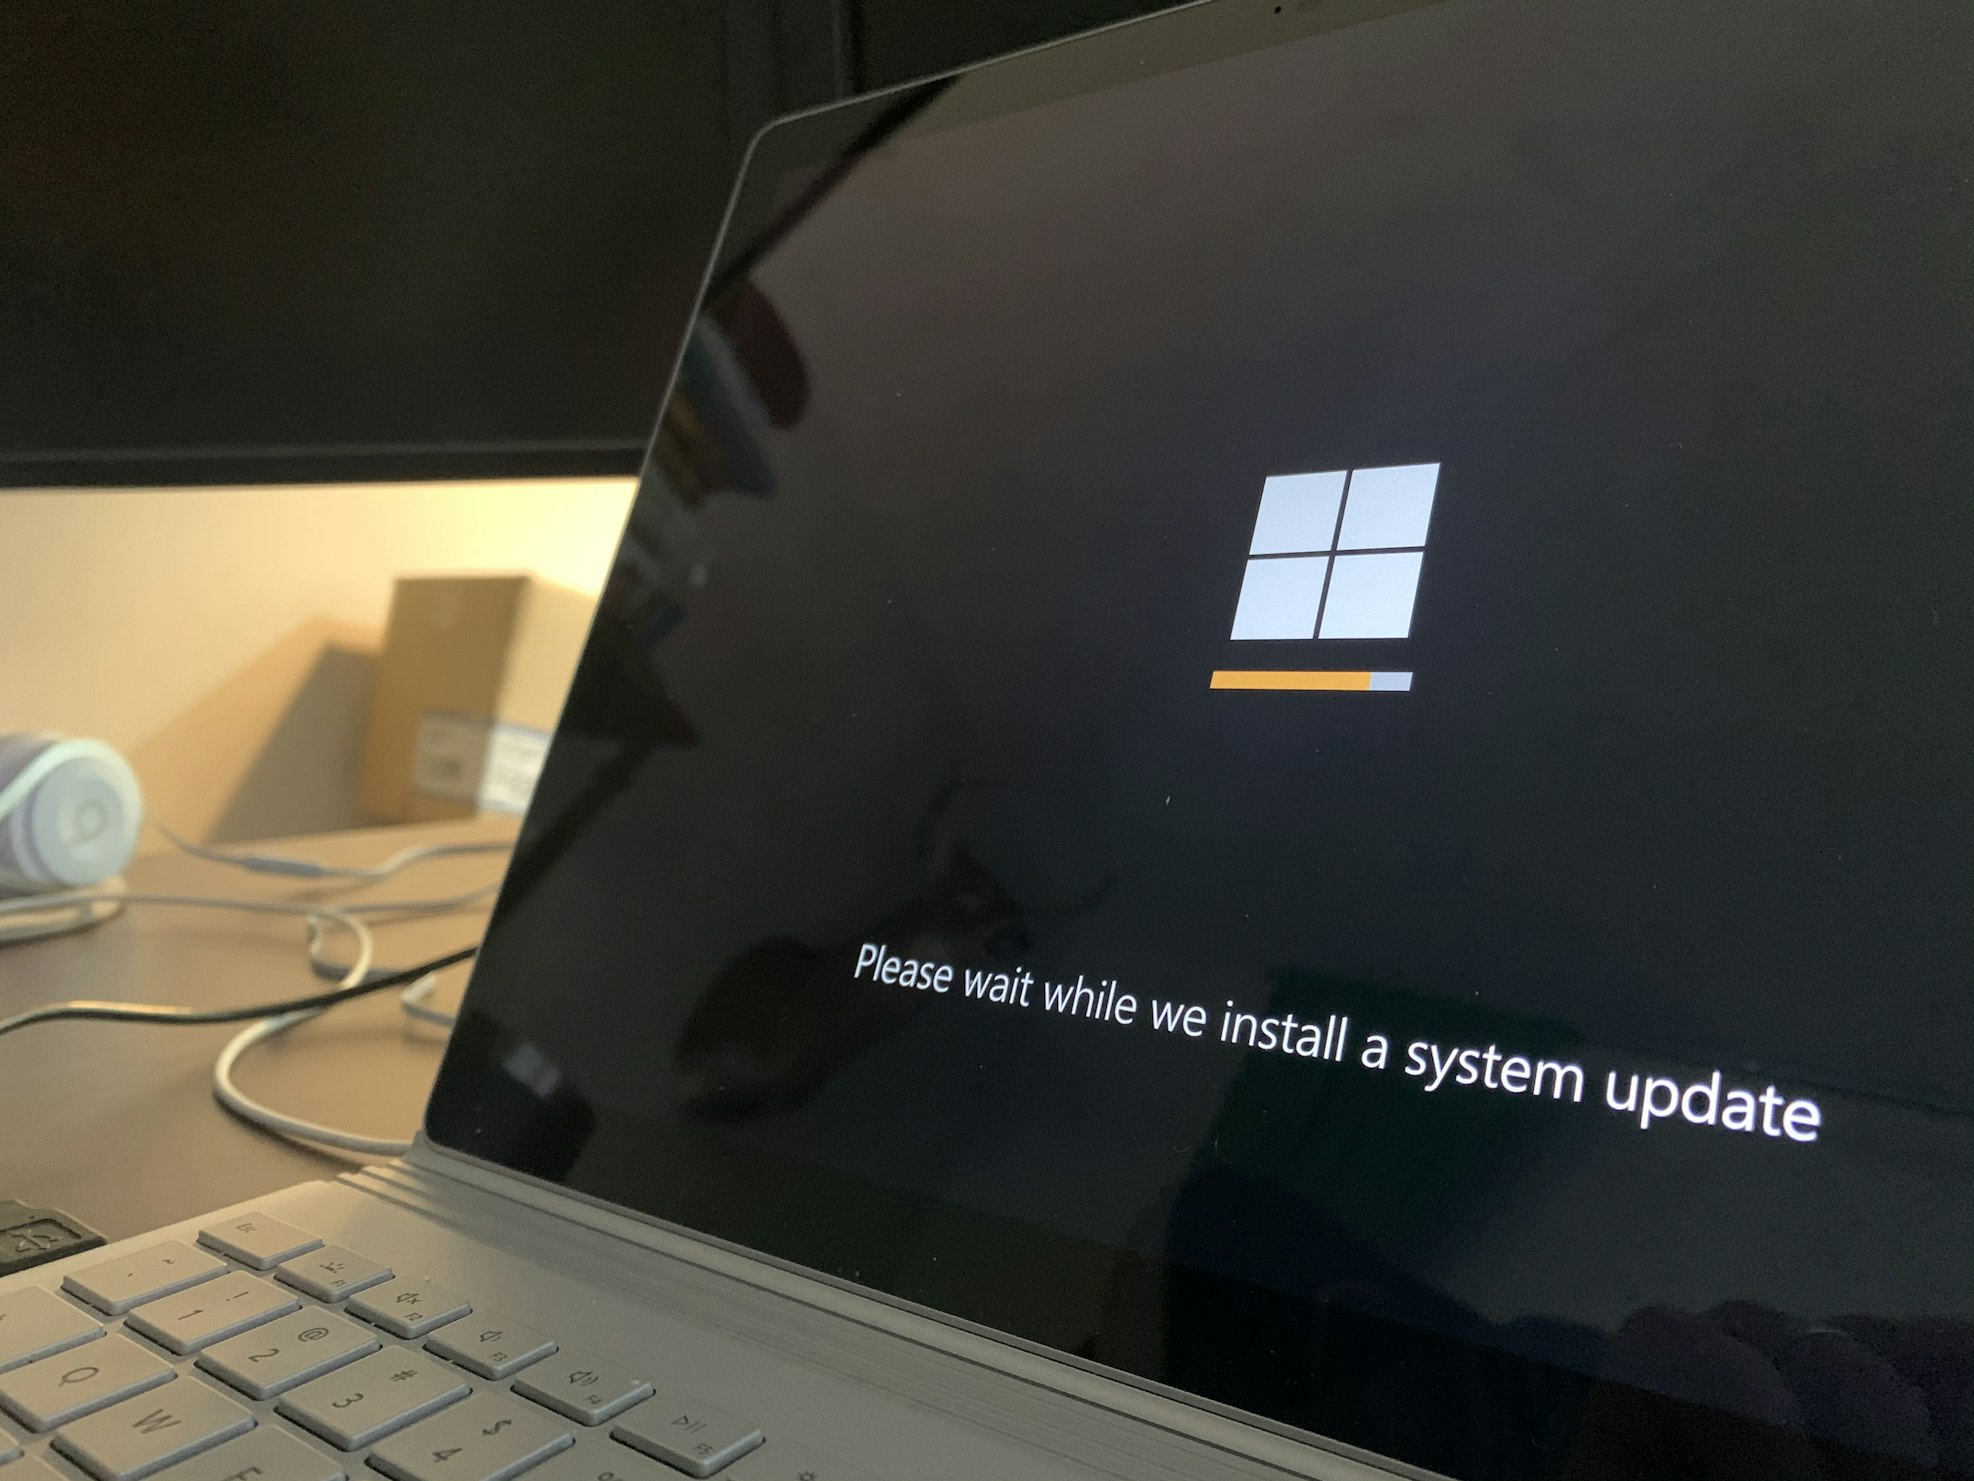
The first step to connecting your AirPods to your Windows PC is to access the Settings app. To do this, simply press the Windows key and "I" on your keyboard simultaneously. This will open the Settings app on your Windows PC, where you'll be able to manage various system settings, including Bluetooth and device connectivity.
Step 2: Navigating to Bluetooth & Devices
Once you're in the Settings app, navigate to the "Devices" section, which can be found by clicking on the corresponding icon. From there, select "Bluetooth & devices" from the menu on the left-hand side of the screen.
Step 3: Adding a New Bluetooth Device
After accessing the "Bluetooth & devices" section, you'll need to add a new Bluetooth device. Click on the "Add Bluetooth or other device" option and choose the Bluetooth option from the list of available devices. At this point, it's important to have your AirPods' charging case open and ready for pairing.
Step 4: Pairing Your AirPods
Once you've selected the Bluetooth option and have your AirPods' charging case open, proceed to hold down the Noise Control button on your AirPods Max or simply open the case of your regular AirPods. Your AirPods should then appear in the list of available devices on your Windows PC. Select them and click "Done" to complete the pairing process.
Step 5: Adjusting Audio Output
In the event that you don't hear system audio through your AirPods after pairing, you can change the output device by clicking on the volume icon in the system tray or using the quick settings panel specifically available in Windows 11. This will ensure that audio is routed to your AirPods for a seamless listening experience.
Step 6: Manual Reconnection
If you use your AirPods with another device and need to reconnect them to your Windows PC, simply follow the aforementioned steps again to pair them manually. This will allow you to seamlessly switch between devices without any hassle.
Step 7: Customizing Gestures (First and Second-Gen AirPods)
While Windows doesn't allow changing default gestures for AirPods, you can still take advantage of the double-tap feature on first and second-gen AirPods to play and pause tracks. This simple gesture adds a layer of convenience to your listening experience.
Step 8: Renaming Your AirPods
Windows also lets you customize the name of your AirPods, just like renaming any other Bluetooth device connected to Windows. Personalizing the name of your AirPods can make it easier to identify them within your list of connected devices.
There you have it! Connecting your AirPods to a Windows PC is a breeze with these simple steps. Now you can enjoy wireless audio from your favorite device hassle-free. Whether you're using AirPods, AirPods Pro, or AirPods Max, the process remains straightforward and user-friendly.
"
If you have any questions or need further assistance, feel free to reach out. We hope this guide has been helpful in enabling you to seamlessly connect your AirPods to your Windows PC. Happy listening!
Resolve the Windows couldn’t connect to the ProfSVC service error with our easy troubleshooting guide. Get your system running smoothly again!
To learn how to fix Windows stuck in diagnostic boot mode here is a complete guide.
The day of the day we follow you step by step How to resolve the error in acquiring the final user license, Event ID 1014.

Learn how to easily factory reset your iPhone or iPad with step-by-step guides.
Learn how to effortlessly connect your AirPods or AirPods Pro to your Mac and enjoy seamless audio experience.
Learn how to easily create Windows 10 installation media with step-by-step instructions.

Learn how to make the most of your iPhone with Apple Sports. Get the most out of your workouts and stay connected on the go.

Learn how to access and utilize Open AI's Sora platform. Discover its features and capabilities for your AI projects.

Learn how to fix the "Sorry PowerPoint Can't Read" error on Windows or Mac. Follow our step-by-step guide for a quick resolution.

Learn how to troubleshoot Helldivers 2 Quickplay not working issue with our step-by-step guide. Get back to the action in no time! #Helldivers2 #gaming

Learn how to troubleshoot the Helldivers 2 'Servers at Capacity' error with our comprehensive guide. Get back to the action in no time!