
Learn how to easily create Windows 10 installation media with step-by-step instructions.
How to Create Windows 10 Installation Media: A Friendly Guide
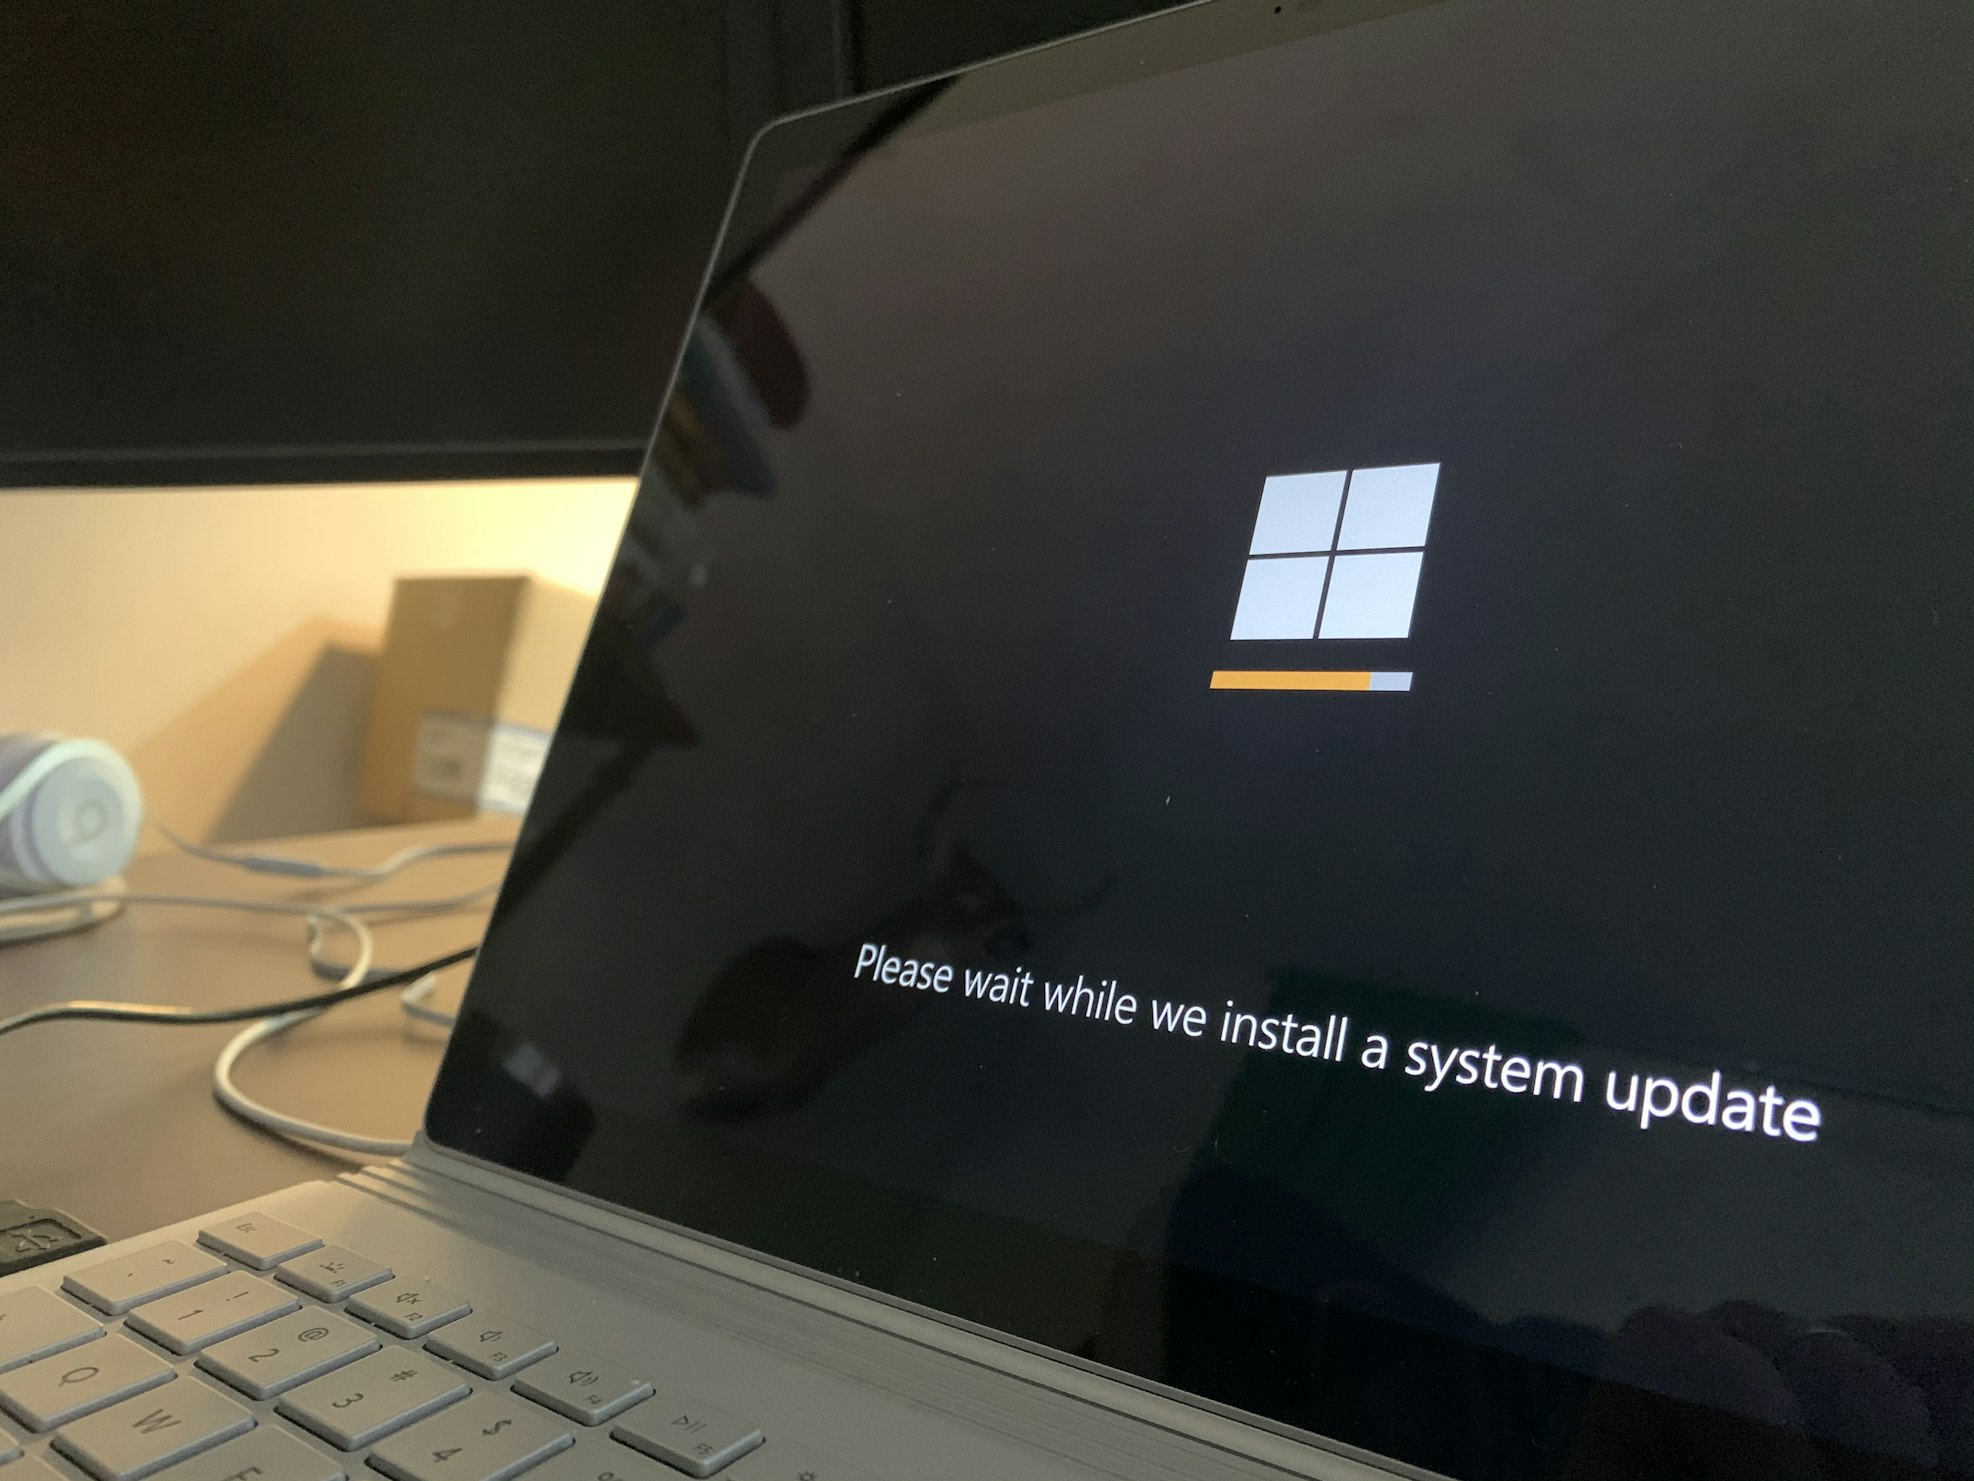
Welcome to our comprehensive guide on creating Windows 10 installation media. Whether you're upgrading your current system or performing a clean install, having installation media readily available can be incredibly useful. In this blog post, we'll walk you through the process in a friendly and approachable manner, ensuring that you have all the information you need to successfully create Windows 10 installation media.
Section 1: Using the Windows Media Creation Tool
The Windows Media Creation Tool is an official method provided by Microsoft for creating installation media. It offers a straightforward and user-friendly way to create a USB flash drive or DVD with Windows 10 installation files. To begin, you can download the tool from Microsoft's website. Once downloaded, simply run the tool and follow the on-screen instructions. You will have the option to either upgrade your current system or create installation media for another PC. Select the latter and choose the language, edition, and architecture for Windows 10. Then, select the media type, which can be a USB flash drive or an ISO file for burning onto a DVD. The tool will then download the necessary files and create the installation media for you.
Section 2: Downloading the ISO Directly from Microsoft
Alternatively, you can directly download the Windows 10 ISO file from Microsoft's website. This option provides the ISO file, which contains all the installation files for Windows 10. To do this, visit the official Microsoft website and navigate to the Windows 10 download page. Here, you can select the edition and language of Windows 10 that you want to download. After making your selection, the website will provide you with the option to download the ISO file. Once downloaded, you can save the ISO file to your computer for later use in creating installation media.
Section 3: Creating Bootable Media Using an ISO Burning Tool
After downloading the ISO file, you will need to create bootable media using an ISO burning tool. Popular tools for this purpose include Rufus and ImgBurn. These tools allow you to take the downloaded ISO file and transfer it onto a USB flash drive or burn it onto a DVD, making it bootable for installation. When using these tools, simply select the downloaded ISO file, choose the target device (USB flash drive or DVD), and initiate the burning process. These tools provide a simple and user-friendly interface, making the creation of bootable media a smooth and hassle-free experience.
Section 4: Burning the ISO to USB Flash Drive or Disc
Once you have chosen your ISO burning tool, it's time to burn the downloaded ISO file onto a USB flash drive or disc. This process involves connecting the USB flash drive or inserting the disc into your computer, selecting the ISO file, and following the on-screen instructions provided by the ISO burning tool. It's crucial to pay close attention to each step to ensure that the burning process is completed successfully. Once completed, you will have a bootable USB flash drive or disc containing the Windows 10 installation files.
Section 5: Unattended Windows 10 Installation
For those looking to streamline the setup process, unattended Windows 10 installation offers a convenient solution. This process involves generating an Autounattend.xml answer file using the Windows Answer File Generator (WAFG). The answer file contains instructions for the installation process, allowing for automated setup without the need for user intervention. The WAFG provides a user-friendly interface for customizing various installation options, such as product key input, language settings, and more. By following the instructions provided by the WAFG, you can create a customized answer file tailored to your preferences, simplifying the installation process.
Section 6: Entering Product Key and Customizing Installation Options
During the installation process, you will be prompted to enter your Windows 10 product key. If you have a product key, simply enter it when prompted. Alternatively, you can choose to skip this step and use a generic product key provided by Microsoft for installation. Additionally, you will have the opportunity to customize various installation options, such as accepting the End User License Agreement (EULA), skipping automatic activation, choosing the setup language, entering the computer name, selecting the keyboard language, input preferences, and configuring express privacy settings. By providing clear and friendly guidance on these options, we aim to ensure that you can tailor the installation to your preferences with ease.
By following these straightforward steps, you can create your own Windows 10 installation media with ease. Whether you prefer using official tools like the Windows Media Creation Tool or enjoy customizing your installation with unattended setup options, this guide has covered it all in a friendly and approachable manner. We hope this post has been helpful in simplifying this important aspect of maintaining and installing Windows 10. Whether you're a seasoned Windows user or embarking on your first installation, having the right installation media at your disposal is essential, and we're here to help you every step of the way.
I will guide you How to disable Caps Lock notifications in Windows 10/11?
If you don't know how to fix the extended resolution issue on the second monitor in Windows 10, here is a complete guide that will help you with it.
I will teach you in this documentary How to disable a laptop keyboard in Windows 10

Learn how to make the most of your iPhone with Apple Sports. Get the most out of your workouts and stay connected on the go.

Learn how to access and utilize Open AI's Sora platform. Discover its features and capabilities for your AI projects.

Learn how to fix the "Sorry PowerPoint Can't Read" error on Windows or Mac. Follow our step-by-step guide for a quick resolution.
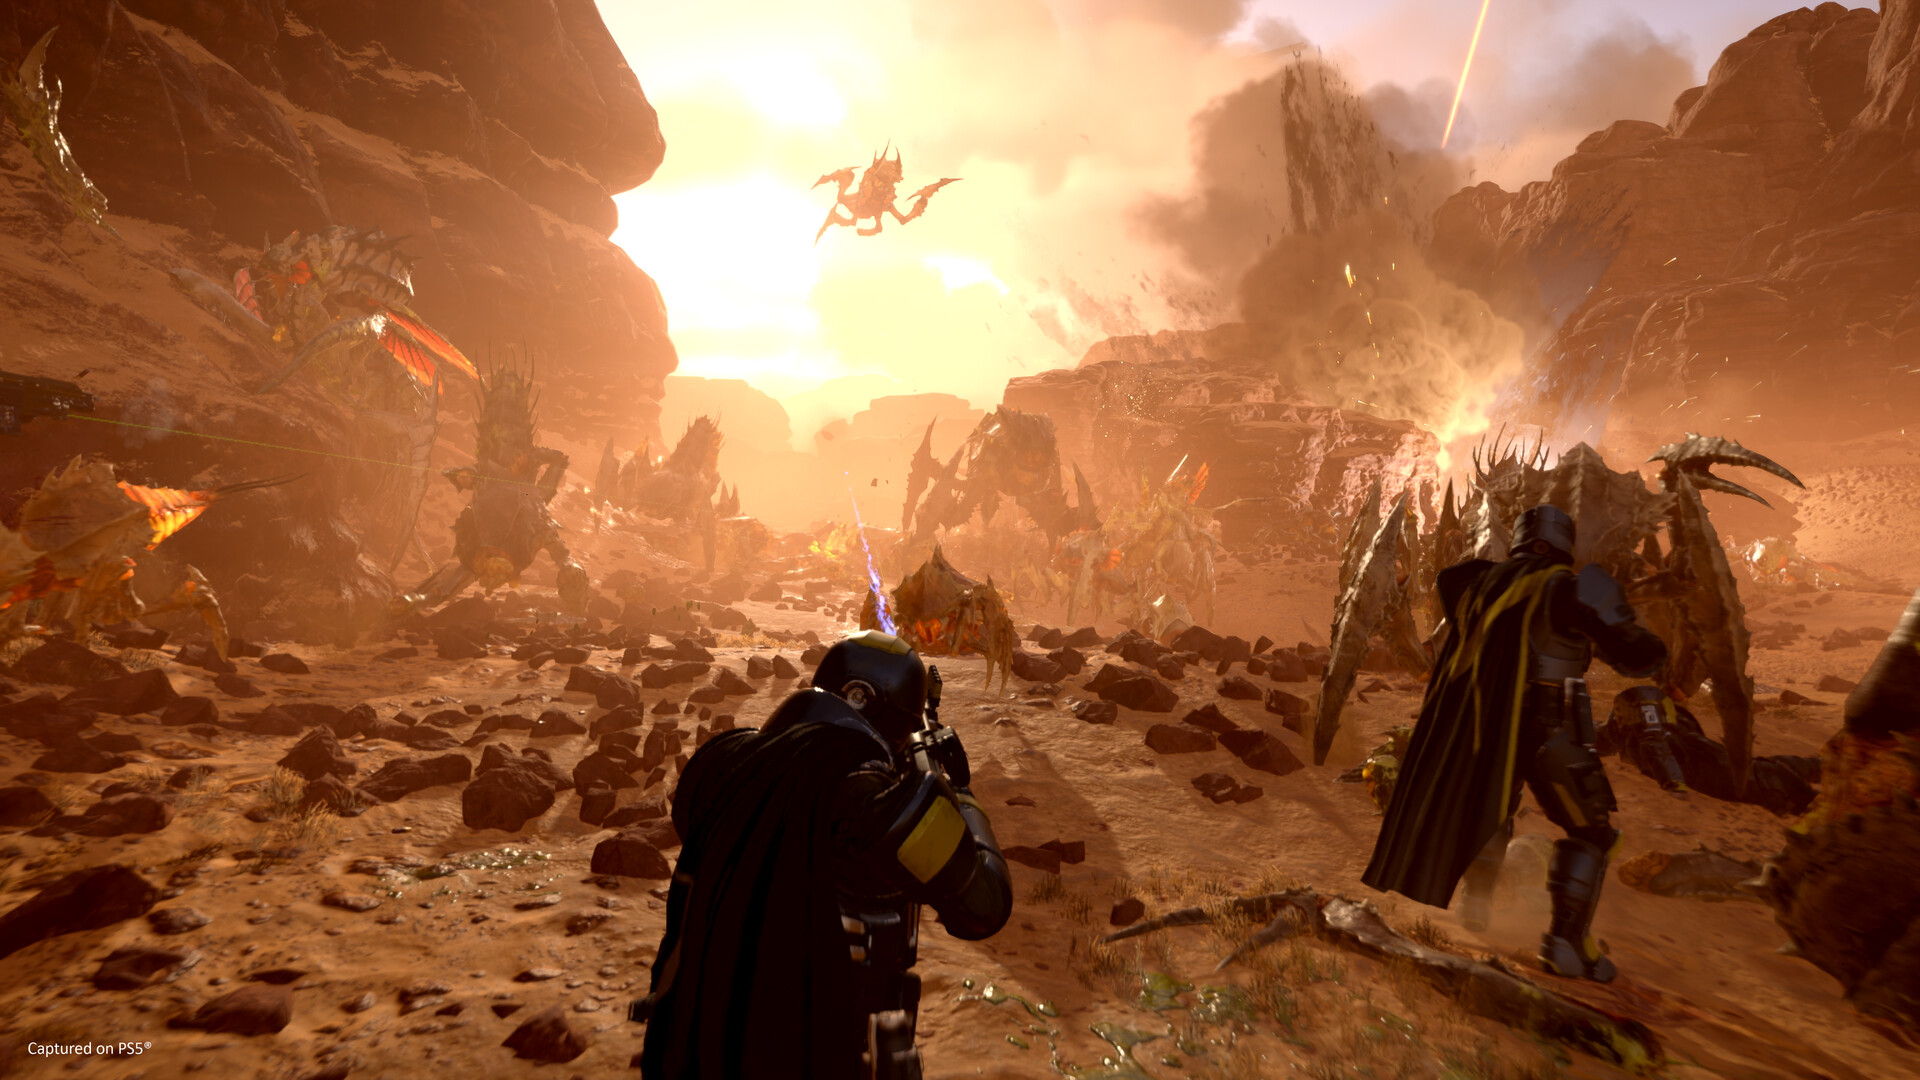
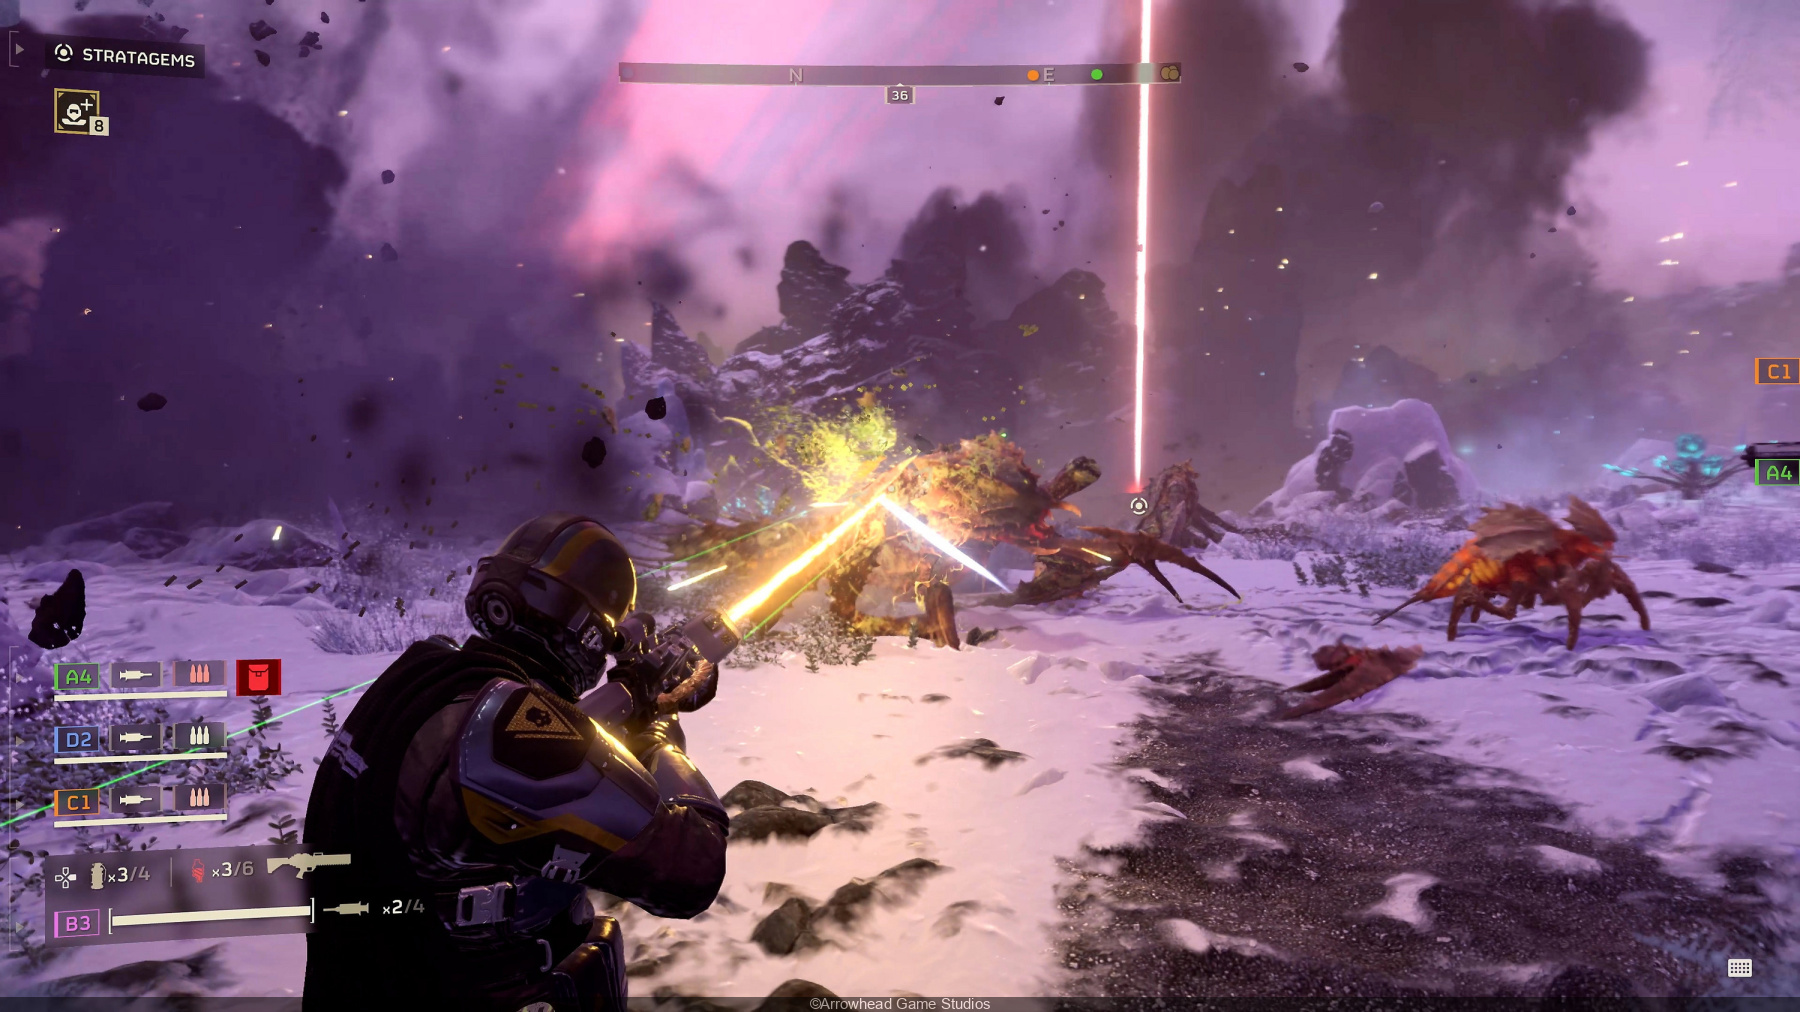
Learn how to troubleshoot Helldivers 2 Quickplay not working issue with our step-by-step guide. Get back to the action in no time! #Helldivers2 #gaming
Learn how to troubleshoot the Helldivers 2 'Servers at Capacity' error with our comprehensive guide. Get back to the action in no time!

Learn how to troubleshoot the Nightingale Network Error Has Occurred issue with our step-by-step guide. Fix the error and get back to using Nightingale hassle-free!

Learn how to resolve the 'Palworld This Server Does Not Have an Admin Password Set' issue. Follow our step-by-step guide to fix this server error quickly and easily.

Learn how to troubleshoot the 'Nightingale could not establish connection to server' issue with our step-by-step guide. Resolve this common problem quickly and easily!