

Learn how to effortlessly set up temperature and humidity automations on your HomePod. Create the perfect environment with ease.
Welcome to our blog post on how to set up temperature and humidity automations on HomePod! In this guide, we will walk you through the steps to easily automate the climate control in your home using your HomePod device. Imagine coming home to a perfectly comfortable environment without having to manually adjust the temperature and humidity settings. With the HomePod's temperature and humidity automations, this can become a reality. So let's dive in and discover how to make your home a more comfortable place to live.
Section 1: Accessing Temperature Readings on HomePod
To begin using temperature and humidity automations, you first need to activate the temperature reading feature on your HomePod mini or second-generation device. Open the Home app on your iPhone or iPad and ensure that your HomePod is connected to the same network. Once your HomePod is detected, tap on it to access the device settings. Look for the room where your HomePod is located and select it. This will allow the HomePod to provide accurate readings for that specific room.
It's important to note that there may be a calibration phase required to ensure accurate climate measurements. During this phase, the HomePod will adjust its readings to match the temperature detected by other nearby HomeKit-enabled devices. This ensures that your automations are based on accurate data.
Section 2: Accessing Temperature Sensor Settings
After activating temperature readings, it's time to access the temperature sensor settings on your HomePod. To do this, go back to the main screen of the Home app and locate your HomePod device. Tap on it to open the device settings card. Within the settings card, you will find a button labeled "Temperature Sensor." Tap on this button to access additional options for creating automation based on temperature and humidity.
Section 3: Creating an Automation
Now that you have accessed the temperature sensor settings, it's time to create your first automation. Tap on the "Add Automation" button to begin. You will now be presented with different options to customize your automation. Start by selecting the desired temperature level. For example, if you want your kitchen to be heated to 71.6 degrees Fahrenheit or 22 degrees Celsius, enter that value.
Next, you can set the time for the automation to trigger. Choose the time period during which you want the automation to be active. You can also select specific days of the week if you want the automation to be active only on certain days. Additionally, you can specify who needs to be present for the automation to take effect. This can be useful if you want the automation to be active only when certain family members are at home.
Section 4: Setting Specific Temperature Parameters
When setting up temperature automations, it's important to note that you can customize the temperature parameters based on your preferences. For example, if you prefer a slightly cooler temperature in your bedroom, you can set the automation to cool the room to 68 degrees Fahrenheit or 20 degrees Celsius. The flexibility of the HomePod allows you to create personalized automations that suit your comfort needs.
Section 5: Finalizing and Closing Settings
Once you have configured all the desired settings within the Temperature Sensor card, tap on the "Done" button to finalize the automation. This will save your settings and activate the automation based on the specified parameters. After finalizing the settings, make sure to close the Temperature Sensor settings card to complete the process.
Setting up temperature and humidity automations on your HomePod is a straightforward process that can greatly enhance your home's comfort. By following the steps outlined in this blog post, you can easily create custom automations to maintain the perfect climate in your home. Whether you want to heat up your kitchen before you arrive or cool down your bedroom before going to sleep, the HomePod's temperature and humidity automations have got you covered.
We hope this guide has been helpful in setting up temperature and humidity automations on your HomePod. Remember, the convenience and ease of automating your home's climate control can make a significant difference in your daily life. If you have any further questions or want to explore other helpful HomePod features, feel free to leave a comment below. We're here to assist you in creating the perfect smart home experience.

"Learn how to back up your WhatsApp messages on iPhone without using iCloud. Follow our step-by-step guide for a hassle-free backup process."
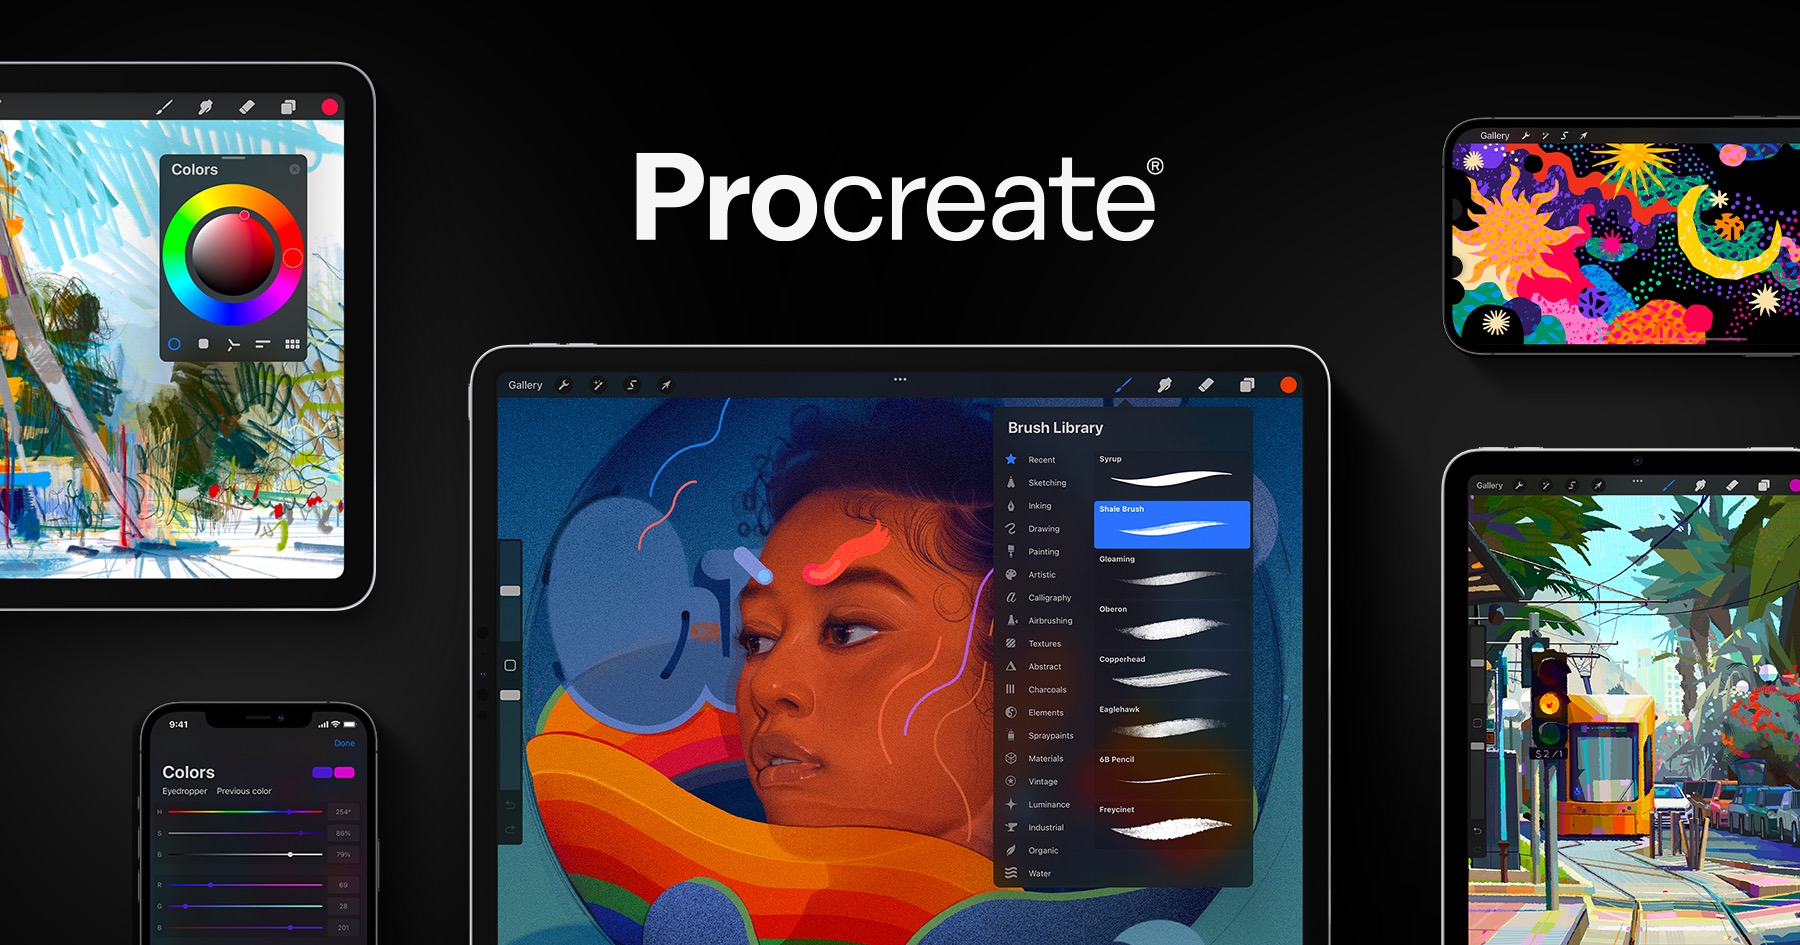
Learn how to fix pixelated lines in Procreate with these simple tips and tricks. Enhance the quality of your artwork today!

"Learn how to resolve issues with Volume Shadow Copy Service not working. Get step-by-step instructions and tips for troubleshooting this problem."

Learn how to add a voice PIN to your Amazon Echo for enhanced security and privacy. Protect your personal information with this simple guide.

Learn how to make your Google Slides play automatically and save time. Create engaging presentations with this simple guide.
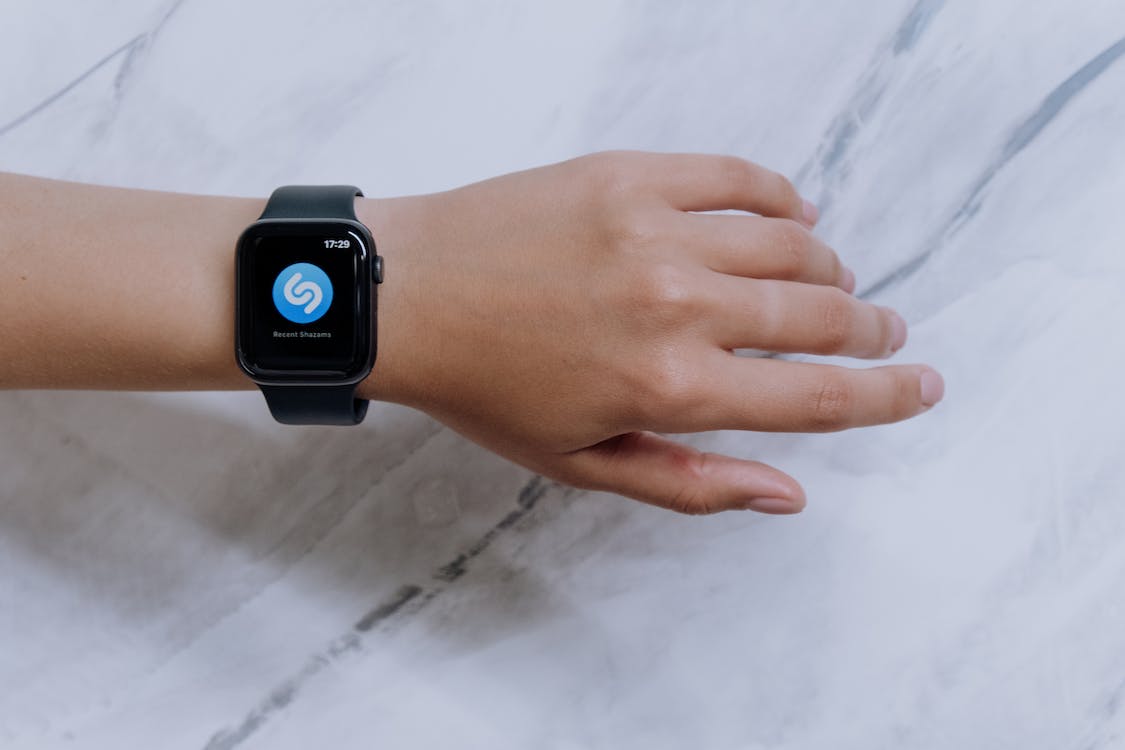
Discover the ultimate guide to finding music concerts in your area using Shazam. Get ready to rock with this helpful step-by-step tutorial!

Learn how to disable the Xbox Game Bar on Windows 10 and 11 with our step-by-step guide.

Ensure a smooth iOS update by charging your iPhone, resetting network settings, and clearing storage space.