

Learn how to add a voice PIN to your Amazon Echo for enhanced security and privacy. Protect your personal information with this simple guide.
In today's world of virtual assistants and smart devices, it is important to prioritize security and protect our personal information. One way to enhance security on your Amazon Echo device is by adding a voice PIN. This step-by-step guide will walk you through the process of adding a voice PIN to your Alexa-enabled device, including the Echo, Echo Dot, Echo Show, Echo Spot, and Echo Plus. By following these simple instructions, you can ensure that your voice purchasing transactions are secure and safeguard your account from unauthorized access.
Launching the Alexa App
Step 1: Begin by opening the Alexa app on your iOS or Android device. You can find the app in your app drawer or home screen.
Step 2: Look for the Menu icon, which is typically located in the top-left corner of the app. It is represented by three horizontal lines.
Accessing Settings
Step 3: Tap on "Settings" from the menu options. This will take you to the settings menu, where you can customize various aspects of your Amazon Echo device.
Navigating to Alexa Account
Step 4: Scroll down the settings menu until you find "Alexa Account" and select it. This section contains options related to your Alexa account settings.
Enabling Voice Purchasing
Step 5: Within the "Alexa Account" section, locate and click on "Voice Purchasing." This option allows you to manage the settings related to voice-controlled purchasing.
Activating Voice Code
Step 6: Once you are in the "Voice Purchasing" section, enable the feature by turning on the toggle switch for "Voice code." This ensures that a voice PIN will be required to complete any voice purchasing transactions.
Setting up a Voice PIN
Step 7: In the "Voice Purchasing" section, you will find a field labeled "Enter a voice code." Enter a four-digit code of your choice in this field. Make sure to choose a PIN that is easy for you to remember but difficult for others to guess.
Saving Changes
Step 8: After entering your desired voice PIN, click on the "Save" button to apply the changes. Your new voice PIN is now set up and ready to use.
By following these simple steps, you can easily add a voice PIN to your Amazon Echo device and enhance the security of your voice purchasing transactions. This additional layer of protection ensures that only authorized users can complete purchases using your device. Taking a few minutes to set up a voice PIN can go a long way in protecting your personal information and preventing unauthorized access to your account.
We encourage all Amazon Echo users to take advantage of this feature and prioritize security in their smart home setup. By adding a voice PIN, you can enjoy the convenience of voice-controlled purchasing while maintaining peace of mind. Remember to choose a unique voice PIN and avoid sharing it with others.
In conclusion, securing your Amazon Echo device is as important as enjoying its features. By following the steps outlined in this guide, you have taken a significant step towards ensuring the security of your voice purchasing transactions. Embrace the convenience of voice-controlled technology, knowing that your personal information is protected.
Learn how to easily disable the yellow flashing light on your Amazon Echo with our step-by-step guide.

Learn how to make your Google Slides play automatically and save time. Create engaging presentations with this simple guide.
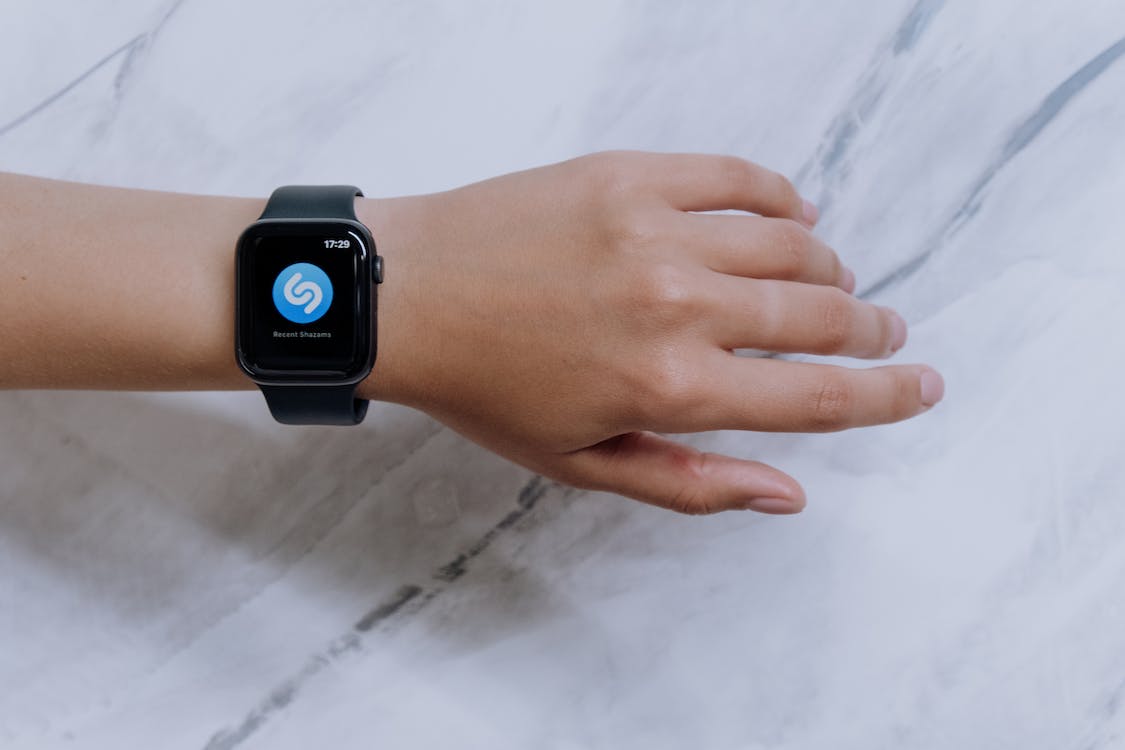
Discover the ultimate guide to finding music concerts in your area using Shazam. Get ready to rock with this helpful step-by-step tutorial!

Learn how to disable the Xbox Game Bar on Windows 10 and 11 with our step-by-step guide.

Ensure a smooth iOS update by charging your iPhone, resetting network settings, and clearing storage space.

Secure your iPhone apps with a password or Face ID using Screen Time and Guided Access. Learn how to lock apps and set limits with our step-by-step guide.

Discover efficient ways to obtain Cementing Paste in Ark: Survival Ascended by taming Beelzebufo or finding it in Giant Beaver Dams.

Learn how to make Medical Brew in Ark: Survival Ascended by gathering Tintoberries, creating Narcotics, and cooking the ingredients for a quick and effective health restoration solution.

Discover the best ways to get Chitin in Ark Survival Ascended - from defeating insect-like creatures to harvesting dinosaur carcasses with an ax or hatchet.