
Learn how to activate Private Sessions on Spotify effortlessly. Follow simple steps on Windows PC or mobile devices to enjoy a private listening experience.
Title: How to Turn on Private Sessions on Spotify: A Friendly Guide
In this digital age, privacy has become increasingly important. We want to have control over what we share and who has access to our personal information. When it comes to music streaming, Spotify is one of the most popular platforms, allowing users to enjoy millions of songs at their fingertips. However, there may be times when you want to keep your music choices private. That's where private sessions on Spotify come in handy.
Enabling private sessions on Spotify is a simple and straightforward process that requires just a few steps. In this guide, we will walk you through the process of turning on private sessions on both Windows PC and mobile devices (Android, iPhone, or iPad). So, let's get started!
I. Enabling Private Sessions on Windows PC
A. Open the Spotify app
To begin, make sure you have the Spotify app installed on your Windows PC. If you don't have it, you can easily download it from the official Spotify website. Once you have the app installed, open it by clicking on the Spotify icon on your desktop or by searching for it in the Start menu.
B. Sign in to your account
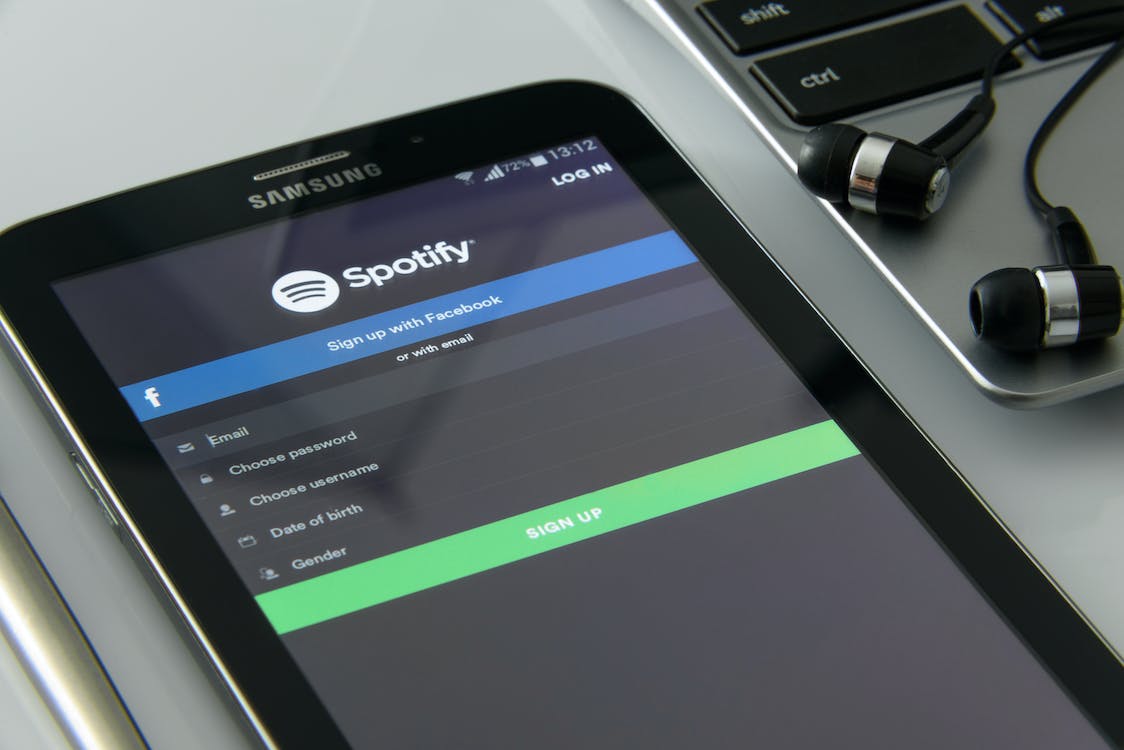
After launching the app, you will need to sign in to your Spotify account. Enter your username and password in the provided fields and click on the "Log In" button.
C. Locate the Profile Icon
Once you are logged in, look for the profile icon in the top-right corner of the app. The profile icon is represented by a circular image with your profile picture (if you have set one) or a generic avatar.
D. Select Private Session option
Click on the profile icon, and a drop-down menu will appear. In the drop-down menu, scroll down and locate the "Private session" option. Click on it to activate private sessions.
E. Confirm successful activation
Once you have selected the "Private session" option, you will notice a lock icon appearing next to your profile picture or avatar. This lock icon indicates that private sessions are now enabled. You can now enjoy your music without worrying about it being visible to others.
II. Enabling Private Sessions on Mobile Devices (Android, iPhone, or iPad)
A. Open the Spotify app
To begin, ensure that you have the Spotify app installed on your mobile device. You can download it from the App Store (for iPhone and iPad) or the Google Play Store (for Android). Once you have the app installed, locate the Spotify icon on your home screen or app drawer and tap on it to open the app.
B. Tap the Home button
After launching the app, you will be taken to the Home screen. To access the settings, tap on the Home button located at the bottom of your screen. This button usually has a house icon and will take you back to the Home screen whenever you tap on it.
C. Access Settings
On the Home screen, locate the settings button in the top-right corner of the app. The settings button is represented by three horizontal lines or dots. Tap on it to access the settings menu.
D. Scroll down to Private Session option
Once you are in the settings menu, scroll down until you find the "Social" section. In this section, you will see the "Private Session" option. Tap on it to proceed.
E. Enable Private Session toggle button
After tapping on the "Private Session" option, you will see a toggle button next to it. Tap on the toggle button to enable private sessions. Once the toggle button turns green, it indicates that private sessions are now activated.
F. Similar process as enabling Spotify Wrapped
It's worth mentioning that enabling private sessions on Spotify follows a similar process to activating Spotify Wrapped. If you are familiar with enabling Spotify Wrapped, you will find the process of enabling private sessions quite similar and intuitive.
Enabling private sessions on Spotify is a quick and easy process that ensures your music choices remain private. Whether you're using a Windows PC or a mobile device, turning on private sessions requires just a few simple steps. By following the instructions outlined in this guide, you can enjoy your favorite music without worrying about it being visible to others.
"
If you encounter any difficulties during this process, remember to refer to official documentation or contact Spotify's support for further assistance. So, go ahead and enable private sessions on Spotify to enjoy a private and personalized music experience!
Discover why the Spotify commercial is trending in the US. Explore its impact, audience reactions, and the creative strategies behind its success.
Discover the deeper meaning behind Spotify's "Music for Every Mood" commercial. Explore how it connects emotions and music in a captivating way.
Discover the artist behind the captivating Spotify Wrapped campaign ad. Uncover their music journey and impact on the streaming world today.
Learn how to resolve Spotify's "could not be started" error code 17 on Windows. Follow these steps to fix the issue: ensure the Windows Installer service is running, install Spotify in compatibility mode, allow Spotify through your firewall, use a VPN, change your profile's regio

The World Series of Poker (WSOP) is expanding its reach by including an online component, making it more accessible to poker enthusiasts.

Learn how to fix the Naraka Bladepoint "Disable HVCI KMCI Error" issue with our step-by-step guide. Get back to gaming without any interruptions!

Learn how to fix the issue of Daedalian keys vanishing and not appearing in Hogwarts Legacy. Get back to unlocking magical secrets!

Learn how to conquer the Depulso Puzzle Room 2 in Hogwarts Legacy with our expert guide. Solve the mystery and progress in the game.

Discover the step-by-step guide to get Minecraft for free on PS4. Unlock endless adventures and build your virtual world without spending a dime.

Learn how to change your name in Clash of Clans easily with our step-by-step guide. Upgrade your gaming experience now!

Discover effective techniques to eliminate lagging issues on your PS4 while playing Diablo 4. Enhance your gaming experience now!