
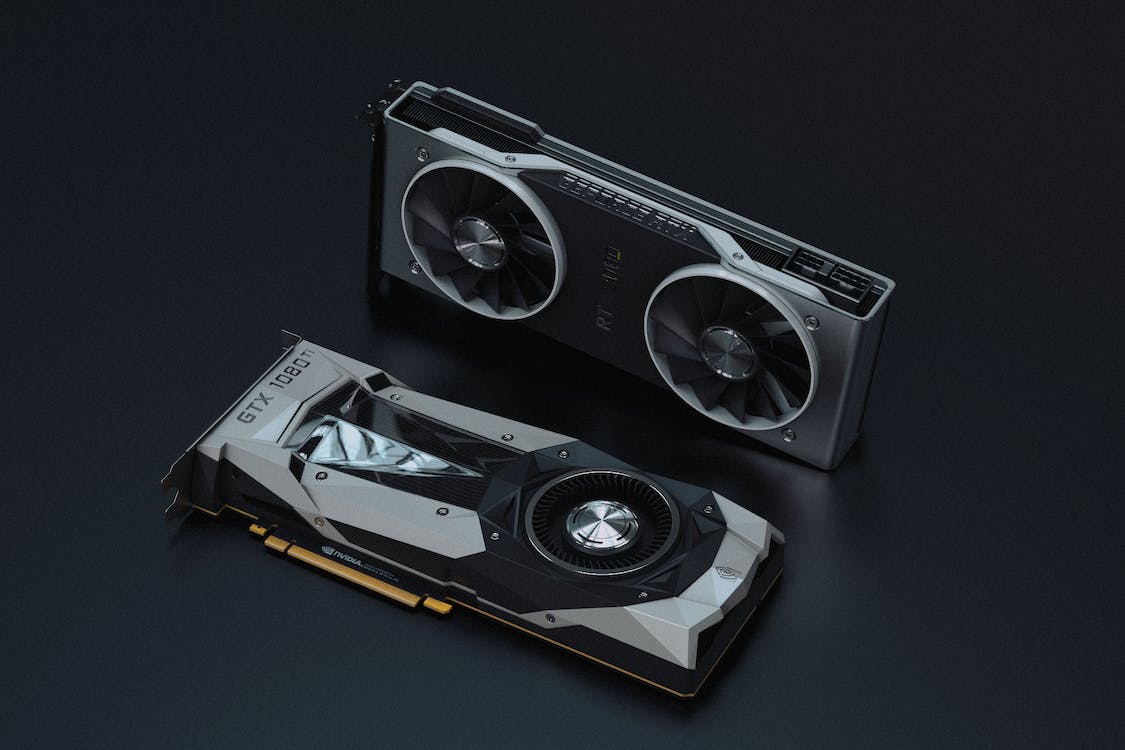
Learn how to overclock your GPU (Graphics Card) and maximize its performance with our step-by-step guide. Increase your gaming experience and unleash the full potential of your graphics card.
If you're looking to maximize your graphics card's performance, overclocking is a great way to achieve that. However, it's crucial to approach this process with caution to avoid any potential risks. In this guide, we'll walk you through the steps of safely overclocking your GPU.Before we dive into the world of GPU overclocking, it's essential to understand the safe boundaries for your specific graphics card. Take some time to research and familiarize yourself with the manufacturer's specifications regarding maximum overclocking limits. Each graphics card has a different maximum overclocking potential, and it's important not to push your card beyond these limits to prevent damage.
To accurately measure the impact of your overclocking endeavors, it's recommended to install a benchmarking tool. This will allow you to assess your GPU's performance before and after tweaking its settings. Not only will this help you gauge any improvements made but also provide valuable stability testing results. Some popular benchmarking tools include 3DMark, Unigine Heaven, and FurMark.
Now that you're ready to start overclocking, it's time to choose reliable overclocking software. There are several options available, but it's best to stick with reputable tools like MSI Afterburner, EVGA Precision X1, ASUS’s ROG Strix, or PowerColor Red Devil. These user-friendly applications provide intuitive interfaces and comprehensive control over various aspects of your graphics card.
When venturing into overclocking territory, remember that patience is key. Incrementally increase the clock speed by 50 MHz at a time while carefully monitoring the effects on your GPU's performance. It's also important to keep an eye on the temperatures of your GPU. As you increase the clock speed, the GPU will generate more heat, so ensure that you have adequate cooling in place.
After each incremental adjustment in clock speed, keep a close eye on your GPU's behavior. If you notice any adverse effects such as crashes or worse performance than before, reduce the clock speed accordingly until stability is regained. Stability is crucial when overclocking, as an unstable GPU can lead to crashes, system freezes, or even permanent damage.
Once you've achieved noticeable improvements in performance without encountering any stability issues or alarming symptoms, congratulations! You can consider your overclocking process successful. However, it's still recommended to continue testing for an extended period to ensure long-term stability. Run demanding games or benchmarks for several hours to ensure that your GPU can handle the increased clock speeds without any issues.
It's important to keep in mind that aggressive overclocking can have negative consequences. Here are some warning signs that indicate your overclocking attempts might be too aggressive:
1. System crashes or recurring Blue Screen of Death (BSOD) errors: If your system crashes frequently or shows BSOD errors after overclocking, it's a clear indication that you have pushed your GPU beyond its limits.
2. Worse performance compared to the original settings: Overclocking is intended to improve performance, but if you notice that your GPU is performing worse after overclocking, it might be a sign that you need to dial back the clock speeds.
3. Unusual burning smells or physical changes in your GPU: If you notice any strange odors or physical changes like discoloration or warping in your GPU, immediately stop overclocking and revert to default settings. These signs could indicate that your GPU is being pushed too hard and could potentially be damaged.
4. Temperature spikes exceeding 90°C: Overclocking generates more heat, so it's crucial to monitor your GPU's temperature. If you notice that the temperatures are consistently exceeding 90°C, it's a sign that your GPU is being pushed too hard. High temperatures can lead to thermal throttling or even permanent damage to your GPU.
If you encounter any of these signs, immediately revert your GPU's clock speed back to its default settings and reassess the situation. It's better to be safe than sorry when it comes to overclocking.
In conclusion, always prioritize safety when overclocking your GPU. Before you begin, back up any important data, invest in a reliable power supply, and ensure proper cooling with a quality graphics card cooler. With patience and careful monitoring, you can safely unlock the full potential of your GPU and enjoy improved gaming experiences. Happy overclocking!
To learn how to fix Event ID 153: Cannot find source nvlddmkm here is a step-by-step guide that will help you.
Many users have been asking us NPU vs. GPU: the difference, so with this guide you can learn the differences between both terms.

Learn how to effectively use the iMessage Group Chat feature on your iPhone and iPad. Stay connected and communicate with multiple contacts effortlessly.

Discover how to easily view and maximize your Microsoft Rewards on the Xbox Series X/S. Gain insights and tips to make the most out of your gaming experience.

Learn how to easily restore deleted contacts on your iPhone. Follow our step-by-step guide to retrieve your important contacts and never lose them again.

Discover how to enable Variable Refresh Rate (VRR) specifically for gaming on your Xbox Series X/S. Optimize your gameplay experience with this step-by-step guide.
Fixing a mouse issue in Starfield? Discover effective solutions and get back to gaming with our step-by-step guide.

Learn how to fix Starfield game disc installation issues on your Xbox Series X/S. Follow our step-by-step guide to ensure a smooth gaming experience.

Learn how to fix the issue of the Messages app constantly crashing on your iPhone. Resolve the problem and get back to smooth messaging on your device.

Discover the elusive Deimos Staryard in Starfield and unravel its mysteries. Find out where to locate it and embark on an epic space adventure.