

Discover the step-by-step process to obtain the coveted Neuroamp Prototype in Starfield. Unlock its potential and dominate the game like never before.
Welcome to our friendly guide on how to obtain the coveted Neuroamp Prototype in Starfield. In this blog post, we will walk you through the step-by-step process so that you can bypass the security door in the Research and Development facility and claim your prize. Starfield is a popular video game known for its immersive gameplay and challenging missions. The Neuroamp Prototype is a valuable item that enhances the player's abilities, making it a highly sought-after item. Let's dive into the details and get started on this exciting quest!
Section 1: Gaining Access
The first step to obtaining the Neuroamp Prototype is gaining access to the Research and Development facility. To do this, you will need an R&D ID card, which can be acquired through various means in the game. Once you have the card, head towards the security door that leads to the facility.
At the security door, you have two options: shooting down the guards or using stealth to eliminate them. The choice is yours, and it depends on your playstyle and the skills of your character. If you choose to eliminate the guards stealthily, make sure to take them out one by one without raising any alarms. If you prefer a more action-oriented approach, engage in combat and clear the room before proceeding.
Section 2: Finding Faye's Computer
After gaining access to the Research and Development facility, the next step is to find Faye's computer. Faye is a prominent scientist in the game world and her computer holds the key to unlocking the Neuroamp Prototype. Head towards the entrance on the side of the room, where you will find a research desk.
Search the research desk thoroughly, and you will eventually come across Faye's computer. If you have the Overseer program, use a Digipick to run it through Faye's computer. The Overseer program is a hacking tool that allows you to access restricted information and systems. It will provide you with the necessary access codes to proceed further in obtaining the Neuroamp Prototype.
If you don't have the Overseer program, don't worry! There is an alternative solution. Check the left side of the desk, and you will find a hidden compartment. Inside the compartment, you will find a backup access card. Grab the card and keep it with you for later use. It's always good to have a backup plan!
Section 3: Hacking into Faye's Computer
Once you have gained access to Faye's computer, the next step is to hack into it and access crucial information. This step is crucial in obtaining the Neuroamp Prototype. If you have the Overseer program, run it through Faye's computer using the Digipick. This will initiate a hacking mini-game where you will need to solve puzzles and bypass security measures to gain access to the program necessary for obtaining the Neuroamp Prototype.
If you don't have the Overseer program, you will need to rely on your hacking skills. Use your character's hacking abilities to navigate through the computer's security systems. Solve puzzles, bypass firewalls, and crack codes to gain access to the necessary program. This will require patience and skill, but the reward will be worth it.
Section 4: Returning to Secured Door
After successfully hacking into Faye's computer and obtaining the necessary program, it's time to return to the secured door. Make your way back to the door, ensuring that you have completed all the tasks at Faye's computer.
Once you reach the secured door, use your R&D ID card to gain access through the locked door. The card will grant you entry, allowing you to proceed further towards obtaining the Neuroamp Prototype.
Section 5: Retrieving Neuroamp Prototype
Congratulations, you have made it this far! Unlock and open the door, revealing your precious Neuroamp Prototype inside. Take a moment to admire your achievement. The Neuroamp Prototype is a powerful item that will enhance your character's abilities and give you an edge in the game.
Now that you have obtained the Neuroamp Prototype, it's time to escape from the building and return to the SSNN Field Office with your valuable loot. Be cautious, as the facility may have additional security measures or enemies that you need to navigate through. Use your skills and wit to overcome any obstacles in your path.
Congratulations once again! You have successfully obtained the highly sought-after Neuroamp Prototype from Starfield's Research and Development facility. This guide has provided you with a step-by-step process to bypass the security door, find Faye's computer, hack into it, and retrieve the Neuroamp Prototype. Remember, this guide was designed with a friendly tone of voice, so feel free to refer back to it whenever you need assistance.
Today we will be addressing, in detail, everything about whether you should Talk or Kill Sahima in Starfield; so pay attention to what you need.
I will guide you where should you kill or save Sahima in Starfield?
If you keep reading you'll be able to learn Where To Find The Alchiba System in Starfield, so stay tuned.
Learn how to obtain the Waterlogged Boot in Palia and unlock its secrets in this comprehensive guide. Discover the methods and locations to find this rare item and enhance your Palia gameplay.

Discover the secrets of healing in Sunkenland and embark on a journey towards health and restoration. Learn effective techniques and tips to heal your mind, body, and soul in this insightful guide.
Learn how to fix the issue of Sunkenland getting stuck on the title screen. Troubleshooting tips and step-by-step instructions to resolve the problem and get back to gaming.

Unlock the secrets of obtaining the elusive Briar Daisy in Palia with this comprehensive guide. Master the techniques and strategies to add this coveted item to your collection.

Learn how to obtain the coveted Ocean Crossing Combat Log in Armored Core 6. Master the strategies and techniques needed to conquer the challenges of this epic combat experience.

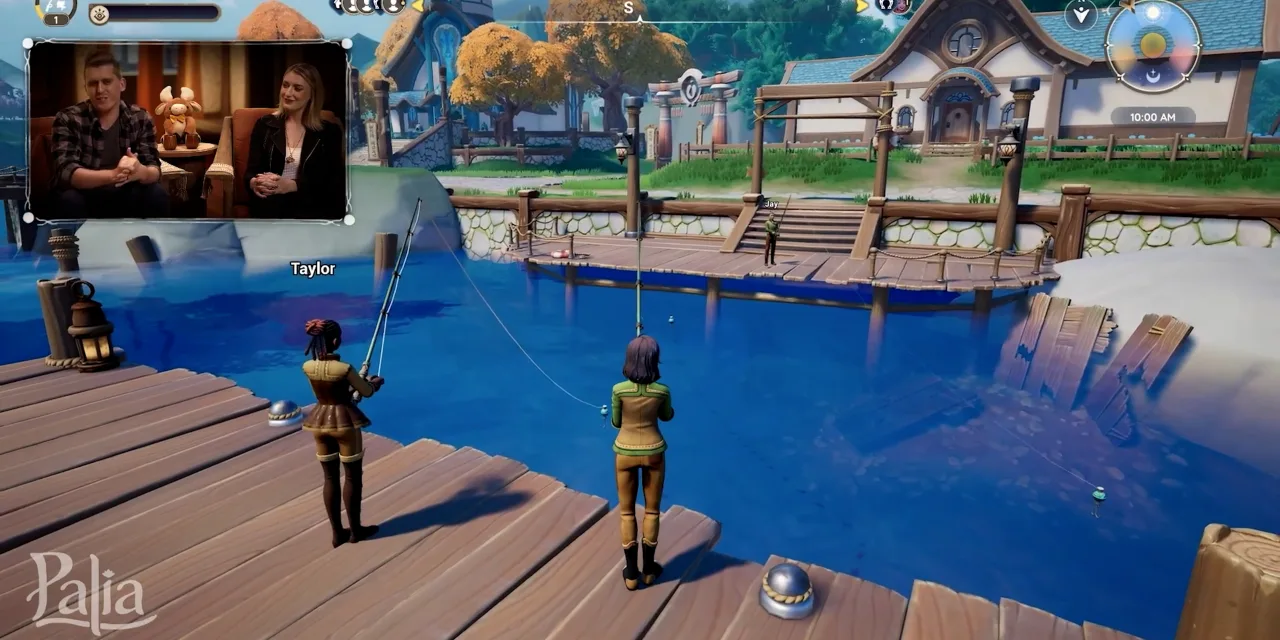
Learn how to effectively use place pebble in Palia with our step-by-step guide. Enhance your gameplay and master this essential feature in no time.
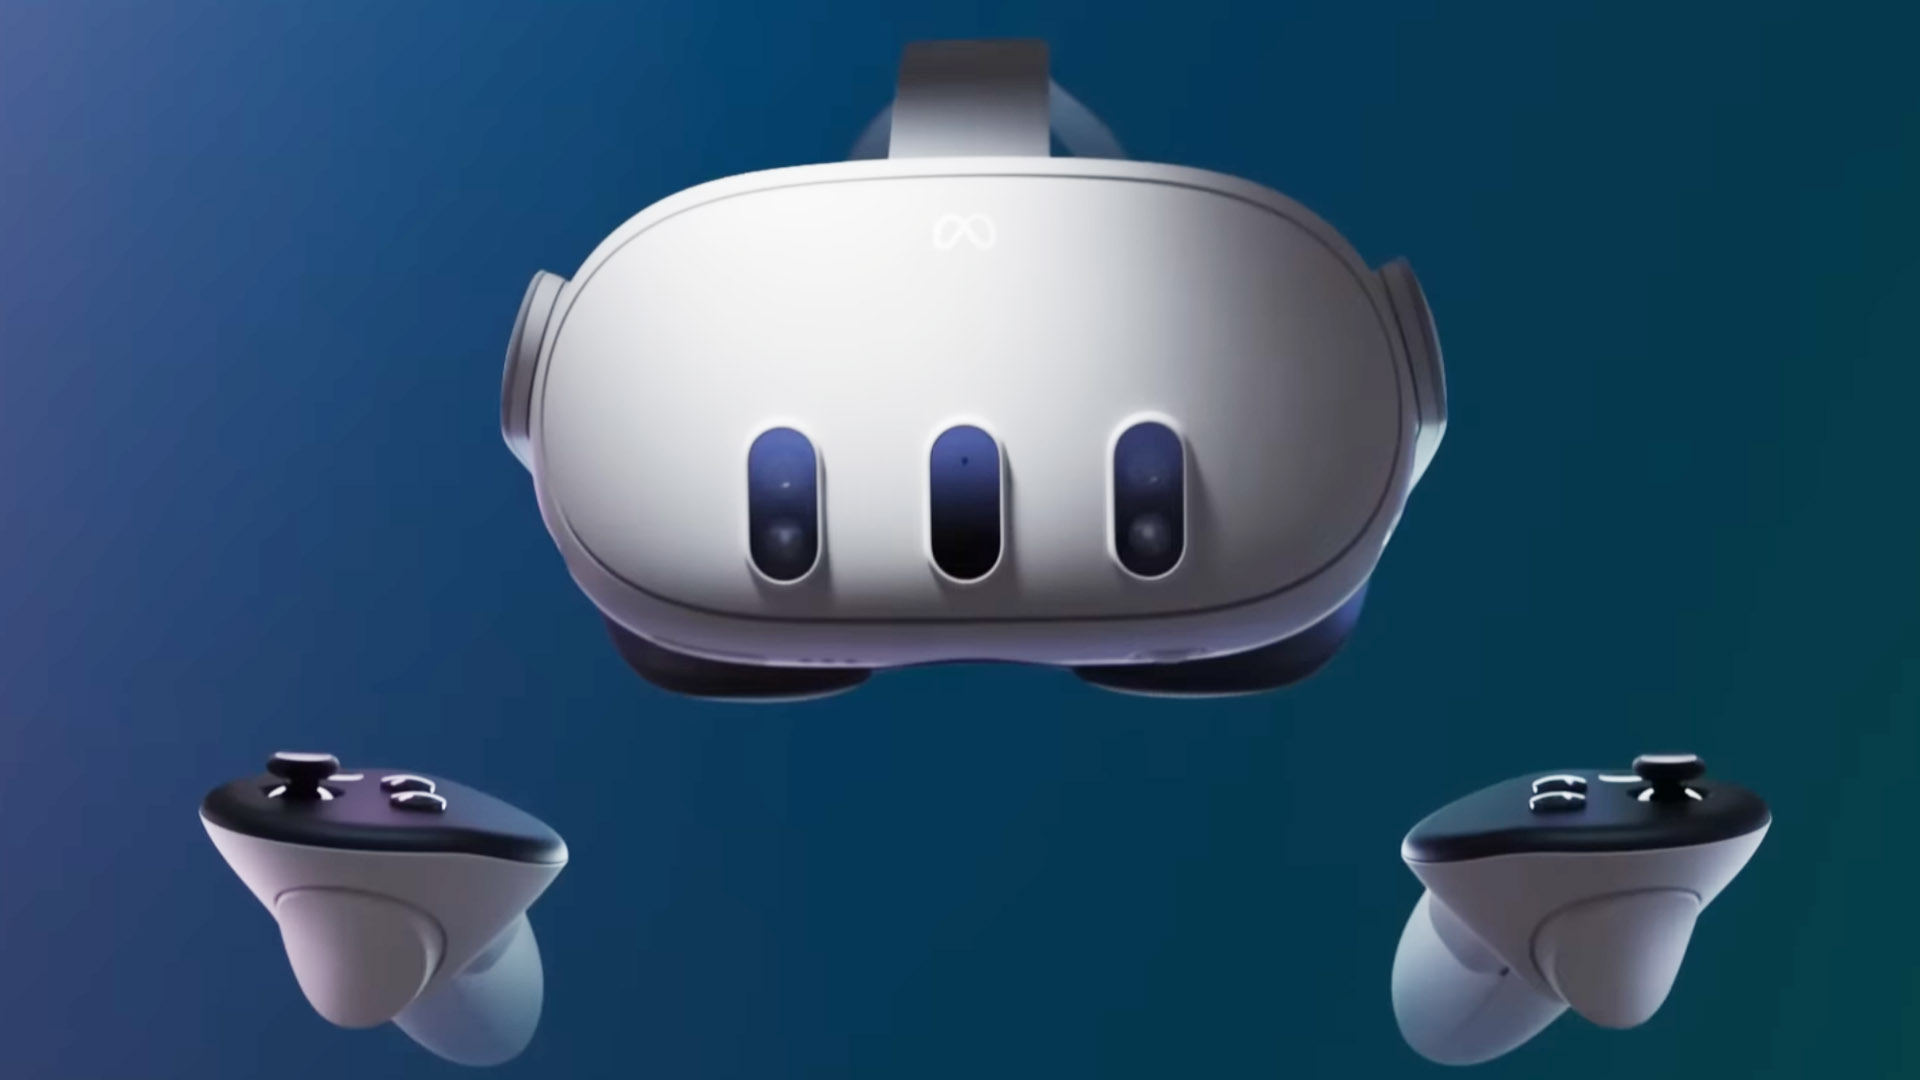
Learn how to easily connect Bluetooth headphones to your Meta Quest 3 and enjoy wireless audio while immersing yourself in virtual reality.

Learn how to easily connect your AirPods to your Meta Quest 3 for an immersive audio experience. Follow our step-by-step guide and enjoy wireless audio while exploring virtual reality.