

Learn how to set up Cargo Link in Starfield with this comprehensive guide. Find step-by-step instructions and expert tips to optimize your cargo shipping process efficiently.
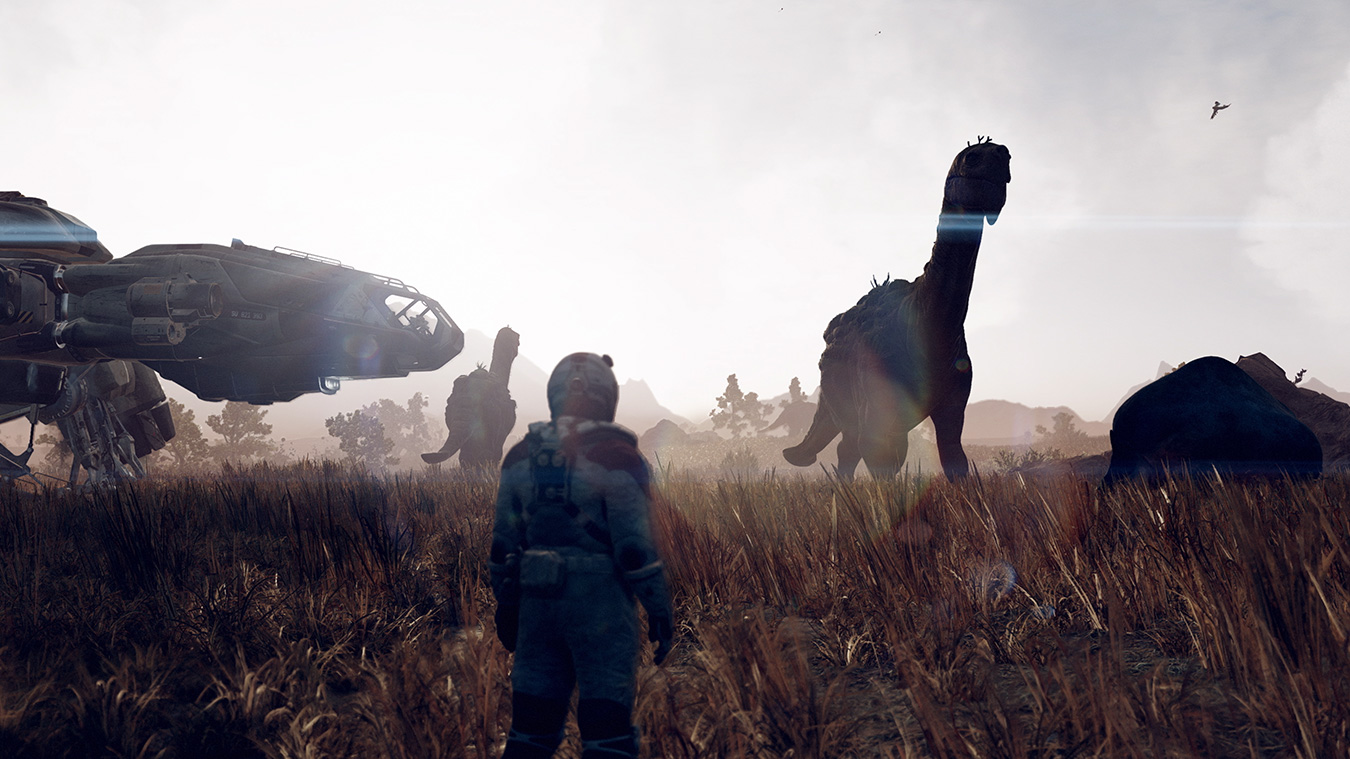
In the vast and remote universe of Starfield, efficient resource management and transportation between outposts are essential for survival. One of the most effective ways to achieve this is by setting up a Cargo Link. This advanced system allows for seamless transfer of resources, ensuring that your outposts are always well-stocked and thriving. In this comprehensive guide, we will walk you through the process of setting up a Cargo Link in Starfield, ensuring a smooth experience every step of the way.
Section 1: Locating the 'Miscellaneous' Section in the Build Menu
To begin setting up your Cargo Link, you need to familiarize yourself with the build menu and locate the 'Miscellaneous' section. Follow these steps to get started:
1. Open the build menu by pressing the designated key on your controller or keyboard. This key may vary depending on your platform, so check your control settings if unsure.
2. Once the build menu is open, navigate through the options until you find the 'Miscellaneous' section. It is usually found towards the end of the menu.
3. Click on the 'Miscellaneous' section to expand it and reveal additional building options. This will allow you to access the Cargo Link option.
Section 2: Gathering Materials
Now that you've found the 'Miscellaneous' section in the build menu, it's time to gather the necessary materials for constructing your Cargo Link. Follow these steps to ensure you have everything you need:
1. Check the required materials listed next to the Cargo Link option in the build menu. These materials can include common resources like metal, wiring, and energy cells.
2. Gather all the required materials from your inventory or nearby storage containers. Make sure you have enough resources before proceeding with the build.
3. If you find that you are missing any materials, you may need to venture out into the universe to gather them. Explore planets, asteroids, and other celestial bodies to find the necessary resources.
Section 3: Building the Cargo Link on an Outpost with a Beacon
Once you have gathered all the necessary materials, it's time to construct your Cargo Link on an outpost with a beacon. Follow these steps to ensure proper installation:
1. Find an outpost that already has a beacon set up. Beacons act as anchor points for the Cargo Link system, allowing for efficient resource transportation.
2. Position yourself near the beacon and open your build menu.
3. Select the Cargo Link option from the 'Miscellaneous' section in the build menu. This will activate the building mode for the Cargo Link structure.
4. Follow any on-screen prompts or guidelines to ensure the proper placement of your Cargo Link structure. Pay attention to the orientation and alignment of the structure to ensure optimal functionality.
Section 4: Configuring the Console and Establishing Connection
After successfully building your Cargo Link, it's time to configure its console and establish a connection. This will enable the smooth transfer of resources between outposts. Follow these steps to configure your Cargo Link:
1. Approach the console attached to your newly constructed Cargo Link. The console is the central control hub for managing the Cargo Link system.
2. Use the designated key or interact button to access and select the desired Cargo Link settings. These settings may include security protocols, transfer speed, and storage allocation.
3. Once you have selected your desired settings, press the designated key or interact button to establish the connection. This will activate the Cargo Link system, allowing for resource transfer between outposts.
Section 5: Transferring Resources
With your Cargo Link up and running, it's time to start transferring resources between outposts. Follow these steps to ensure a smooth and efficient transfer process:
1. Arrange for a cargo ship to land at regular intervals at the outpost with the Cargo Link. Cargo ships are specially designed for resource transportation and can carry large quantities of materials.
2. Load outgoing (red) containers onto the cargo ship from the linked location. These containers should be filled with the resources you wish to send to another outpost.
3. The cargo ship will transport these containers to their intended destination. Once the cargo ship arrives at the designated outpost, the resources will be unloaded and made available for use.
Section 6: Retrieving Resources from Other Outposts
In addition to sending resources, the Cargo Link system also allows you to retrieve materials from other outposts. Follow these steps to retrieve resources:
1. Access the incoming (green) container located at your outpost with the Cargo Link. This container is specifically designated for receiving resources from other linked outposts.
2. Retrieve the resources stored in this container as needed. These resources may have been sent from other outposts within your Cargo Link network.
Section 7: Switching Connections
If you need to switch connections to another Cargo Link within your network, follow these steps:
1. Interact with the console attached to your current Cargo Link. This will bring up the Cargo Link menu.
2. Select another available Cargo Link option from the menu. This option should correspond to the outpost or location you wish to switch to.
3. Confirm your selection using the designated key or interact button. This will initiate the connection switch and establish a new link with the chosen Cargo Link.
Setting up a Cargo Link in Starfield is a straightforward process that enables efficient resource management and transportation. By following the steps outlined in this guide, you can ensure that your outposts are always well-stocked and thriving. Remember to use the incoming container for extra storage while ensuring that the Cargo Link is inactive to avoid unintentionally sending resources elsewhere. With a properly set up Cargo Link system, you can navigate the vast universe of Starfield with ease and efficiency. Happy resource transporting!
Today we will be addressing, in detail, everything about whether you should Talk or Kill Sahima in Starfield; so pay attention to what you need.
I will guide you where should you kill or save Sahima in Starfield?
If you keep reading you'll be able to learn Where To Find The Alchiba System in Starfield, so stay tuned.

Learn the art of ship theft in Starfield with this comprehensive guide. Discover strategies, tips, and tricks to successfully hijack starships and dominate the galaxy.

Learn how to effectively utilize the fabricator tool in Starfield with our comprehensive guide. Master the art of crafting and upgrading items to enhance your gameplay.

Learn the art of lockpicking in Starfield with expert tips and techniques. Master the skill and unlock hidden treasures in this immersive sci-fi game.

Uncover the secret locations of Scorpion's Sting in the highly anticipated game Starfield.
Discover the step-by-step guide to solving the Mantis Floor Puzzle in the mesmerizing game Starfield. Master the puzzle and unravel the secrets within.

Discover how to customize and personalize your ships in Starfield. Learn the tips and tricks to make your fleet truly unique and stand out among the stars.

Learn how to fix the Doordash Dasher app not working issue with our helpful guide. Get your delivery gig back on track and start earning again.

Learn effective ways to keep your phone data secure from hackers in this informative guide. Protect your personal information and safeguard against potential cyber threats.