
Here we leave you a step-by-step guide so you can learn How to make a backup of Raspberry Pi.
Whatever OS you're running, there's a way to make a backup of your system. Nobody likes losing their projects in case of a system failure. Here, we show you how to create a backup of a Raspberry Pi using Rsync easily. This command-line utility can't create a system backup and restore it at a later date.
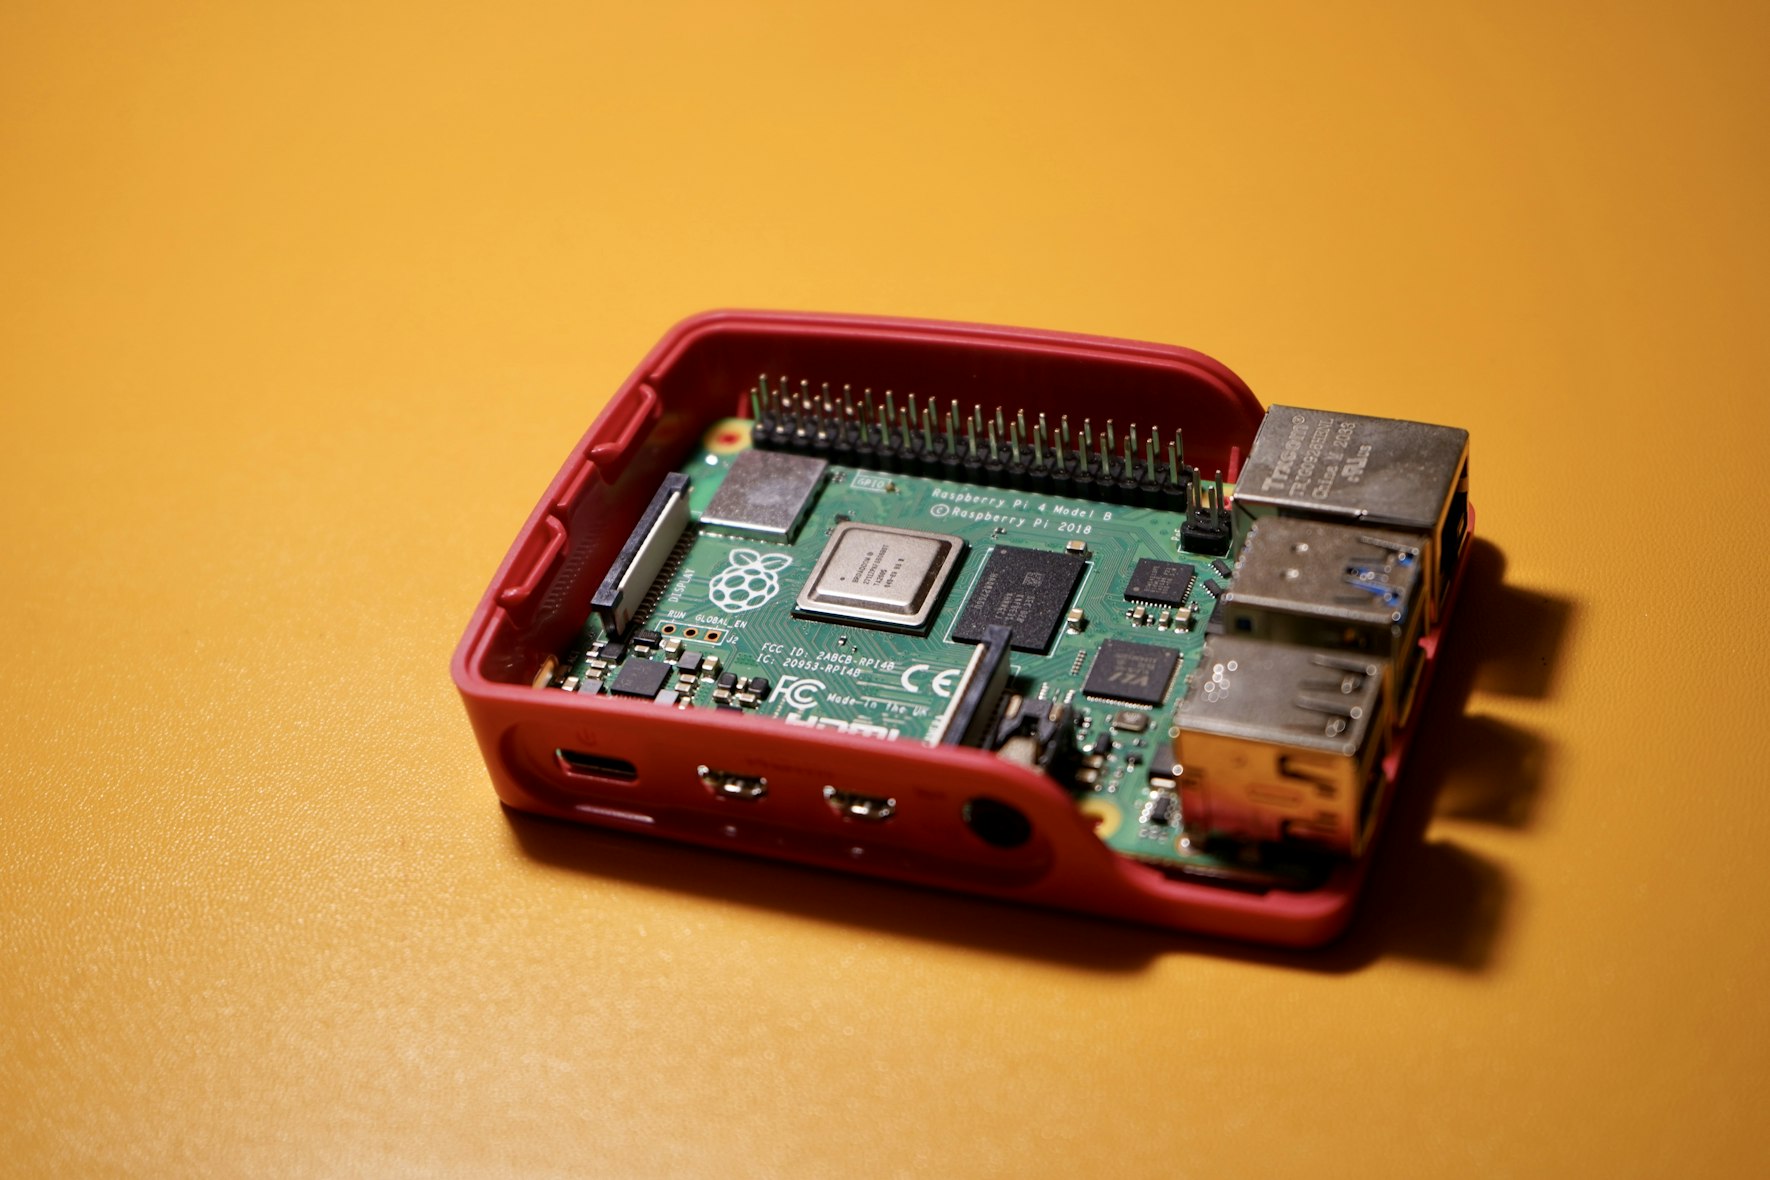
Create a Backup to Safeguard Raspberry Pi.
This tutorial will guide you on how to create a backup of your Raspberry Pi, configure it to run at any specific time, and restore it from that backup.
To do a backup, Rsync is used. Create a full backup using Cronjob and then restore from that backup. Now we can explain them in detail.
1-Backup your data using Rsync.
Rsync, a command-line utility program, may be particularly handy for you if you synchronize or transfer data regularly. Using this utility, it's easy to create backups of files because it transfers only the modified parts of a file. This saves your time as well as reduces the resource usage. This is the backup utility to be used in case of frequently edited large-sized files and directories.
Even though this package is included in most installations of Raspberry Pi by default, we'll check and install it just in case. Open Terminal and run the following command to do this.
install apt-get with sudo
If you get the message that rsync is already the newest version when this feature is installed, then you can go forward with the backup.
Next is the destination where you want to save your backup. This could be a folder on your computer, an external drive, Network-Attached Storage, or even another machine on your network.
Run the following command to back up data.
command: rsync -av --delete /path/to/source /path/to/destination
Now, let us explain this command in simpler terms for you.
The archiving of files ensures that their properties, including timestamps and permissions, are preserved.
v or verbose option can be used to get an elaborate list of the files being copied.
–When the files get deleted from the source, they get permanently deleted from the destination.
After verifying the source and destination path, run the command.
Verify after taking the backup, you can use the following command.
The following command will sync the files at the source and destination paths: rsync -avn --delete
If there are no files listed, your backup is up to date.
No. 2: Create a Cronjob for Complete Backup
Those familiar with Linux would know that the Crontab offers an option for scheduling backups. First, though, let's go over the steps to fully backup your Raspberry Pi.
Have an SD card or external drive ready, storing the backup; we are doing a full backup. The backup drive must be formatted using a Linux-compatible file system to preserve the file permissions, such as ext4.
Command line: sudo rsync -avxhP --delete / /backup-location
Make a note of all the excluded directories you want to be in exclude list before running this command of backup. After listing them out, whisk them to a file call it excluded-directories.txt, After having that, you may run the following, Running the following command would rsync the files removing all the folders which aren't part of the back-up to: /home/backup/rootfs/.
This will perform a complete backup from Raspberry and excludes the listed directories in excluded-directories.txt file. Our backup files will fall in the /home/backup/rootfs/ directory.
First, we need to create a new folder named backup at the path of /home/pi address then we are able to prepare a script for scheduling our backup.
#!
/bin/bash # Set path variables for backup and log Path to the backup file: "/home/pi/backup"The output is: "LOG_PATH="logfile-location/backup.txt" If the backup directory is not already mounted, then # check it. echo "Backup drive not mounted at $BACKUP_DIR" >> grep -qs "$BACKUP_DIR" /proc/mounts logpath.execute(1) fi # Record the time and date by echoing "Backup started: $(date)" >> To create a backup of the root file system, run the following command: sudo rsync -avxhP --delete / "$BACKUP_DIR/rootfs/" >> 1 & $LOG_PATH 2> # Verify that the backup was successful by echoing "Backup completed: $(date)" between Write the following: $LOG_PATH echo "----------------------" >> variable $LOG_PATH
Replace logfile-location/backup.txt with your actual backup location.
A file named backup-full.sh will be created.
Let's make backup-pi.sh run with superuser privileges before scheduling it. After typing crontab -e to schedule it, add the line 0 14 * * 6 into /backupscript-location/backup-full.sh
It is now safe to save the file.
step three: restore using the backup
Now we can understand the mechanism for restoring since we learned how to make a backup and when. So, simply execute this command if you need to restore the directory.
rsync -av /home/backup/rasp /home/backup/rasp1
will copy files from a backup location to the other one.
Installing the most recent version of Raspberry Pi OS onto a new SD card will get your system back. Once installed, boot your Pi and complete the initial setup. The next step is to connect the Pi to your backup disk. With everything connected and powered on, the following command is used to restore the backup. /home/backup/rootfs/ /run rsync -avxhP
When you are done, please shut down your computer and reboot.
That's it for today; we hope that with this you can create a backup of Raspberry Pi very easily.
Learn how to overclock your Raspberry Pi for improved performance. Follow our step-by-step guide to maximize your Pi's capabilities.
Learn how to create a Raspberry Pi virtual machine on your computer. Step-by-step guide to set up and use Raspberry Pi in a virtual environment.

To learn how to install and configure Windows Server Essentials Experience, here is a complete guide.

If you are wondering how to configure IPAM on Windows Server, here is a guide with the best answer.

Today in our guide we show you How to delete, remove, increase and disable ChatGPT memory.

If you don't know how to download mouse drivers for Windows 11, here we leave you a complete guide that will help you.

Here we leave you a complete article so you can learn How Camp Pets Work in Fallout 76

Today in our article we show you How to fix the Module Monitor Mode power failure in VMware.

If you don't know how to make a slow motion video in PowerPoint, here we leave you a complete article that will help you.

To learn how to convert an Excel file to JPG, here is a guide with the best answer.