

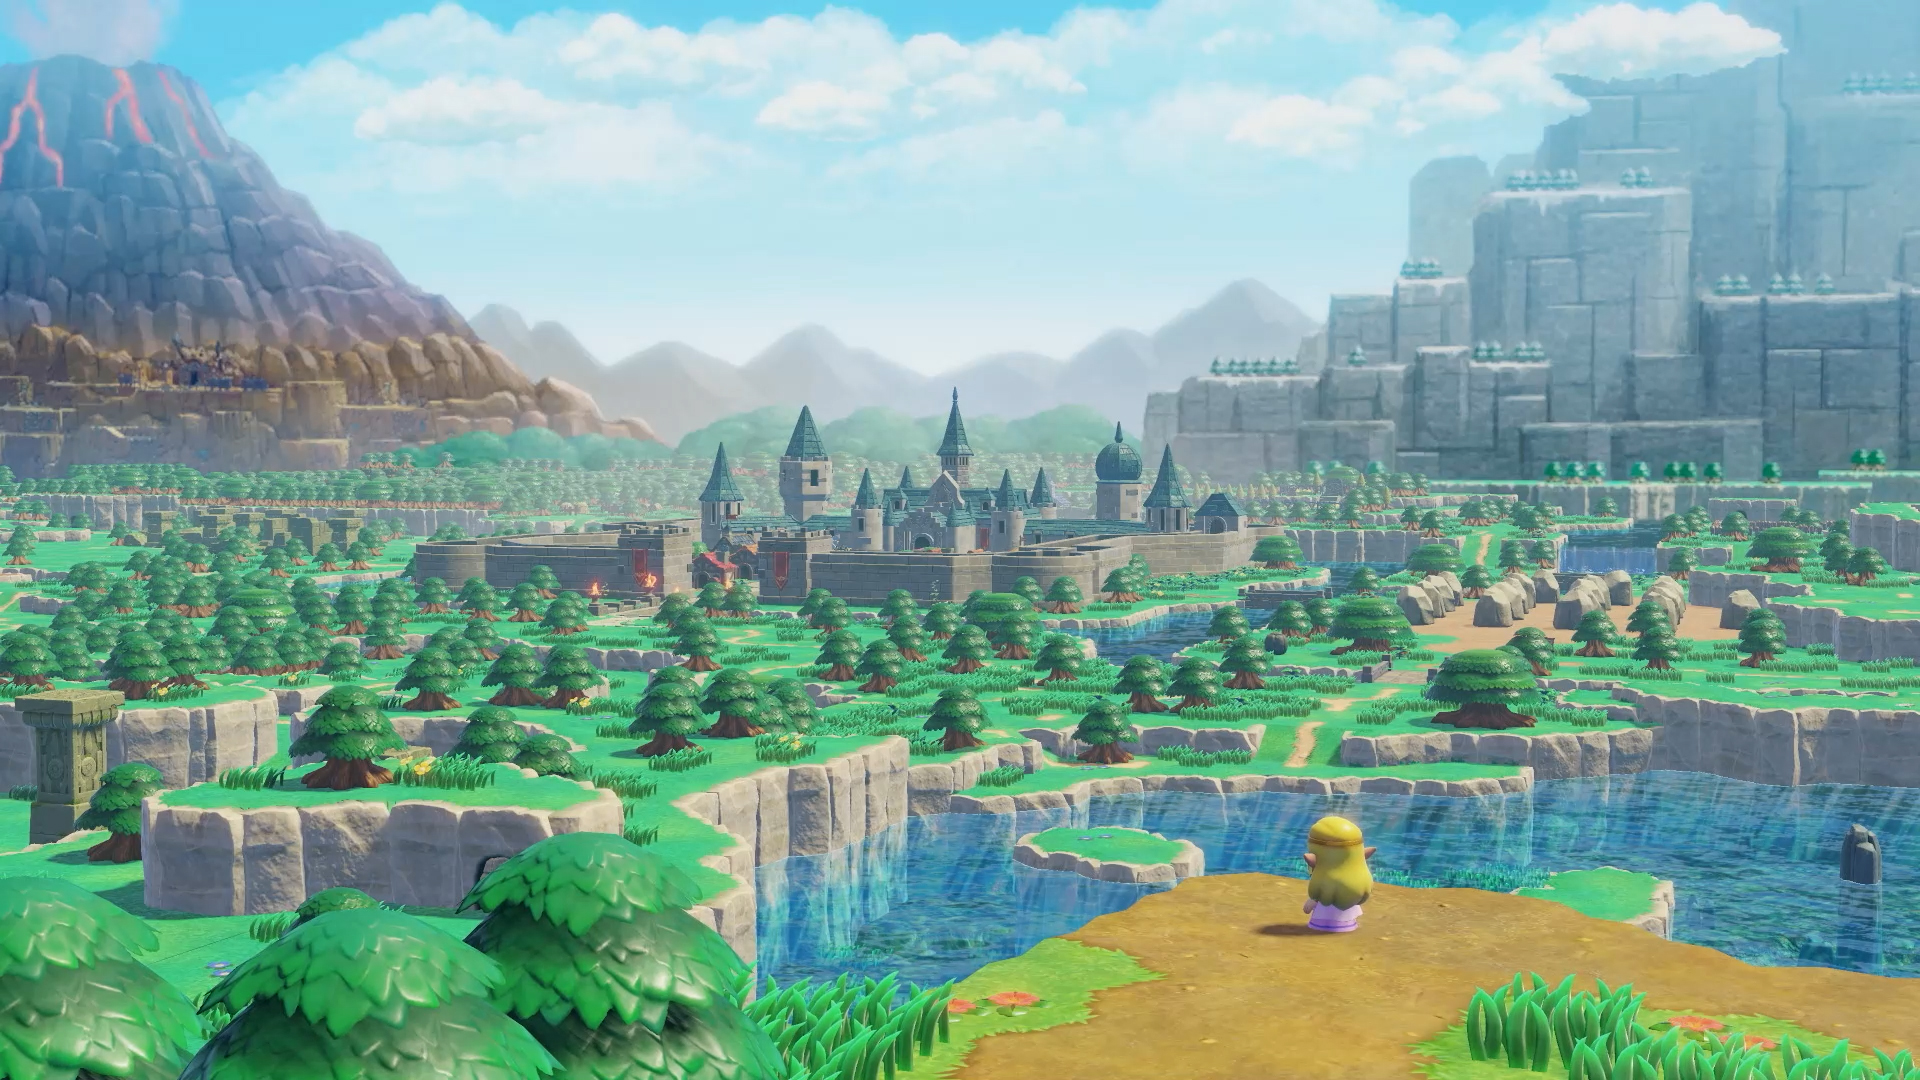
Preparati a imparare come completare Gerudo Sanctum in Zelda Echoes of Wisdom, perché qui ti spiegheremo come farlo.
In questo nuovo The Legend of Zelda: Echoes of Wisdom, i giocatori dovranno affrontare il secondo o il terzo dungeon noto come Gerudo Sanctum. Scopri come completarlo e ottenere tutti i tesori seguendo i passaggi qui sotto!
Guida completa al Gerudo Sanctum
Una volta arrivato al Gerudo Sanctum, segui Link mentre sale la scala. Verrai introdotto in una stanza con diversi cannoni a vento. Dirigiti a destra per scalare il muro, schivando i cannoni a vento sia alla tua sinistra che alla tua destra. Se riesci a fare questa impresa, salta giù quando raggiungi la cima, dirigendoti a sinistra del singolo cannone a vento: puoi spingere il masso sopra di esso. Quindi, sali la scala che il cannone stava mandando su per il vento. Verrai portato nella camera principale del dungeon. Una volta attivato il waypoint, dirigiti a ovest. La stanza inizierà a riempirsi di tessere volanti.
Non intralciarli mentre sfrecciano per la stanza; se riesci a distruggerne uno, otterrai una rupia rossa. Torna alla sala principale, vai a destra. Tira indietro la leva usando Bind il più possibile in modo che raggiunga la sporgenza prima che la porta si sigilli. Quindi, sali sul nastro trasportatore e crea una piattaforma per aiutarti a fare un balzo. Userai Bind nella stanza adiacente per fare a pezzi i muri e trovare il forziere con la piccola chiave all'interno. Ora che la porta è stata sbloccata, torna nella stanza principale e attraversala. Copia semplicemente una statua di serpente in questa stanza, quindi entra nella stanza con i due Mothula. In modalità Swordfighter, puoi saltare e tagliare questi Mothula volanti, oppure puoi evocare Boomerang Boarblins o Echoes a lungo raggio per eliminarli.
Vai nella stanza a sinistra e scendi le scale una volta sconfitto. Altri nastri trasportatori scendono in una fossa infinita, con una pila di scatole in cima. Hai due scelte: usare un Echo, come l'Ignizol per rompere le scatole, o fare un reverse-bind in un Mothula Echo per ignorare completamente la fossa. Scendi la scala in uno dei modi sopra menzionati. Devi prima sconfiggere il resto dei Caromodillos usando un Caromodillo Lv. 2 in questa stanza verticale prima di poter raccogliere il forziere contenente l'Uovo d'Oro. Avrai anche bisogno di un Holmill per poter scavare sottoterra. Continua a scendere e raggiungerai la stanza con la tavoletta e il waypoint.
This is your first main puzzle you will face while playing The Legend of Zelda: Echoes of Wisdom. A tablet will inform you to "seek two different tributes" and let you know that the first floor is where you can find the clues to do so. Note that before you leave, you should use Bind on the wall to the right of this room to open up a passageway. To get past the Holmill, head right and use the wind cannons to blow the sand off of the floor. This will reveal a tablet, which shows that original statue is blue with large tusks. To encounter a Poe, enter the main tablet chamber again and go left into the room.
Mothula will be able to attack the Poe from a distance because he will morph into a form that shoots lethal fire. After defeating him take his Echo and open the chest to obtain the Dungeon Map. When you exit the Sanctum and head south, you will see Link running around. Note the hole in the wall; if you build a couple of platforms you can reach a hidden room containing 35 rupees; and then follow him. Once you've left, follow Link through to the sandy area; watch your step so that you get the chest containing the red rupee inside. On the tower, Bind and twist the ladder on the right side so you can climb up it. Up there open the chest for the purple rupee.
Next move left and do the mini-platforming level. Eventually you will reach the very top of the Sanctum. Once defeated Mothula you can find, with the wind gun on the beach, a chest containing a monster stone. Starting from the Sanctum on the right, go down the stairs and take an old bed staircase to go to an area that is completely filled with ReDeads. The ReDeads in this hall can hardly be evaded since they stun you and give heavy damages. If you're feeling combative, a Mothula is a good long-range weapon or you can get decent damage by hitting them in the short hallway with a Caromodillo Lv. 2. Bind the tower again after you've gotten past them to grab a handle; this time it's behind a cactus on the left, but it will work either way. After spinning the tower, go to the top and find a statue of a hawk there, emulating it. Head back to the Sanctum and this time enter through the right-hand door. There's quicksand, but you'll be in another room with a timed lever puzzle as your reward.
While avoiding or killing the Sand Piranha, create platforms across the quicksand by using the C-buttons to change camera views, then go through the door opposite of where you came in. In this small room, there is a ReDead, a couple Gibdos, and several statues. To complete the task, lay down some Echoes, mirroring an Echo from the cat statue after using Swordfighter Mode and destroying most-if not all-of them. Use Bind on the statue in your way onto the next chamber. Approach and activate the waypoint to proceed to the next room with the dungeon miniboss. How To Fight Echo Link
You will have to fight Echo Link once more, but this time he will be completely unarmed in a large arena. Of course, with his new bow, Echo Link can run around the large arena with speed. The arena itself is not especially designed to be friendly, with all the heaps of sand and bottomless pits. As a matter of fact, it will be pretty hard to get near him in general, because his rate of fire is significantly higher than that of your Echoes. In the first phase, summon Echoes like Club Boarblins, which serve quite well close to him, and then walk up to him, fixing him in place. You can stun him for a couple of seconds just to give the Boarblins some time to close the distance to him and start hitting him. Once he's taken a few hits from them, a cinematic should trigger that shows he is now in his second phase. In this phase, you will also have to fight against three Echo Links of the same speed and his arrow strike that shoots in three different directions.
You can continue as you have. In order to lessen the possibility of excessive damage from the other two Echo Links, try to stay behind the arena walls as you pick them off one by one. The same technique you've used thus far will be effective. Your Echoes do the rest when you bind the Echo Link. If you defeat all three in Swordfighter Mode, you are allowed to shoot arrows.
Gerudo Sanctum Walkthrough Part 2
Once you've fought Echo Link again, head up the ladder, and, in Swordfighter Mode, fire off the bow to bring the Beetle Mound down, enabling you to pass into the right-hand lane. Once across, head up the ladder. Once the next waypoint has been activated you are able to halt the fire by placing stones along the conveyor belt. Make your way to the end of the two conveyor belts, clone the elephant statue, pull the small key from the chest. Warp instantly to the waypoint before the Echo Link fight, and back track to the quicksand room; use the little key on the door. Even without any obvious handles in this room, a means of progression can still be found by utilizing Bind on the off-coloured wall, pulling it open.
To continue past this room, all three torches in this room must be lit.
Engender an Ignizol and hurl it up at the top-right torch to illuminate it.
Rotate the fire-spewing turret so that it faces the bottom torch and bind. At the left low side of the room is a platform maker. OK, with the help of Bind shoot the wind cannon out over the abyss. If you are lucky you can now use a little of the old bedding to catapult the Ignizol into the torch. This opens a tablet. You'll learn that the second statue depicts a flying beastie. Go back to the central room with the central tablet. The entrance has now opened, thanks to the hawk and elephant statues.
Per sbloccare la porta del boss di un'altra area, devi entrare e, usando Bind, staccare la spina su un'ulteriore sabbiera. Entrando nella stanza che quella spina ha bloccato, ottieni la chiave del boss nel forziere. Per prima cosa gira il primo anello con un ingranaggio finché uno spazio non si allinea con lo spazio sul pavimento. Quindi riorienta il secondo anello con Bind e infine allinea gli anelli con l'ingranaggio. Sali le scale, tira la chiave del boss e preparati a combattere il mostro. Come combattere Mogryph A differenza dei tuoi ex boss in The Legend of Zelda: Echoes of Wisdom, Mogryph è davvero agile. Nella sua prima fase, Mogryph si seppellirà nella sabbia e spazzerà la stanza con ampi colpi. Tutti gli Echo vicino a lui verranno distrutti dal suo urlo e calpesteranno anche la sabbia nell'arena. Nel frattempo, Mogryph scava spesso una via d'uscita dal terreno proprio verso di te. È resistente agli Echo, quindi qualsiasi tentativo di usarli contro di lui sarebbe inutile. Se la fortuna lo aiuta, può distruggerli con un solo colpo dal suo deposito.
Mentre Morgryph si nasconde sottoterra e si ferma a uno dei quattro monumenti, evoca la tua statua e mettila tra te e lui. Morgryph sarà sorpreso mentre la carica. Entra in modalità Spadaccino o invoca Echi per urlargli contro finché non si sveglia. Fallo una seconda volta e passerà alla fase due: gli cresceranno le ali e trasformerà la maggior parte dell'arena in sabbie mobili. Ci sono due nuovi attacchi che aggiungerà al repertorio di Morgryph. Uno è un attacco di tornado aereo e l'altro è uno schianto volante nelle sabbie mobili.
Anche se ha tutti i suoi attacchi normali, ora ti colpisce tre volte e carica attraverso l'arena senza toccare terra.
Dovrai saltare da un'isola di sabbia all'altra per evitare le sabbie mobili e sfuggire ai suoi attacchi.
Invocare una statua nella sua ombra lo stordirà appena prima di volare giù, consentendoti di infliggere danni ora. Colpiscilo di nuovo con la modalità Spadaccino attivata. Se in qualsiasi momento stai giocando a questo, e hai bisogno di cure, distruggere qualche mucchio di sabbia dovrebbe farti guadagnare abbastanza cuore per resistere finché non lo sconfiggi. Deve morire affinché il Gerudo Sanctum sia libero. Questo è tutto ciò che c'è da sapere su come completare il Gerudo Sanctum in Zelda Echoes of Wisdom, quindi speriamo di essere stati in grado di aiutarti il più possibile.
Se non sai come completare la missione Snowball Magic in Zelda Echoes of Wisdom, ecco una guida completa.
Ti consiglierò Dove andare dopo la prigionia in Deku Scrub in Zelda Echoes of Wisdom?
Ti spiegherò dove andare dopo Stilled Heart Lake in Zelda Echoes of Wisdom?

Nel nostro articolo di oggi vi mostriamo come eseguire il turno di Antonio in EA FC 25 in modo semplice.

Se non sai come giocare come avventuriero senza terra in Crusader Kings 3, ecco una guida passo passo che ti aiuterà.

Preparatevi a scoprire come uscire dalla Banca della Vita in Wuthering Waves, perché oggi vi spiegheremo cosa fare.

Nel nostro post di oggi imparerai come distruggere tutte le geometrie paracausali in Destiny 2 in modo semplice.
Ti stai chiedendo se dovresti andare prima al Gerudo Desert o alle Jabul Waters in Zelda Echoes of Wisdom? Bene, ecco la risposta migliore.

Se non sai come avviare il DLC Shattered Space in Starfield, ecco una guida completa che ti aiuterà.
Ti stai chiedendo se puoi giocare da solo alle Operazioni in Warhammer 40K Space Marine 2? Bene, ecco una guida con la risposta migliore.

Ecco una guida completa per scoprire come ottenere i token Wolverine e Deadpool in Monopoly GO.