
Si vous ne savez pas comment résoudre le problème de résolution étendue sur le deuxième moniteur dans Windows 10, voici un guide complet qui vous aidera.
Si vous utilisez Windows 10 et que vous connectez un deuxième écran à votre ordinateur, l'affichage peut sembler assez bancal, avec des informations agrandies et des coins coupés. Le coupable est généralement une mise à l'échelle ou une résolution d'écran incorrecte. Au contraire, l'utilisation d'une résolution incorrecte est la cause la plus courante des problèmes d'affichage.
La résolution du deuxième moniteur dans Windows 10 a exploré un zoo
D'autres causes peuvent être des pilotes graphiques très anciens ou incompatibles, un connecteur d'affichage endommagé ou même des paramètres spécifiques au moniteur tels que le surbalayage. Si l'on utilise des marques ou des résolutions d'écran différentes, ce problème peut survenir.
Dans cet article, certaines des méthodes permettant de corriger cette erreur sont décrites.
1. Modification des paramètres d'affichage
Pour résoudre les problèmes de résolution, vous devez modifier les paramètres de votre moniteur. Si votre écran est trop petit ou trop agrandi, vous pouvez restaurer ses paramètres d'origine en ajustant l'échelle et la résolution pour qu'elles correspondent à celles de votre moniteur.
1.1 Accédez aux paramètres du téléviseur ou du moniteur et désactivez le surbalayage.
Pour accéder au menu image, allez dans le menu du téléviseur.
Vous pouvez trouver Overscan dans le menu Paramètres vidéo avancés ou Paramètres HDMI. Sur un téléviseur HD LG, vous rechercherez Just Scan sous Menu Image > Format d'image. Sur un téléviseur Samsung, accédez aux paramètres, puis au menu et, enfin, au mode image. Vous pouvez activer Relax ou, au contraire, régler la taille de l'image sur Aucun surbalayage. Il existe également d'autres termes que vous entendrez probablement, notamment Underscan, Pixel, Scaling, etc. Off Scan
Vérifiez si le problème disparaît après l’avoir éteint.
La désactivation des effets de post-traitement sur le téléviseur peut résoudre le problème, comme le contraste adaptatif, si le problème persiste.
1.2 Désactivez le mode complet HDMI dans les paramètres du moniteur.
Dans les paramètres TV, sélectionnez Extras.
Recherchez le mode HDMI complet et activez-le. En mode HDMI Full HD
Effectuez un test pour vous assurer que cela résout votre problème de zoom avant.
1.3 Préférences principales du téléviseur/moniteur
Si cela ne fonctionne toujours pas après avoir essayé chacune de ces solutions, réessayez:
Vérifiez si les options de taille automatique ou de détection automatique dans les paramètres de résolution d'écran avancés changent dans les paramètres du téléviseur pour résoudre le problème.
Essayez de changer la résolution de l'écran ou le rapport hauteur/largeur sur Panorama et voyez si cela fonctionne.
Try adjusting the TV's sharpness below 10 and see if that improves things.
First, ensure the HDMI/DVI cable is plugged in, and try changing the connection to PC instead of presentation. Choose HDMI or DVI input
Switch to Screen Fit from 16:9 and see if the problem goes away after that. Adjusting Image Size for Screen Resolution
Look for an image size option on the TV or on the remote control. If so, you might well find that selecting No Overscan or changing the Picture Size rectifies the issue.
If the TV is capable of zooming, try turning the zoom off.
The second thing to do is to tweak your system's display settings.
If you are feeling that there is an issue with scaling or resolution, then you can try fiddling with the settings on display. It might resolve the problem of zoomed-in. You can prevent any defect and optimize clarity by making these adjustments to Windows settings for the most excellent performance of both monitors.
2.1 Tilt the Screen
Open Setting using a Window key.
To locate the Display Orientation setting, first click on the System menu, then select the Display tab. Open Windows' System Preferences.
Select Portrait this will set all screens to Portrait orientation and see if the second monitor is working okay. If that works, revert to Landscape mode. Flip the Screen Horizontal
2.2 Modify the Multiple Monitor Parameters
Access your system's Multiple Displays settings by navigating to the Display Settings menu.
Click Extend These Displays, so that if it was the cause, the problem disappears. Extend These Displays by Setting Multiple Displays
In your case, maybe only switching Multiple Displays to Duplicate fixes it. Set Up Several Monitors to Mirror These Monitors
In order to see if it solves the issue, go back to Display Settings, and where steps 1 and 2 were, click on Detect. Repeat if the problem persists.
Nothing changed? You can resolve this by clicking on the Identify button. To start, click on Detect and Identify.
2.3 Get the Refresh Rates of the Monitors to Match
DNotice the bottom of the Display Settings menu.
To see the refresh rate of the display, under Advanced Display Settings, click on it. Step 1: On the Customize menu.
Also, set the refresh rate of the second screen to be the same as the first screen through the Choose Display option. Ideal for both screens would be 60 Hz.Get Your Displays' Refresh Rates in Harmony
Try that and see if it resolves your desktop problem.
If this problem persists, you might want to try solving it by adjusting your system graphics control panel-which may be Nvidia or Intel HD Graphics Control Panel-to a single refresh rate on both screens. Don't forget to enable Virtual Super Resolution in the Graphics Control Panel if you are using a display with a higher than 1080p resolution. If you have AMD Radeon, you can look under the Display tab.
Activate Virtual High Definition
2.4 Use the Recommended Resolution for Both Displays
Select either of the two screens in your computer's Display Settings.
Within the Display Resolution selection, select the Recommended resolution.Use Your First Screen's Recommended Resolution
See on the other screen if it will resolve your problem.
If the problem still occurs, try using a similar resolution for both screens to see if that resolves the problem.
2.5 Change Your Screen's Scale
Locate the faulty display under Display Settings.
Under Scale and layout, you will see an option to change the size of text, apps, and other items. Just click on the expand menu.
Immediately after selecting 100% click Log out of your account Make Your Screen 100% Resizeable
Just log in and check if the screen is back to normal. If this happens, you are able to adjust the size to your comfort.
Try again by opening Settings and select your main monitor under monitors settings. Then Turn off the option under Advanced Scaling Settings. Allow Windows to Try Fixing Apps to be not blurry. And turn off "Ignore Windows's attempt to fix app's blurry problems". Finally, restart the computer and reapply the same steps for the second monitor and may this fix your problem.
2.6 Set Dual Monitors As Default Display
Click on either 1 or 2 to select, in Display Settings, the malfunctioning display of your computer.
After checking the box Make This My Main Display, in Multiple Displays, restart your computer. Turn on For the Second Screen, Let This Be My Primary Display.
Then check whether the monitor functions normally after rebooting.
3. Reinstall or Update Graphics Driver
Corrupted or out-of-date graphics drivers are the cause of incorrect resolutions or magnified images on secondary displays. Updating or reinstalling the drivers can resolve these problems and allow Windows 10 and the monitors to work as they should.
For the resolution problem at hand, you can try performing a manual update of the graphics driver.
If it isn't already open, open a web browser and navigate to the OEM website to download the latest graphics driver.
Run the file as an administrator and install the driver once it is downloaded.
You can also reboot your computer to ensure that the second monitor is working.
Right-click the Windows button and select Device Manager from the Quick Access menu if the problem persists. Open the Device Manager window.
Under Display Adapters, find the driver for the second monitor and right-click on it.
To confirm removal, click on Uninstall Device, then put a checkmark in the box that says Delete the driver software for this device. Locate the graphics driver for the second monitor and uninstall it.
Restart your computer after completing the uninstallation.
After the computer has restarted, ensure that the display is working; Windows may have installed a default driver.
If that doesn't work, attempt running the driver file downloaded in step 2 as administrator and see if it resolves the problem.
If the issue persists while switching via HDMI, go ahead and power off your computer. From there, uninstall the secondary display graphics driver (if possible) using DDU.
Remove the second display and connect it again with a different connector, preferably a DVI one.
Turn your computer back on and then install the driver again.
You can revert to using the HDMI cable if necessary after making sure the monitor works properly.
Try reverting to a previous version of your graphics driver if the problem continues.
4. Adjust the Graphics App's Preferences
You can adjust some of the display settings in the graphics control panel to make your monitor look even better. In order to achieve the perfect look across all your monitors, you can adjust each one's resolution, scale, and refresh rate individually. You'll be able to avoid problems with displays "zoomed in" and create optimal parameters rather than rely on automatic ones.
4.1.1 Allow Desktop Resizing
To change the size and placement of your desktop, open the graphics control panel (for example, Nvidia Control Panel) on your computer.
To allow desktop resizing, locate the Size tab in the right pane and make sure the relevant display is selected.Surface Resize Can Be Enabled
Click on Resize to see if this resolves the resolution problem. Try out options. If this problem resurfaces after updating the graphics driver, reapply these settings.
If that does not succeed, you may find that changing the scaling option in the "Adjust Desktop Size and Position" options will resolve it.
4.2 Adjust Size of Image
Graphics Properties or Intel Graphics Settings can be opened from the right-click menu from your desktop.
To adjust display settings, click on Display
Sélectionnez «Taille de l'image» et déplacez la barre d'échelle à 100%. Mise à l'échelle de l'image à la taille maximale
Assurez-vous que l’écran fonctionne correctement.
4.3 Ouverture du panneau de configuration graphique et désactivation du surbalayage
Vérifiez maintenant votre centre de contrôle AMD VISION Engine ou un autre panneau de contrôle graphique, puis ouvrez la section Mes écrans plats numériques en bas à gauche de la fenêtre.
Cela peut résoudre un problème avec les moniteurs; dans le menu Options de mise à l'échelle (écran plat numérique), sur le côté droit, déplacez le curseur vers le bas jusqu'à 0%. Le panneau de configuration graphique est utilisé pour désactiver le surbalayage.
Si cela ne fonctionne pas, testez les différentes valeurs du curseur pour découvrir ce qui fonctionne.
4.4 Ajuster les préférences système
Dès le départ, dans les paramètres graphiques, assurez-vous que les paramètres de résolution des deux écrans sont les mêmes.
Si cela ne fonctionne pas, essayez d’utiliser une résolution complètement différente.
Supprimez le zoom 16:9 et, pour les deux écrans, activez un rapport hauteur/largeur personnalisé.
Si le problème persiste, essayez de modifier les paramètres d’échelle dans le panneau de configuration du panneau graphique.
À la fin, vous devez vous assurer que le taux de rafraîchissement est de 60 Hz.
Nous espérons que les étapes aideront à résoudre le problème, alors sans plus tarder, bonne chance.
Je vais vous guider Comment désactiver les notifications de verrouillage des majuscules dans Windows 10/11 ?
Je vais vous apprendre dans ce documentaire comment désactiver un clavier d'ordinateur portable dans Windows 10
Pour savoir comment corriger l'erreur 128 Valorant Vanguard Not Initialized, voici un guide complet.
Aujourd'hui, dans notre article, nous allons vous montrer comment résoudre le problème multijoueur de Modern Warfare.
Vais-je vous dire dans ce documentaire comment corriger l'erreur GTA IV SecuLauncher ?

Je vais vous apprendre comment corriger l'erreur DirectX 0X887A0005 dans Black Ops 6

Je vais vous apprendre dans ce documentaire comment désactiver un clavier d'ordinateur portable dans Windows 10
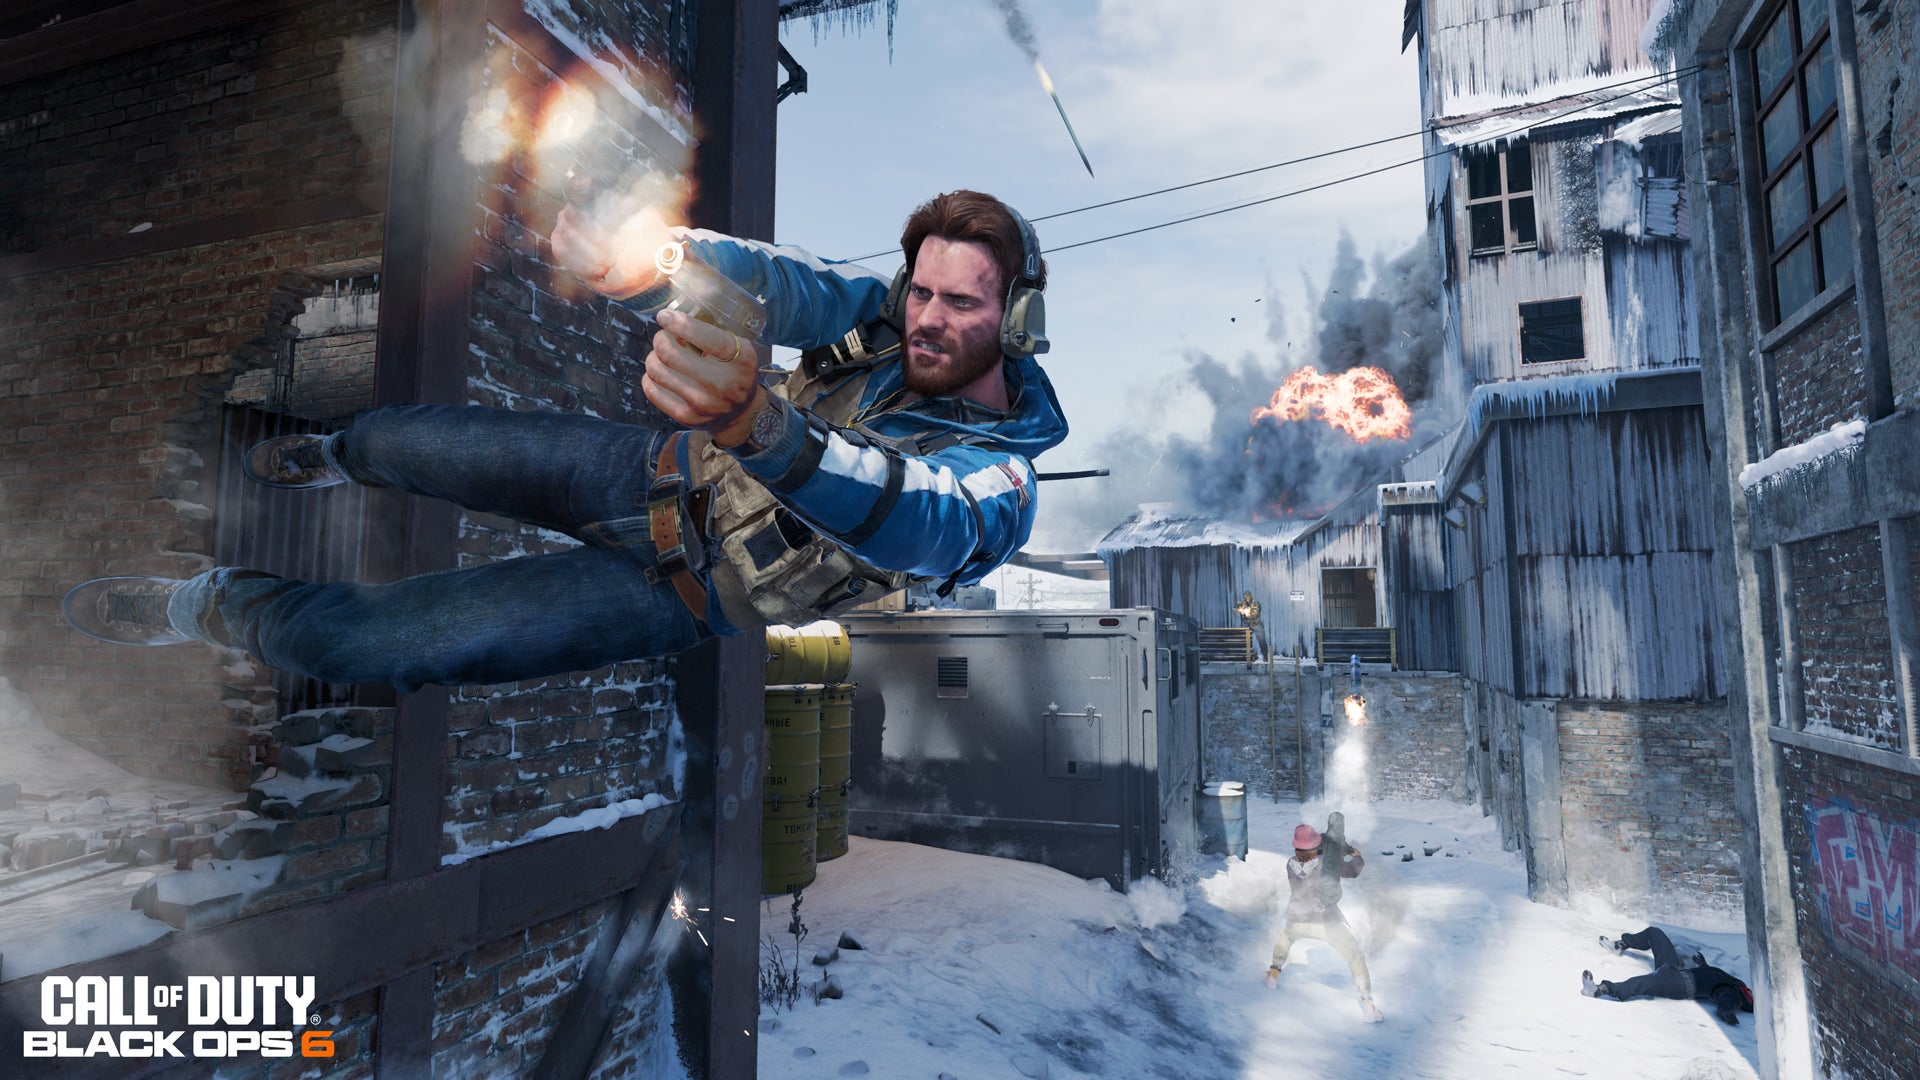
Je vous recommanderai dans ce documentaire comment résoudre le problème selon lequel Black Ops 6 ne démarre pas
Je vais vous expliquer comment corriger l'erreur «Non implémenté» lors de l'ouverture d'images