
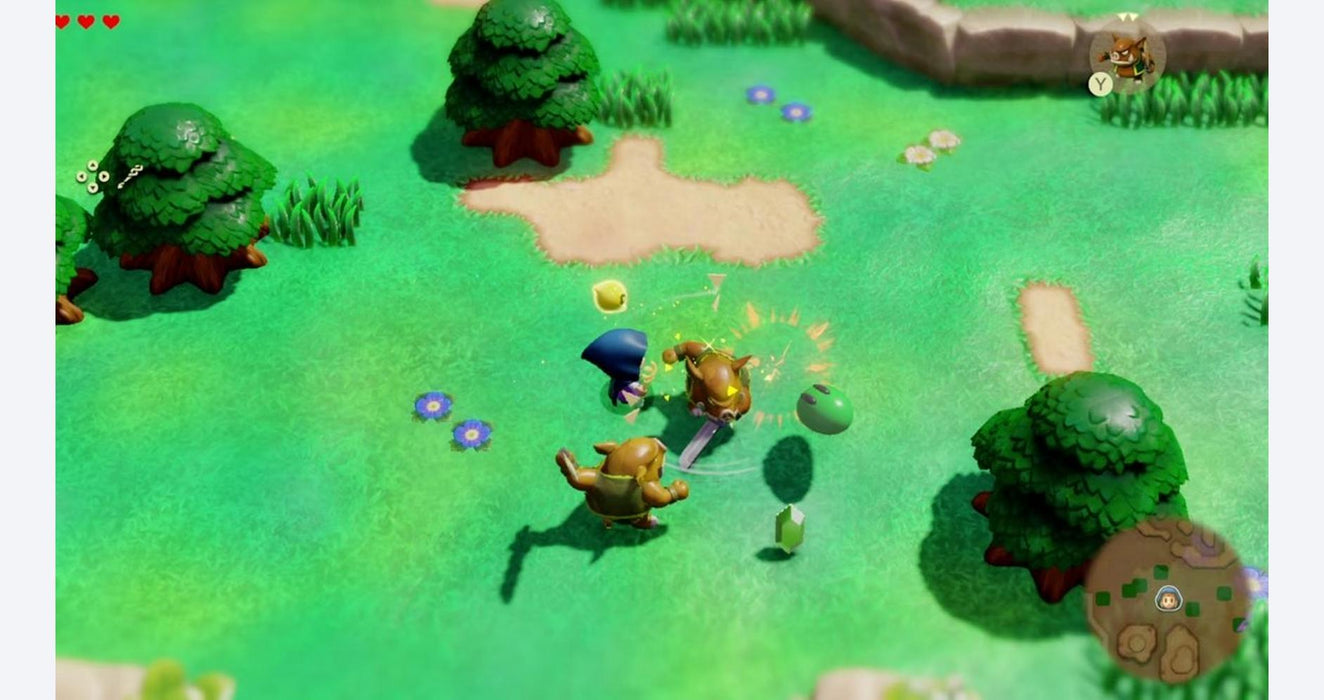
Préparez-vous pour pouvoir apprendre comment terminer les ruines de Jabul en Zelda Echoes of Wisdom, car ici nous vous expliquerons comment le faire.
Après avoir nettoyé le donjon des Ruines de Suthorn, Zelda doit décider de son prochain mouvement dans ce jeu bien connu, The Legend of Zelda: Echoes of Wisdom. D'un côté, elle peut se diriger vers l'ouest pour conquérir le désert Gerudo et son donjon ; de l'autre, se diriger vers l'est lui permet d'aider Zora dans la mission majeure « Jabul Waters Rift ». Il y a de légers avantages à aller dans l'une ou l'autre direction, et vous devrez éventuellement faire un arrêt aux deux endroits. Que vous vous aventuriez d'abord à Jabul Waters ou en deuxième, ce guide vous fera découvrir son donjon principal : les Ruines de Jabul.
Visite des ruines de Jabul – Bouton violet B1
À la fin de la section de faille des Eaux de Jabul Calmées et à la fin de la quête de l'histoire « Faille des Eaux de Jabul », vous trouverez le donjon appelé Ruines de Jabul. Lorsque vous entrez par la porte d'entrée, vous serez au 1er étage dans le couloir d'entrée principal.
Objectif principal : Cliquez sur le bouton sur le mur de droite du couloir d'entrée pour activer le point de cheminement rapide.
Convergence vers B1 :
Rendez-vous maintenant au Swordfighter. Dans le couloir d'entrée principal, formez une bulle d'énergie. Au moment où vous entrez dans le couloir central, vous allez plonger vers la mort dans le sous-sol. Cette partie de la série sera en défilement latéral.
Nagez maintenant sous l'eau et, grâce à Bind, vous pourrez déplacer les gros rochers qui bloquent votre chemin. Vaincre le deuxième gros rocher déclenche une rencontre avec le boss de la région, Vocavor. Il créera un énorme tourbillon sous-marin dans lequel Zelda devra nager sans se blesser.
Au cours de votre parcours vers le bas de l'entonnoir, vous devrez surmonter plusieurs obstacles. Restez sur cette voie:
Niveau 1 : Sautez simplement par-dessus et évitez les ennemis de bas niveau.
Niveau 2 : Il est plus facile de franchir la ligne d'arrivée que de détruire les boîtes en dessous de vous.
Dans le troisième obstacle, vous devrez tenir compte des méduses électriques, qui présentent un risque d'électrocution. Assurez-vous de laisser suffisamment d'espace pour le risque d'électrocution circulaire lorsque vous vous faufilez entre les ennemis.
Quatrième obstacle : déplacez l'énorme rocher avec Bind.
Niveau intermédiaire B1
Coming out of the side-scrolling part, you'll be at a mid-level that's actually B1. A long chamber of Octoroks, Sand Crabs, and Tanglers will call this home. The mentioned enemies won't be any challenge for Simple Echoes. For the fish, use Lvl. 2 Tanglers if available. As for the octopuses and sand crabs, any flying Echo will do fine.
Not only is it not necessary to defeat every foe, but there is no incentive to do so either. Head back to 1F by the west door which is located on the right side of the chamber.
Head out the exit, and you will eventually be back on 1F, on the opposite side of the broken corridor. Make sure to interact with the waypoint before proceeding into the main dungeon.
In the first large room in 1F, there is a purple floor button. It activates a small cutscene explaining what this button does.
There are five wall squares above that button with colors of different hue each. Each color of those squares corresponds to a button of that color. And every time you push that button, water would be sipped out from the square on the wall. Pressing the first three buttons will create a spring which will launch Zelda to 2F. By looking on the wall, you can tell which way each of the button chambers is. Decide which blue or red button you want to take and choose it.
1F Red Button Path:
Head down the path to the Red Button route for access to the Map, and an extremely powerful Echo, but either path is safe to walk for now. For the 1F Red Button route, trace the line of red wall to the right.
Go down the ladder to proceed to the next side-scrolling section. You'll find Bombfish in the waters, plus one Needlefly above. Have a flying Echo- such as a Guay- grab the Needlefly for you. Round up the Bombfish using Bind to make them explode. Once you reach the final pool of water, you can find a treasure chest containing valuables.
Level 1 Dungeon Map Treasure Chest
You must blow up the last Bombfish before you can exit the room.
The Chompfin Echo in the next room is dangerous. When you swim under the bars into the large pool, be prepared to jump out of the water quickly. You can step onto a small rock that is surrounded by boxes. But there are also about a zillion Octoroks in there. Defeat the Octoroks using a flying Echo before turning to the Chompfins.
Your first move against the Chompfins should be to use the Swordfighter Form. If you can master the Echo and target a single shark with it, then you may release your Chompfin onto the others. This will be the indication that they have been taken care of. You will have to pick up the Chompfin Echo before exiting the chamber.
Chompfin Echo Collecting: A Significant Achievement
Go underwater, once all enemies have been defeated and find a chest - near the bottom of those bars that separate the small opening at the northern end of the chamber. Take out the container and swim through the opening. You'll have to climb up onto the platform to get across to the treasure chest in the northwest corner of the chamber. A Water Block will help you achieve this.
Second Treasure Chest: Purple Rupee
Take a Water Block with you to the narrow wood ledge behind the bars, and then take a rope to the top of the game. Step out of this room and into the next one.
The following chamber would require Zelda to kill a swarm of Sand Crabs; the last room can be entered from there. Clear off the land-based Sand Crabs by performing an ariel Echo, and defeat the aquatic ones with the recently acquired Chompfin. This chamber should not be too hard since this is a short one.
Once in the final room press the red button. After a brief cinematic, the floor opens to reveal an exit. To return through the first room via the chasm, go down and follow the red path. To get back to the central room, climb up the ladder on the left.
Path of the 1F Blue Button:
Go left from the center room on 1F to the path with the blue button, and head down the ladder here to find another side-scrolling level.
You'll be fighting Biri, Bio Deku Baba, and Level 2 Tanglers underwater. All three of these are trivial with the Chompfin. You can really just have an overdose of fun with the Chompfin here. Really the only challenge is the darkness. If you swim into one of the underwater plants, it will light up. Some of the Bio Deku Baba are hiding in dark spots.
Careful not to drop down right to its base, you'll notice in the shadows a treasure chest. Head west out of the room to continue.
Chest 3's Treasures: 100 Rupees in Silver
In the next room, there are four braziers-count them: three on the walls, one in the water, and one in the middle. Get the last one out of the pool by using Bind. Then put an Ignizol on each of the four various braziers once all of them are prepared this way. This will make the door open.
This path leads to the blue button chamber. Once the blue button is pressed you are able to leave the main room by going down into the hole.
With the water, Zelda can catapult herself to 2F when she returns to the main room. The White Button path along with the Yellow Button path is presented in front of her here.
Level 2's Yellow Button Route:
The trail of the Yellow Button can be found at 2F that heads west.
It would be the first chamber of a fast-moving river downstream, in which wooden planks are moving. She would take a plank all the way to the end and then leap to the accessible platform.
Presently, Zelda has to climb the other side, swimming upstream, by platform-jumping. Now rush out of the room. While crossing over the planks, keep the contact with the enemies in the chamber as less as possible as it is useless fighting them.
Five trigger devices are spread across the next room. You'll need to hit each one to activate the door to open on the far side. It's not quite that simple. From the doorway, you should be able to make out two of the triggers. Either of those is within easy reach of a flying Echo. As soon as you call an Echo, remember to press ZL to lock onto the device.
The third unit is placed up against the western wall. A flying Echo might be able to reach this one as well. The fourth unit sits on a lone platform in the northwest, encircled by a bunch of boxes. Water Blocks to reach the platform, Bombfish to blow up the boxes and turn it on.
The final device rests underwater in the south half of the room. With all the devices activated, Zelda is finally able to exit the room.
In this room, Zelda must eliminate all of the enemies to unlock the door. One good tactic for these flying enemies is to use a flying Echo summon, such as the Guay, and then use Bind to lock the enemy into place before allowing the Guay to attack.
Yellow Button room can be entered by going downstairs from there. To return to the main room, click the button.
2F White Button Path:
Go straight forward on 2F to the white button route entrance.
You can bind on the wood planks in the first room, and bombfish to destroy the planks if they are on your path.
According to the map, there are two Treasure Chests in this room. To your left is a chest containing a Golden Egg. The second contains the Big Key to open the path into the boss chamber. That is little more there is to this chamber, so exit it. Head to the east end to leave.
You will have to defeat a few Shadow enemies in order to proceed further into the next room. Chompfin Echo will easily defeat them all. Just make sure to keep away while the Chompfin does its business. Every defeated enemy will drop an energy bubble. Conserve for the final boss coming up soon.
You can see the white button in the next chamber, but it's underwater. Two Bio Deku Babas are stationed at the button, as well. After purging the area of its baddies using the Chompfin, you can call a boulder down to set on the button. The door will open. Head back to the main room and head to level 3F.
Battling Vocavor - 3F
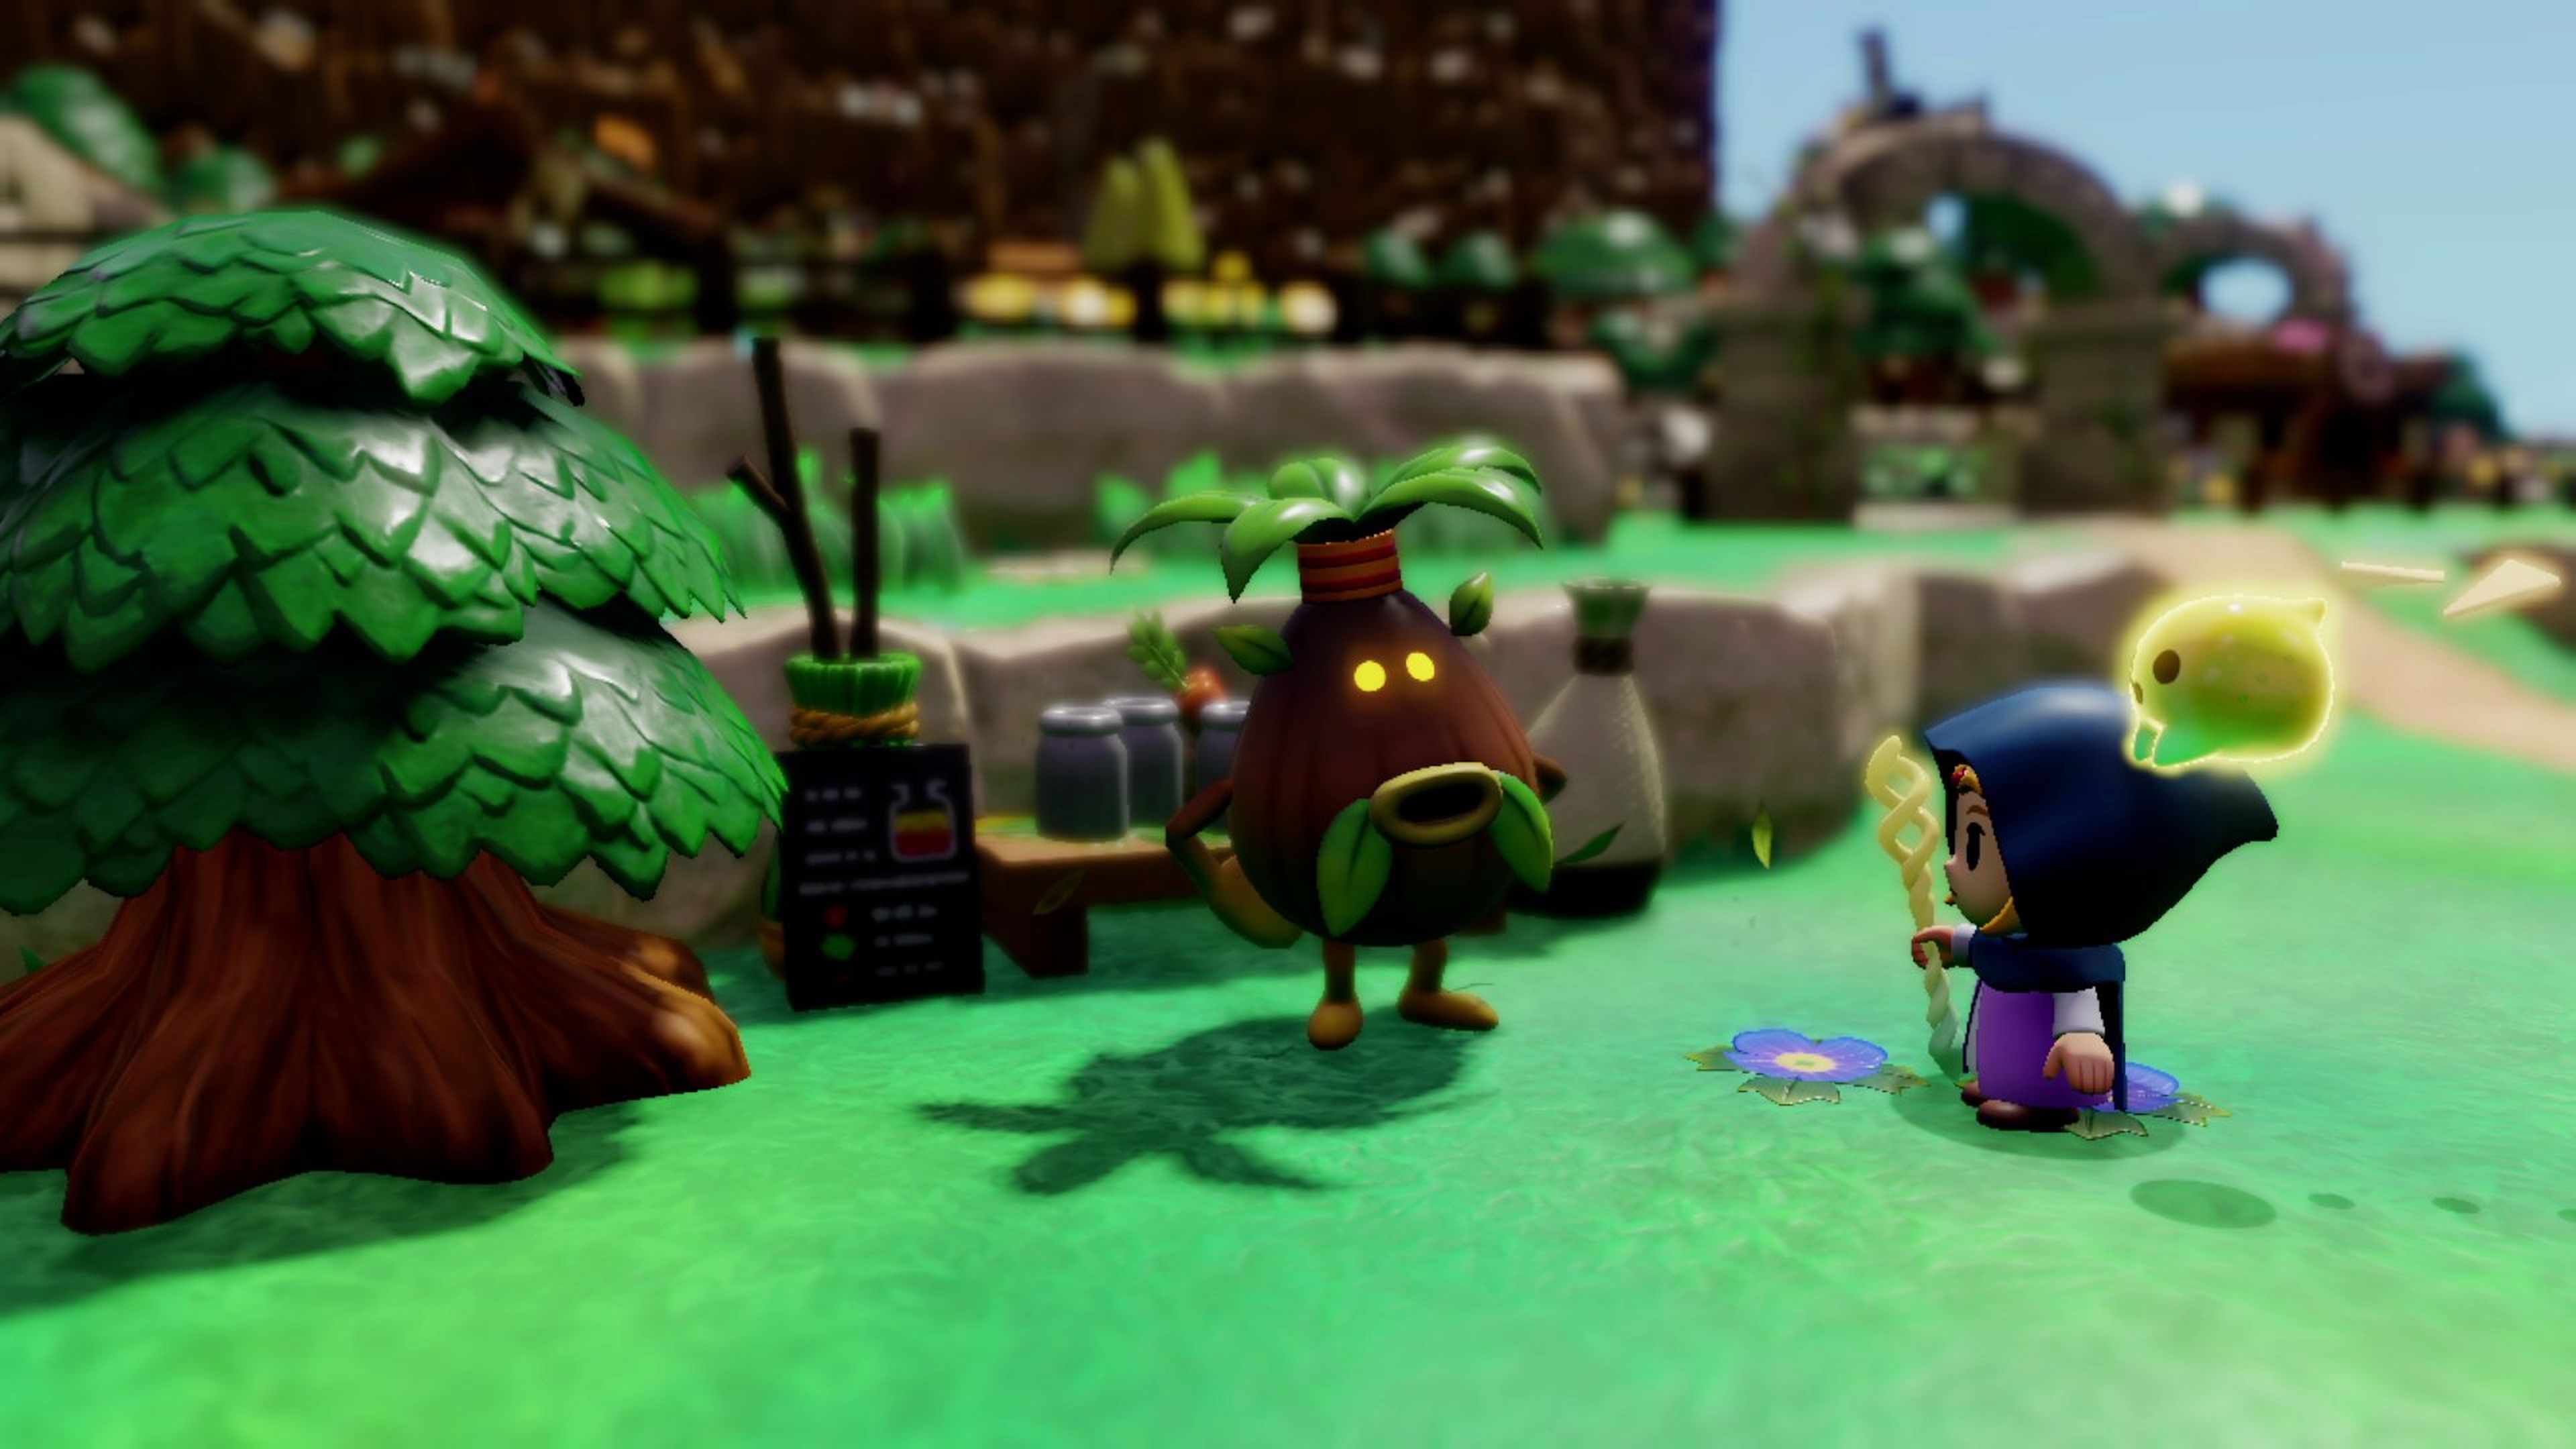
Before initiating the fight, go to the smoothie shop and prepare an enhanced ability to breathe underwater drink. This will be a huge bonus should a battle take place fully under the water.
Maintenant que vous êtes de retour dans la salle principale, avec le jet d'eau, vous pouvez soulever Zelda jusqu'au troisième étage. Si vous utilisez une grosse clé sur la porte fermée, c'est là que se trouve Vocavor, le boss des ruines de Jabul ; cela déclenche le combat.
Puisque vous êtes sous l’eau, l’essentiel est de surveiller le niveau d’oxygène ; soyez très prudent et utilisez l’une des nombreuses sources de bulles d’air disponibles.
La première étape :
Au début du combat, Zelda doit courir et éviter l'essaim de petits tourbillons de Vocavor. Une fois qu'ils seront passés, il sera momentanément vulnérable aux attaques. Frappez le point bleu onyx à l'arrière des bêtes.
Ce serait tout concernant Comment terminer les ruines de Jabul dans Zelda Echoes of Wisdom, et nous espérons vraiment avoir pu vous aider autant que possible.
Si vous ne savez pas comment terminer la quête Snowball Magic dans Zelda Echoes of Wisdom, voici un guide complet.
Je vous recommanderai où aller après le confinement de Deku Scrub dans Zelda Echoes of Wisdom ?
Je vais vous expliquer où aller après Stilled Heart Lake dans Zelda Echoes of Wisdom ?

Préparez-vous à savoir comment faire un Fantasy Draft dans Madden 25, car aujourd'hui nous vous dirons quoi faire.

Continuez plus loin et vous saurez où trouver Tumba le flamant rose dans le chapitre 7 de The Plucky Squire, car c'est ce dont nous discuterons ci-dessous.

Continuez à lire et vous serez en mesure de déterminer si vous devez ou non combattre le dragon de feu Mauna en Metaphor ReFantazio, car nous vous avons couvert ici.
Continuez à lire pour découvrir toutes les récompenses Amiibo dans Zelda Echoes of Wisdom, ici nous vous dirons tout ce que vous devez savoir.

Au cas où vous ne sauriez pas comment obtenir plus d'élixirs de soins dans Witchfire, eh bien, préparez-vous car nous vous expliquerons ici comment le faire.
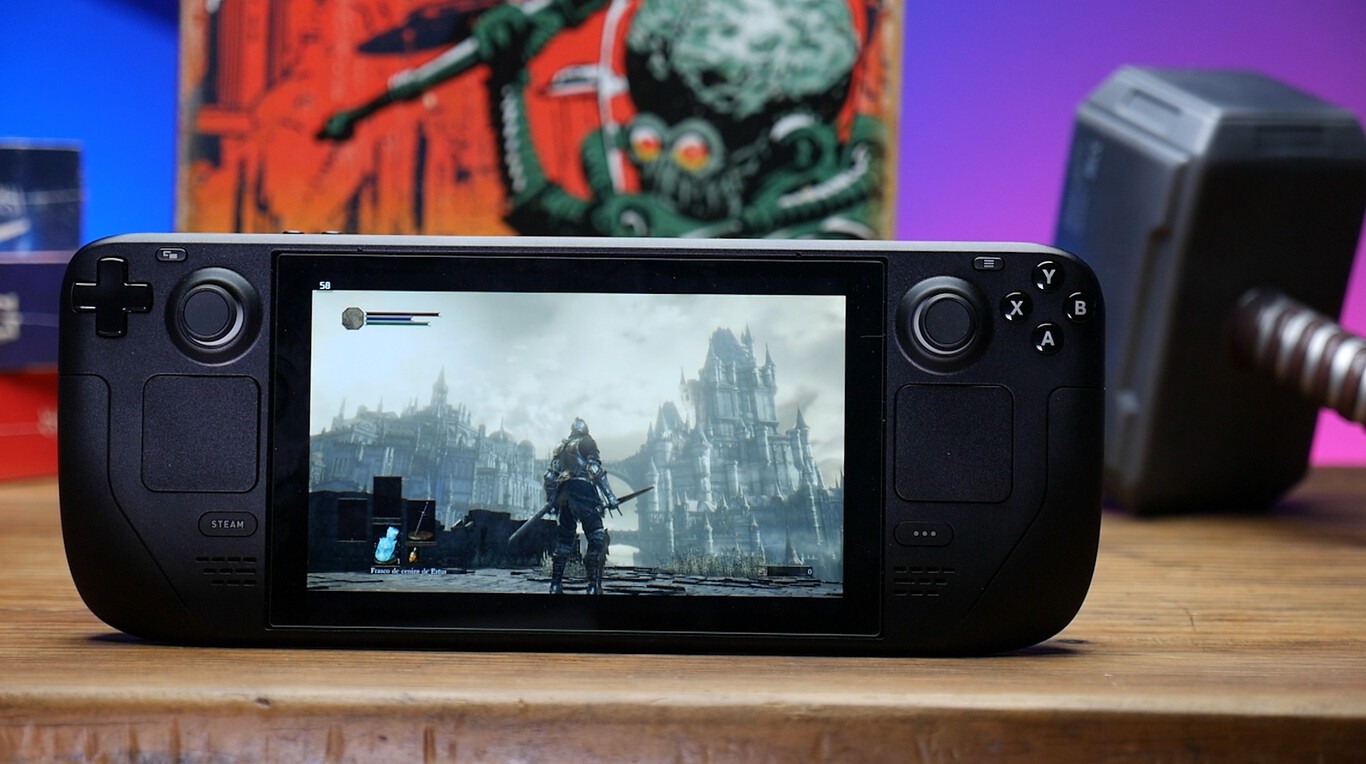
Ensuite, nous couvrirons tout ce que l'on pourrait vouloir savoir sur la façon d'exécuter des jeux Sega CD dans Steam Deck, alors restez à l'écoute.
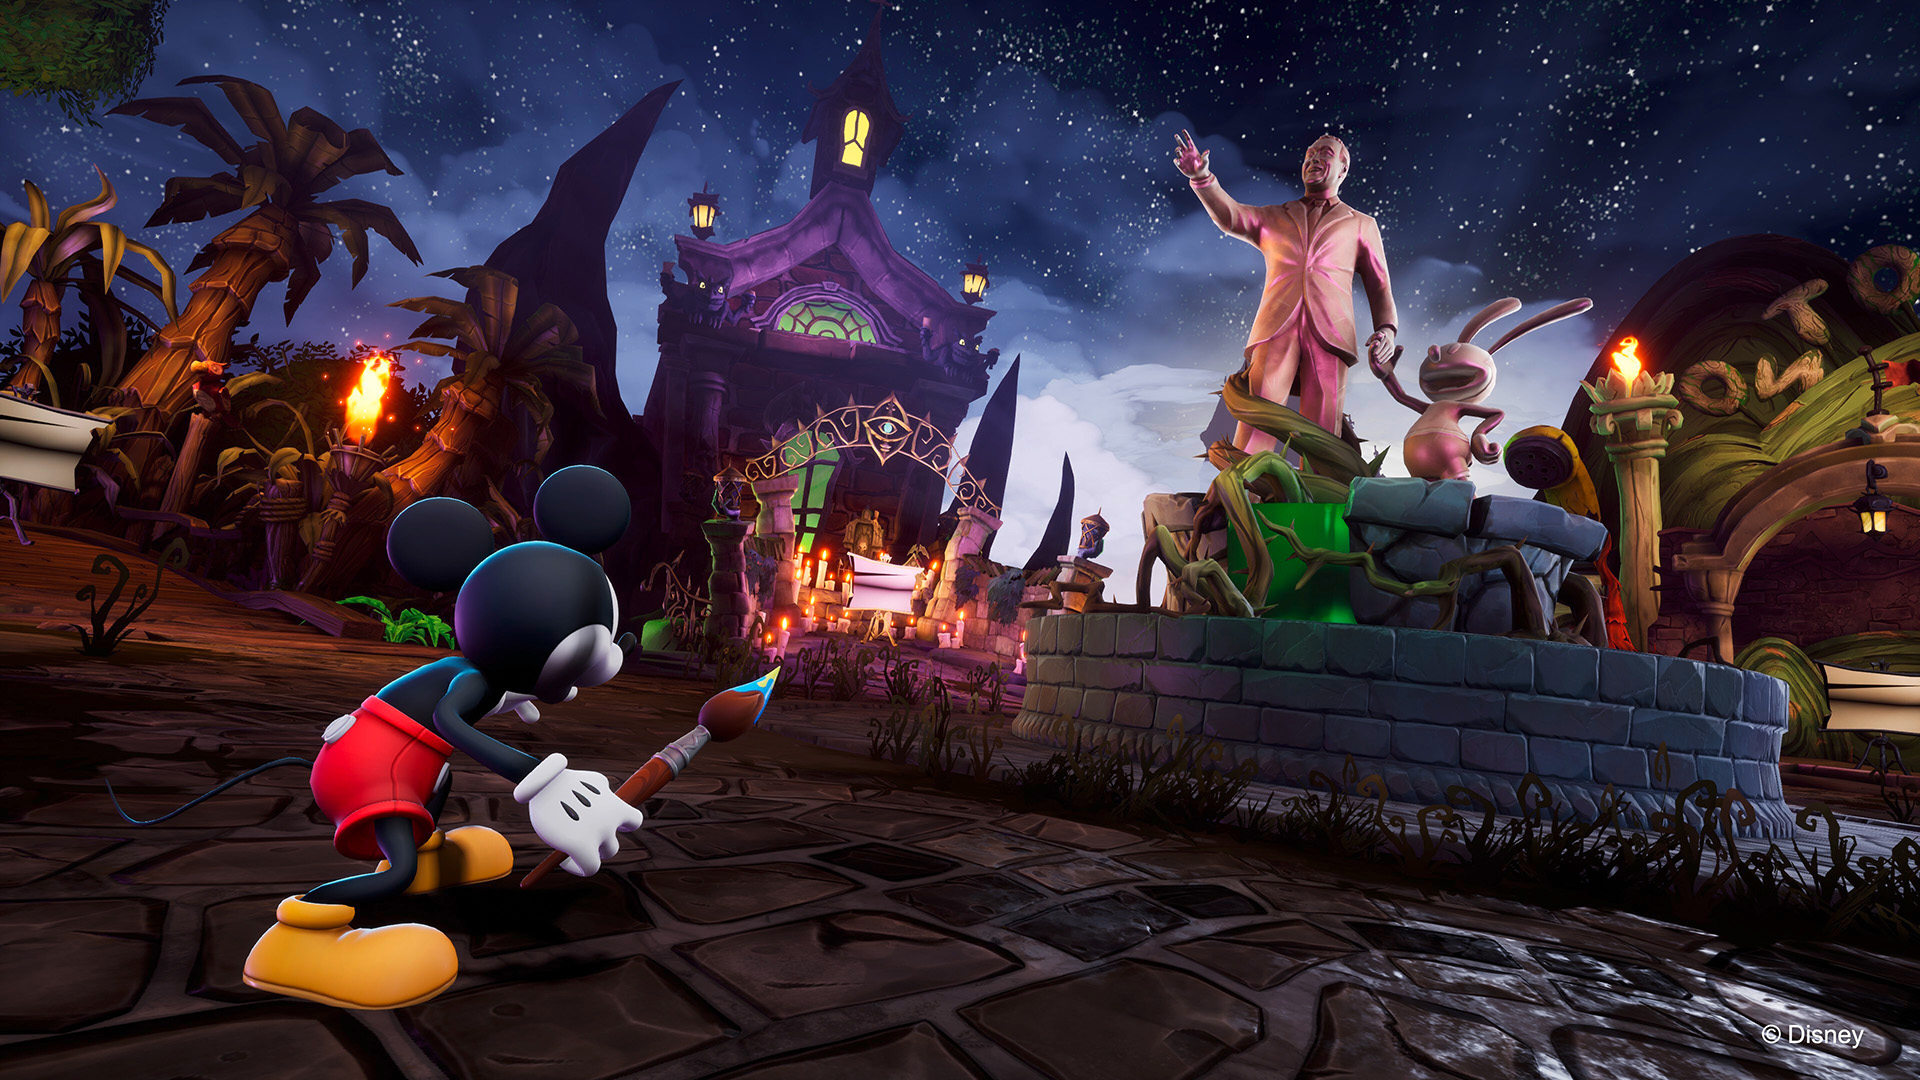
Ceux d'entre vous qui ne savent pas comment terminer A Pirate's Love Quest dans Disney Epic Mickey Rebrushed, lisez la suite car nous en discuterons ici pour vous.

Continuez à lire pour savoir comment terminer la quête Cuccos on the Loose dans Zelda Echoes of Wisdom, car aujourd'hui nous vous en parlerons.