
Learn How to overclock Raspberry Pi 4 for improved performance and speed. Follow our step-by-step guide for optimal results!
Hey there, tech enthusiasts! Are you ready to take your Raspberry Pi 4 to the next level and unlock its full potential? Overclocking can be the key to squeezing out that extra bit of performance from your trusty Pi. In this comprehensive guide, we'll walk through the steps to safely overclock your Raspberry Pi 4 for a little extra speed. So grab your Pi, roll up your sleeves, and let's dive into the world of overclocking!
How to overclock Raspberry Pi 4
Step 1: Update Packages
Before diving into the exciting world of overclocking, it's essential to ensure that all packages on your Raspberry Pi OS are up to date. Keeping your system up to date not only ensures compatibility but also provides the necessary foundation for a smooth overclocking process. Open the Terminal app and run the necessary commands to update all packages to their latest versions.
Step 2: Install Latest Distro and Firmware
About How to overclock Raspberry Pi 4, Staying up to date is critical for optimal performance. Ensure that you have the latest version of the Raspberry Pi OS and firmware installed on your Raspberry Pi 4. This will ensure that you have access to the latest features and improvements, which can be crucial for a successful overclocking experience.
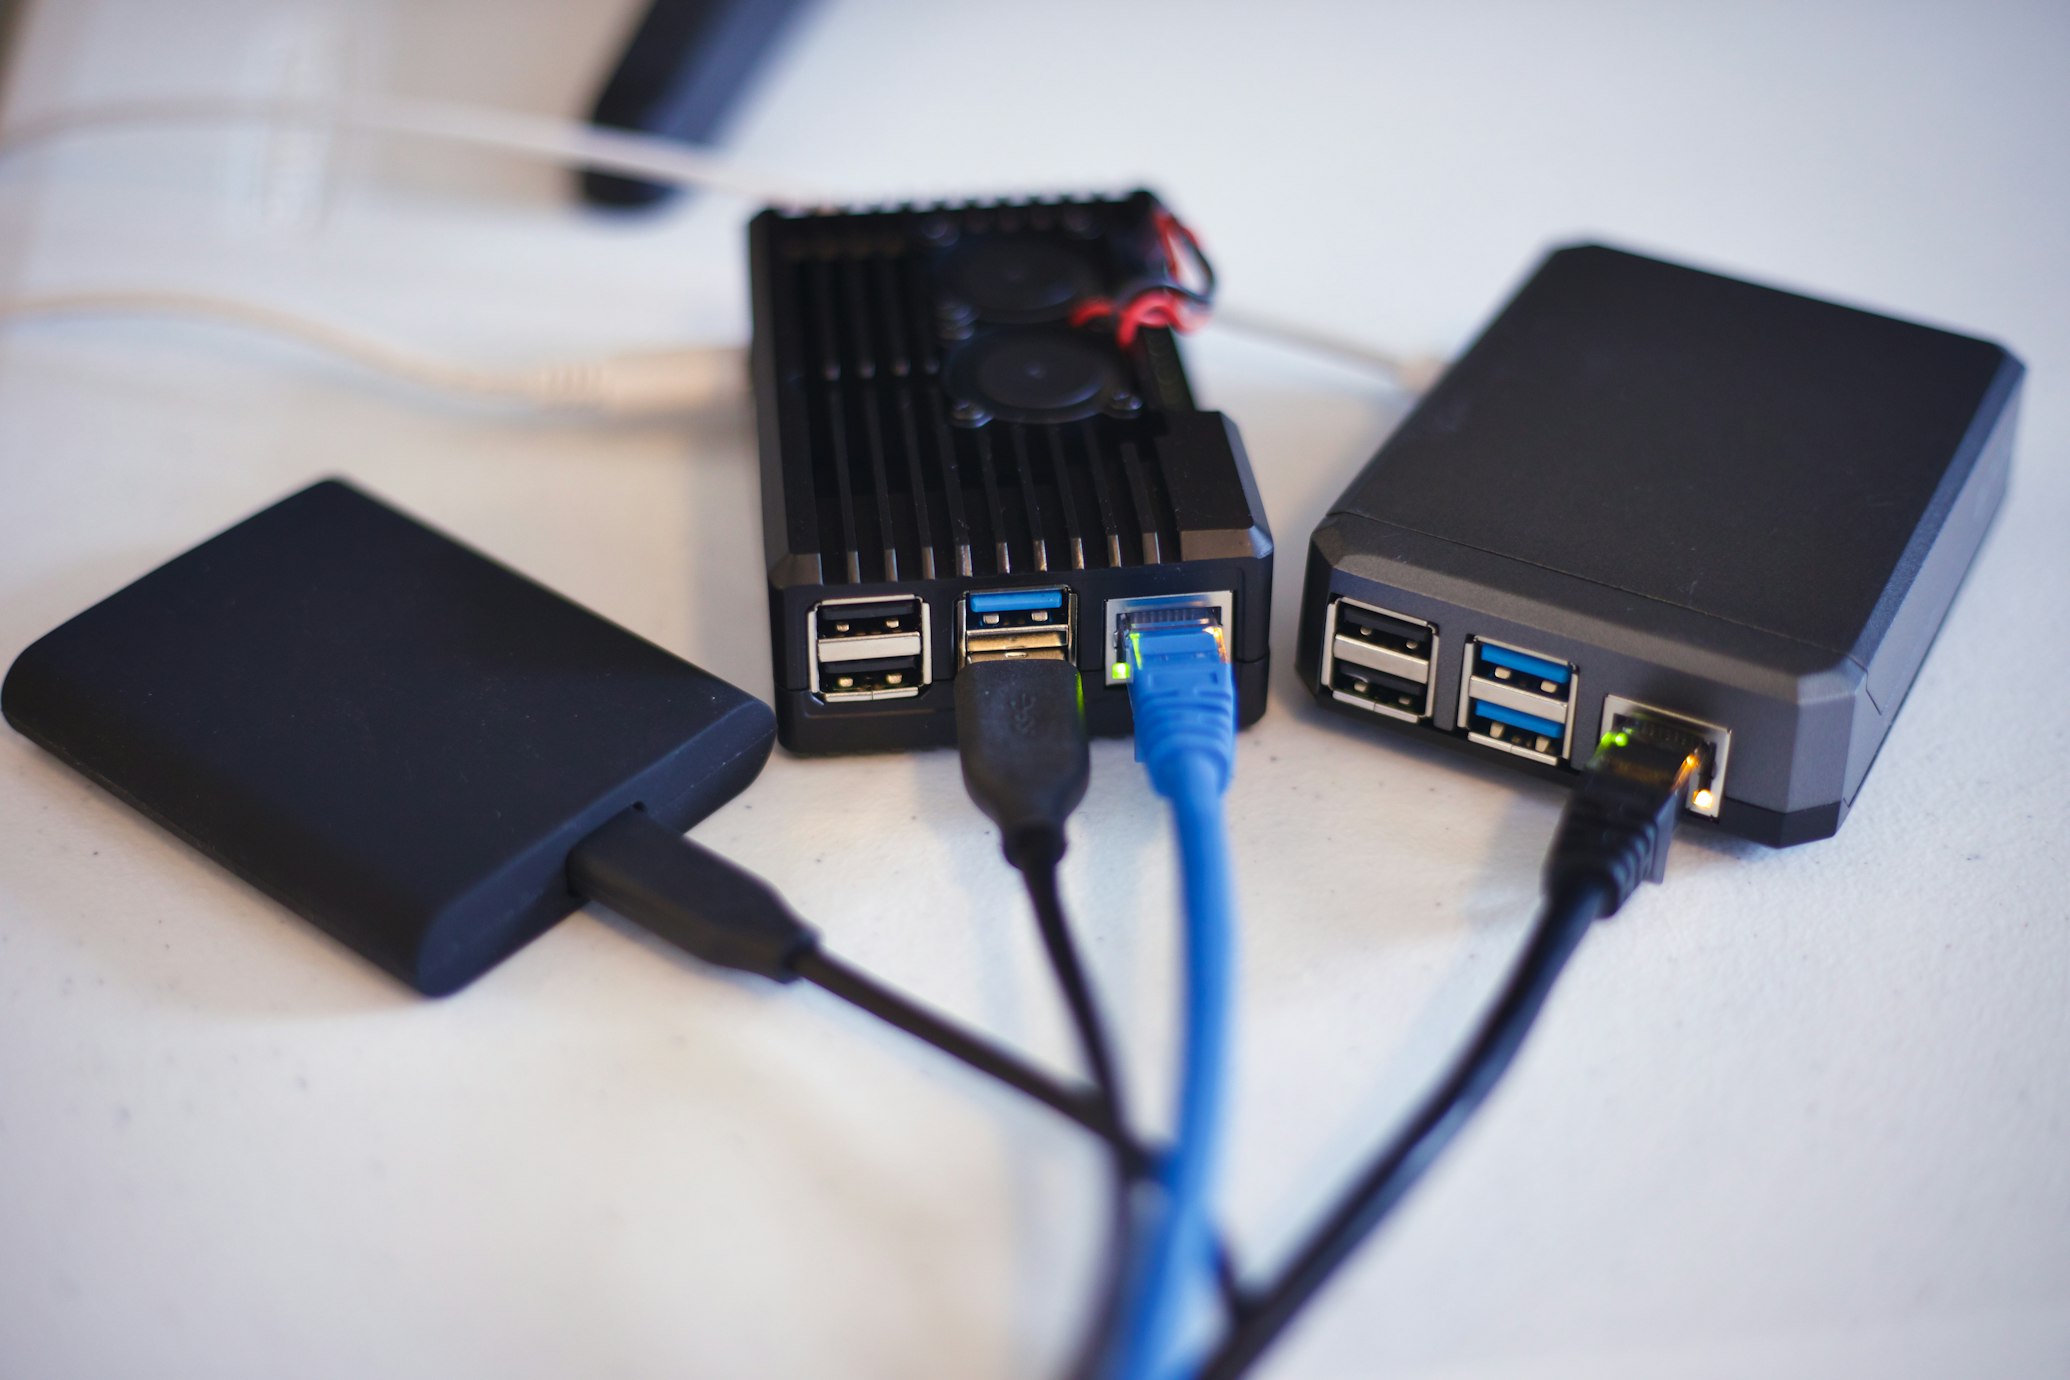
Step 3: Access Config File
The next step in the overclocking process is to access the config file, which contains the settings that govern the behavior of your Raspberry Pi 4. Using the Terminal app, access the config file by running the command "geany /boot/config.txt". This will allow you to make the necessary changes for overclocking.
Step 4: Adjust Clock Speed
Now comes the exciting part – tweaking the clock speed of your Raspberry Pi 4 to achieve that extra performance boost. Within the config file, locate the "arm_freq" setting and change its value to 2000. Additionally, add "over_voltage=6" and "gpu_freq=750" to increase the clock speed of both the CPU and GPU, respectively. These adjustments will push your Raspberry Pi 4 beyond its default specifications and potentially unlock a significant performance boost.
Step 5: Check Overclocking Success
It's essential to verify that your CPU and GPU are successfully overclocked after making the adjustments. To do this, restart your Raspberry Pi and run the commands "watch -n 1 vcgencmd measure_clock arm" and "measure_temp" in the Terminal app. This will allow you to monitor the clock speeds and temperatures, ensuring that the overclocking settings are applied and functioning as intended.
Step 6: Test with Sysbench
To further validate the success of your overclocking efforts, utilize Sysbench to stress-test your overclocked Raspberry Pi 4. Sysbench is a versatile benchmarking tool that can be used to evaluate the performance of your system under various workloads. By running Sysbench, you can gauge the effectiveness of the overclock and verify if the clock speed reaches the desired 2000 mark, indicating a successful overclocking outcome.
Safety First
While overclocking can yield impressive performance gains, it's essential to approach it with caution. If, after overclocking, your Raspberry Pi 4 is exhibiting signs of instability or is not booting properly, don't panic! Simply revert the changes by inserting the SD card into your PC and reconfiguring the config file back to its original settings. This safety net ensures that you can easily return to a stable state in the event of any issues arising from the overclocking process.
Congratulations! You've successfully learned how to overclock your Raspberry Pi 4, unlocking its full potential and boosting its performance. With these simple yet powerful steps, you can take full advantage of what this versatile and capable device has to offer. Whether you're exploring advanced projects, running resource-intensive applications, or simply seeking enhanced responsiveness, overclocking your Raspberry Pi 4 opens up a world of new possibilities. Get ready to push the boundaries of what your souped-up Raspberry Pi can achieve and embark on exciting new adventures in the realm of DIY computing. Have fun exploring and unleashing the true power of your overclocked Raspberry Pi 4!
In conclusion about How to overclock Raspberry Pi 4, the process of overclocking your Raspberry Pi 4 can be a rewarding endeavor, offering the potential for significant performance gains and expanded capabilities. By following the steps outlined in this guide, you can safely and effectively overclock your Raspberry Pi 4, harnessing its full potential and exploring new frontiers in DIY computing and project development. So, if you're ready to take your Raspberry Pi 4 to the next level, let's dive into the world of overclocking and unlock its hidden power!

Learn how to resolve the Discord 'Friend Request Failed' error with our step-by-step guide. Get back to connecting with friends hassle-free!

Learn how to troubleshoot and fix Persona 3 Reload not starting issue with our comprehensive guide. Get your game up and running in no time!

Learn how to troubleshoot and fix fatal errors in Dakar Desert Rally. Follow our step-by-step guide to get back on track in no time!

Learn how to resolve Error Code 0x8007232b on Windows 10 with our step-by-step guide. Fix activation issues and regain full functionality on your system.

Learn how to resolve the CE-34788-0 error on your PS4 with our step-by-step guide. Fix this common issue and get back to gaming smoothly.

Create realistic celebrity voiceovers with our free online AI tools. Transform your audio content with the power of celebrity voices. Try it now!

Learn how to leverage Microsoft Rewards to earn Robux effortlessly. Discover step-by-step instructions and tips to maximize your rewards for Robux.

Learn how to use GarageBand on Windows 11/10. Discover step-by-step instructions for installing and utilizing this popular music production software.