
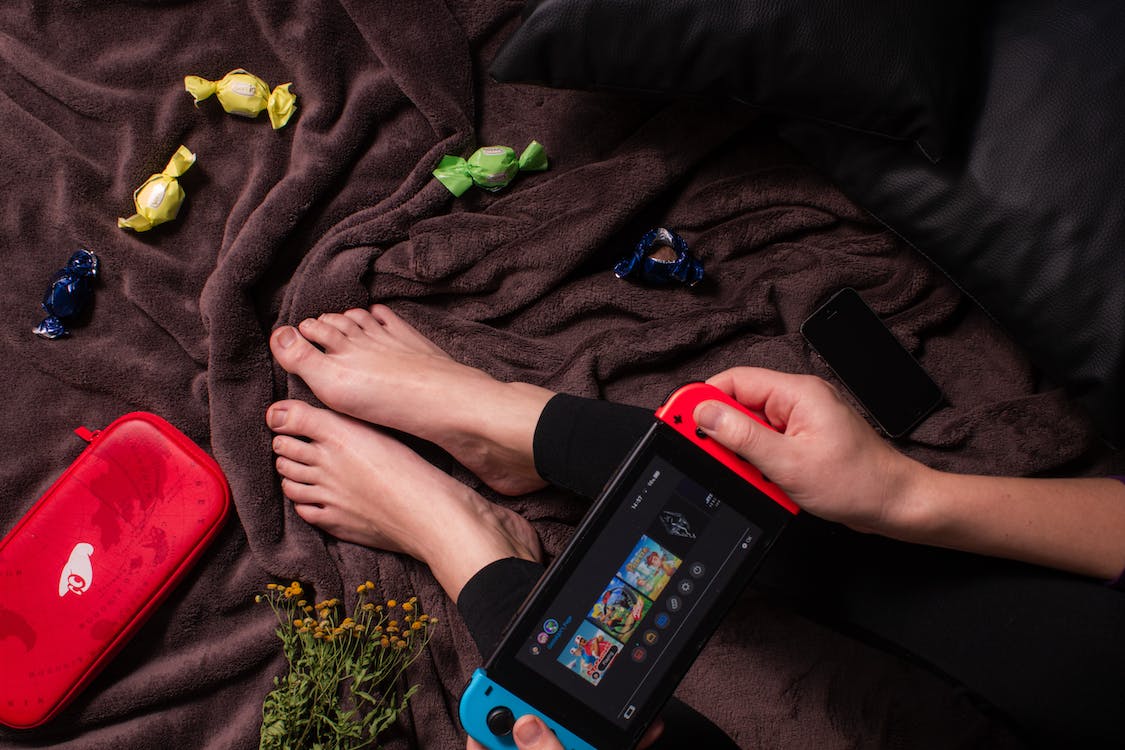
Learn how to replace the joysticks in your Nintendo Switch Joy-Con controllers. Step-by-step guide and expert tips for an easy fix.
The Nintendo Switch Joy-Con controller is known for its compact components, which unfortunately wear down faster than other controllers, often resulting in joystick drifting. While you can attempt to fix this issue by calibrating the joysticks using the calibration tool in the Switch's menu or sending the Joy-Con for free repair, these methods may void your warranty. In this guide, we'll walk you through the step-by-step process of replacing the joysticks yourself, ensuring a smooth gaming experience once again.
Tools and Materials Needed:
- 1.5mm tri-wing screwdriver
- 2.0mm Phillips head screwdriver
- Plastic prying tool
- Needle nose tweezers
- Replacement joystick
- Small dish (recommended for keeping loose screws)
Step 1: Gather Your Tools and Materials
Before starting the replacement process, ensure you have all the necessary tools and materials mentioned above. Having everything prepared will make the process smoother and more efficient.
Step 2: Prepare for Disassembly
To access and replace the joysticks, follow these steps:
a) Remove the four screws on the back of the Joy-Con using a 1.5mm tri-wing screwdriver. These screws secure the back panel in place.
b) Run a plastic prying tool around the outside seam of the Joy-Con to separate it into two halves. Be gentle and take your time to avoid damaging the casing.
c) Carefully remove the battery from its compartment. This step is essential to prevent any accidental short circuits during the disassembly process.
Step 3: Access and Disconnect Internal Components
a) Locate and remove any center plate screws that secure internal components. These screws may vary in size, so use a 2.0mm Phillips head screwdriver.
b) Unplug any ribbon cables connected to ensure safe disassembly. These cables may be delicate, so handle them with care and use needle nose tweezers if necessary.
Step 4: Replace Joysticks
a) Take your replacement joystick and plug it into its designated slot. Make sure it is securely connected to ensure proper functionality.
b) Reinstall any previously removed screws to secure internal components. This step is crucial for stability and to prevent any loose parts.
Step 5: Reassemble Joy-Con
a) Place the battery back into its compartment. Ensure it is properly aligned and seated to prevent any issues with power supply.
b) Join both halves of the Joy-Con together carefully until they snap into place. Take your time to align the seams properly.
c) Fasten the four screws on the back of the Joy-Con using a 1.5mm tri-wing screwdriver. Make sure they are tightened securely but do not overtighten to avoid damaging the screws or the casing.
Step 6: Final Testing
a) Power on your Nintendo Switch and navigate to the joystick calibration tool in the menu. This step is crucial to ensure that the new joysticks are working properly.
b) Follow the on-screen instructions to calibrate the joysticks. This calibration process will help fine-tune the sensitivity and range of motion for optimal gaming experience.
By following this friendly step-by-step guide, you can successfully replace worn-out joysticks in your Nintendo Switch Joy-Con controller. Remember, regular cleaning of your Nintendo Switch and Joy-Con is recommended to prevent dust or debris from affecting their performance. A can of compressed air can be used to remove any dirt or particles that may have accumulated over time. Additionally, using a protective case or grip can help reduce wear and tear on the joysticks. Enjoy an enhanced gaming experience without any joystick drifting issues and continue to explore the world of gaming on your Nintendo Switch!
I will tell you how to charge the controllers and the Nintendo Switch console?
Learn how to enhance the security of your Nintendo Switch by adding a passcode. Step-by-step guide to protect your device from unauthorized access.

Learn how to fix the proxy server issue in Chrome on Windows. Step-by-step guide to troubleshoot and resolve the problem.

Learn how to easily restore your desktop icon positions on Windows with step-by-step instructions. Say goodbye to messy desktops.

Learn how to resolve the Ubuntu "No Wi-Fi Adapter Found" issue. Step-by-step guide to fix the problem and get your Wi-Fi working again.
Learn how to revert an Xbox Wireless Controller update on Xbox Series X|S and fix any issues. Step-by-step guide for easy troubleshooting.
Learn how to optimize your TV settings with the TV Calibration Tool on Xbox Series X|S. Achieve the best picture quality for your gaming experience.

Learn how to fix the low-level fatal error in ARK Survival Ascended with our step-by-step guide. Get back to gaming without any issues.

Learn how to fix Vencord not working and get your system up and running smoothly. Troubleshooting tips and step-by-step instructions.
Learn how to fix the "not recognized as an internal or external command" error in Windows. Troubleshoot and resolve this common issue easily.