
Learn how to build a sewage network in Cities Skylines 2 and keep your citizens happy and healthy. Follow our step-by-step guide today!
Title: How to Build a Sewage Network in Cities Skylines 2: A Friendly Step-by-Step Guide:
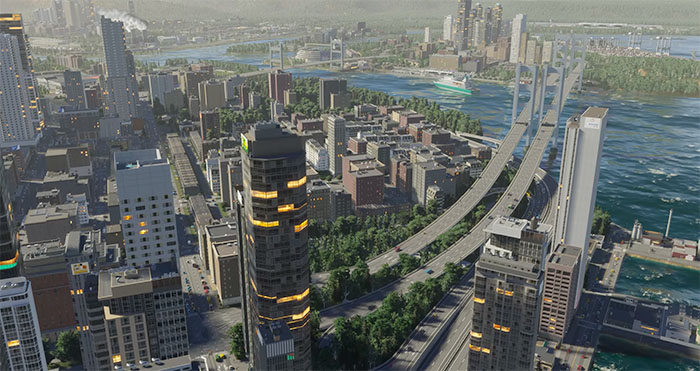
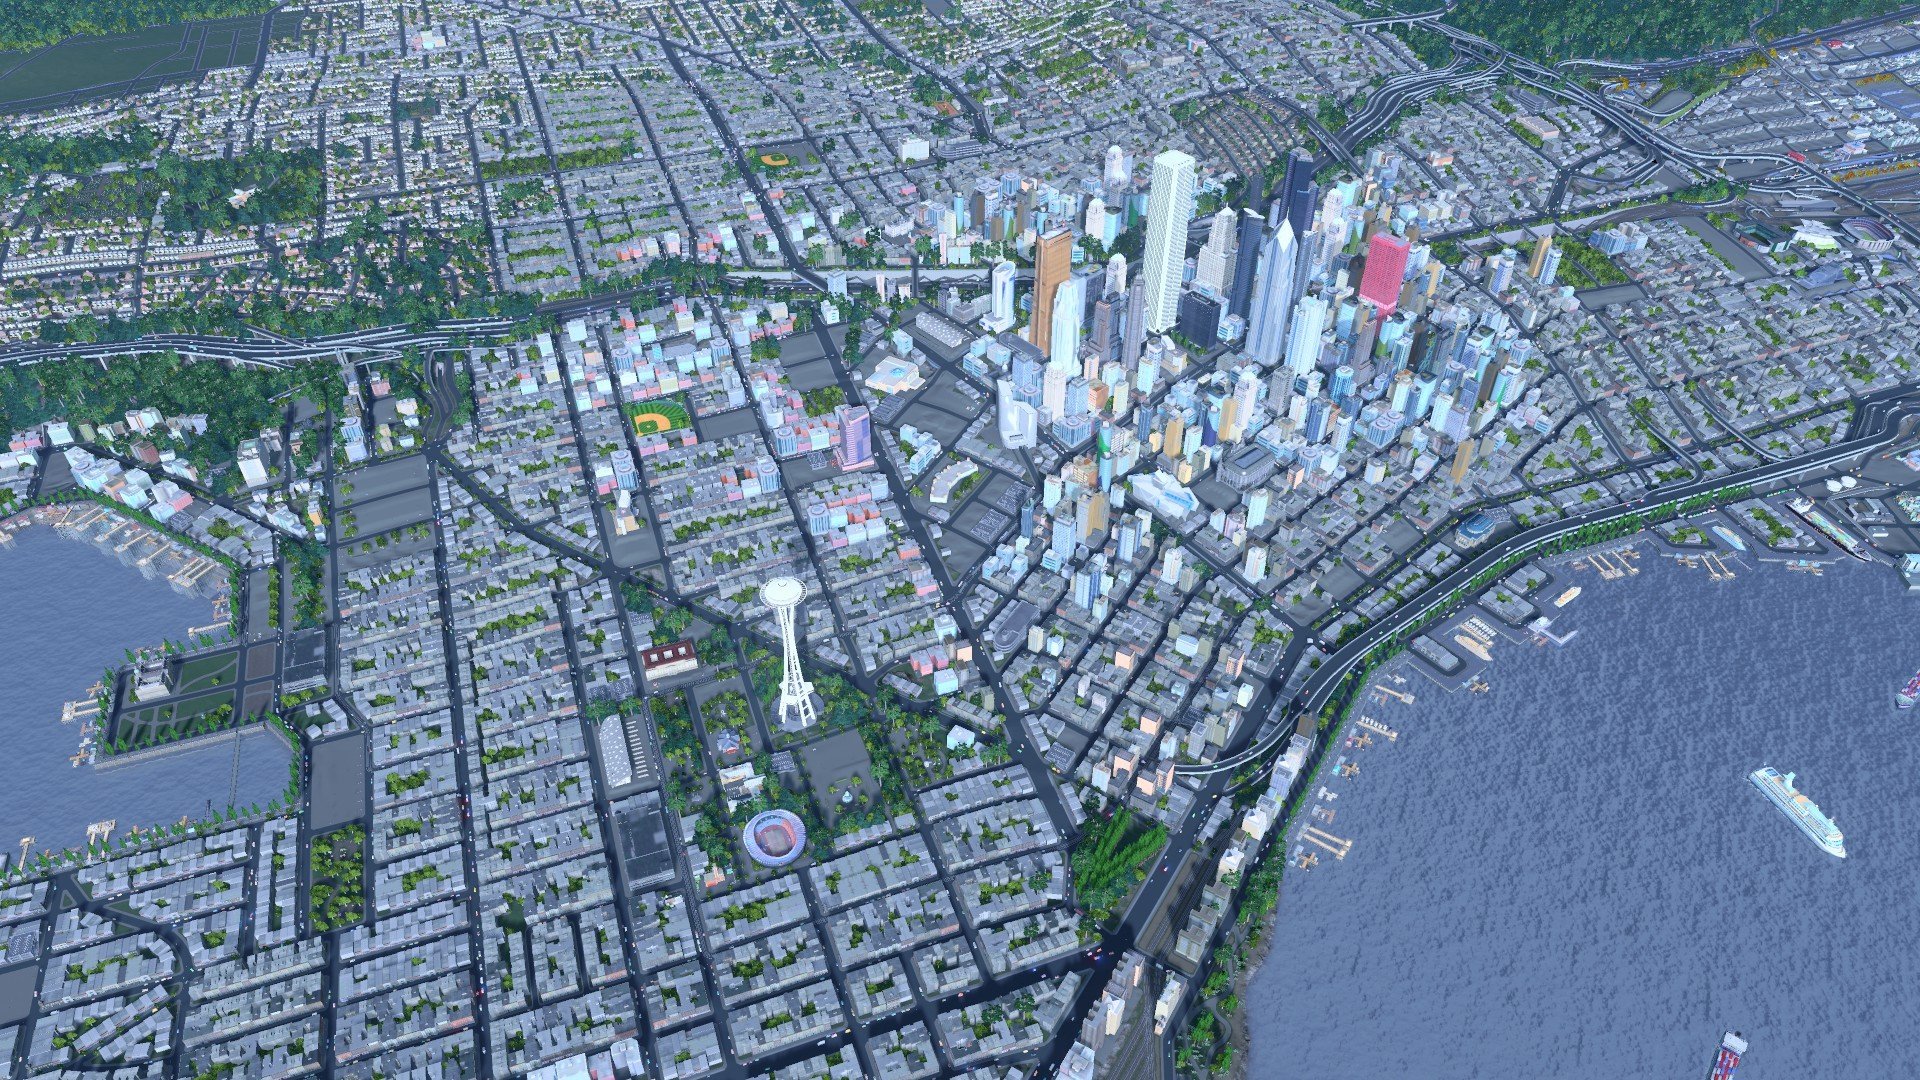
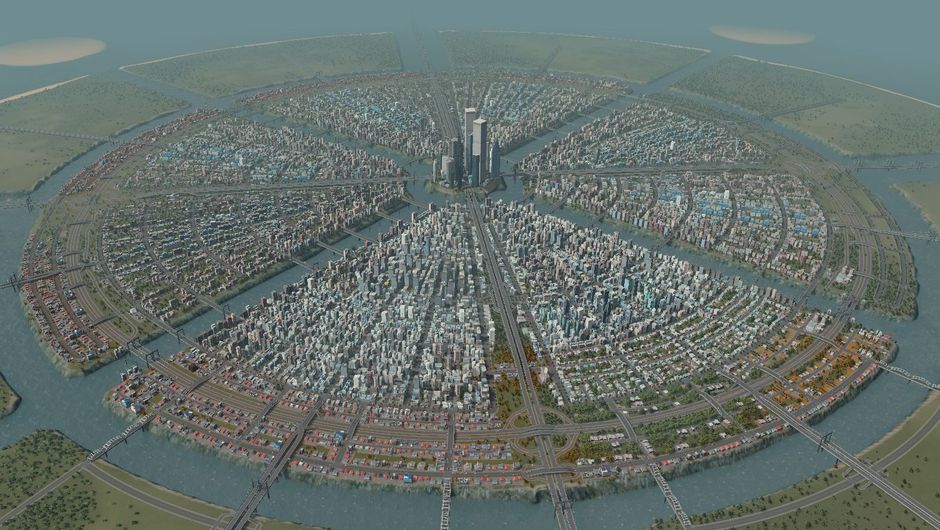
In the bustling world of city management simulation games, Cities Skylines 2 stands out as a popular choice among gamers. One of the crucial aspects of creating a successful and thriving city is the establishment of a well-managed sewage network. In this comprehensive guide, we will walk you through the step-by-step process of building a sewage network in Cities Skylines 2. By following these instructions, you can ensure the well-being of your citizens and the overall progress of your city.
Step 1: Accessing the 'Water' Tab
To begin the process of building a sewage network, you need to access the 'Water' tab in Cities Skylines 2. This tab contains all the necessary tools and options required for managing water-related infrastructure in your city. To find it, simply navigate to the toolbar located at the bottom of the game screen. Look for the icon resembling a water droplet. Clicking on this icon will open up the 'Water' tab, where you will find various tools and options related to water management.
Step 2: Choosing a Suitable Sewage Outlet Location
Before placing a sewage outlet, it is important to carefully select a suitable location for it. Ideally, the sewage outlet should be placed far from the city center and closer to the ocean or any other large body of water. This choice is beneficial for efficient sewage management as it allows for the natural flow of wastewater away from the city and towards a larger body of water. By choosing a location away from residential and commercial areas, you can minimize the negative impact of sewage on the well-being of your citizens.
Step 3: Placing the Sewage Outlet
Once you have identified a suitable location for the sewage outlet, it's time to place it in the game. Using the in-game controls, navigate to the desired location and click on the ground to place the sewage outlet. As you do so, make sure to pay attention to proper placement. Avoid placing it too close to the city or in areas with heavy traffic. By placing the sewage outlet strategically, you can ensure efficient sewage disposal and minimize any potential disruptions to your city's operations.
Step 4: Connecting Sewage Pipes to City Roads
To establish a working sewage network, it is necessary to connect the newly placed sewage outlet to the existing sewage pipes within your city. These sewage pipes are typically found underneath city roads. To identify them, navigate to the 'Roads' tab in Cities Skylines 2 and select the appropriate road type. Look for the sewer icons that indicate the presence of existing sewage pipes. Once you have located these pipes, use the appropriate in-game controls to connect the newly placed sewage outlet to the existing network. It is important to note that you should connect the sewage pipe to an existing sewage pipe, not a water pipe.
Step 5: Establishing a Working Sewage Network
After successfully connecting the sewage pipe to the existing network, a functional sewage network will be established within your city. This network will efficiently transport wastewater from residential, commercial, and industrial areas to the sewage outlet, ensuring proper disposal. Maintaining this network is crucial for the satisfaction and well-being of your citizens. A well-managed sewage network prevents the accumulation of untreated sewage, which can lead to unhappiness and sickness among your citizens. Additionally, an efficient sewage network contributes to the overall progress and development of your city.
Building and managing a proper sewage network is a vital aspect of creating a successful city in Cities Skylines 2. By following the friendly guidelines outlined in this comprehensive step-by-step guide, you can ensure the well-being of your citizens and the overall progress of your city. Remember to access the 'Water' tab, choose a suitable sewage outlet location, place the sewage outlet strategically, connect the sewage pipe to existing city roads, and establish a working sewage network. With these considerations in mind, you are well on your way to creating a thriving and sustainable city in Cities Skylines 2. Happy gaming!
Learn proven strategies and tips to boost high-density demand in Cities Skylines 2. Maximize your city's growth and create a thriving metropolis.
Learn how to enable and disable Chirper Pop-Up in Cities Skylines 2 with just a few clicks. Say goodbye to constant pings and pop-ups about your city's feelings!
Learn how to remove crosswalks in Cities Skylines 2 with our step-by-step guide. Improve traffic flow in your virtual city.

Discover effective solutions to resolve issues with Ark Survival Ascended textures not loading on our website.

Resolve the "matchmaking failed unavailable" error in Brawl Stars by ensuring a stable internet connection and switching to Wi-Fi if on a mobile network.
Resolve network problems by resetting your device's network settings for improved Brawl Stars matchmaking.

Improve customer traffic in commercial zones by optimizing layout, size, and taxes. Strategically place zones near major roads or public transportation, adjust size to meet demand, and lower commercial taxes for business growth.

Learn how to fix buildings flickering or disappearing in Cities Skylines 2 with these simple steps. Update your graphics card drivers, adjust graphics settings, and disable mods to prevent strain on your graphics card and keep buildings visible.
Learn how to customize camera rotation settings in Cities Skylines 2 with our step-by-step guide. Troubleshoot camera issues and update drivers for optimal gameplay.
Learn how to fix the "Can't See Road View" bug in Cities Skylines 2 with our step-by-step guide.

Resolve issues with PUBG Mobile Server Authentication Error Login Failed by disabling mods, adjusting graphics settings, verifying game files, and reinstalling the game.