
Learn how to fix the "Failed to connect to the Apple ID server" issue with simple steps. Troubleshoot and resolve the problem easily.
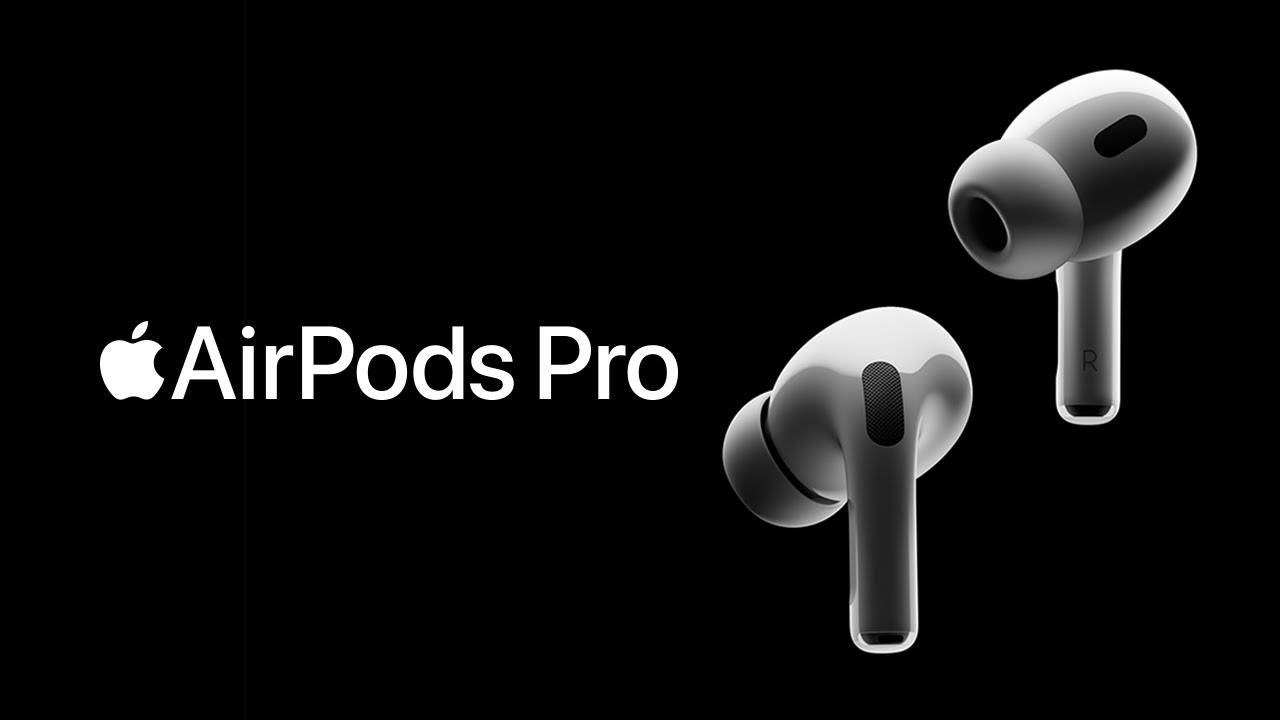
Welcome to our friendly guide on how to reset Apple AirPods Pro! Whether you're a new owner or want to disconnect the AirPods from the previous owner's iCloud account, this step-by-step process will help you achieve that. Let's dive in!
Apple's AirPods Pro have quickly become a popular choice among audio enthusiasts, offering a seamless pairing experience and impressive sound quality. However, if you've purchased a pre-owned pair or are looking to disconnect the AirPods Pro from the previous owner's iCloud account, it's essential to know how to reset them properly. In this blog post, we will walk you through the process step by step, ensuring a smooth transition to your own devices.
Step 1: Placing the AirPods in the Charging Case
The first step in resetting your AirPods Pro is placing them in the charging case and ensuring that they are powered on. Here's how to do it:
1. Open the lid: Gently lift the lid of the charging case to reveal the AirPods Pro inside.
2. Locate the setup button: At the back of the charging case, you'll find a small button known as the setup button.
3. Press and hold the setup button: Using your finger, press and hold the setup button for at least 15 seconds.
Step 2: Monitoring the Reset Process
Once you've held the setup button for the required time, it's essential to monitor the reset process. Here's what you need to do:
1. Continue holding the setup button: Do not release the setup button just yet. Keep holding it until you see the status light on the charging case start flashing amber.
2. Observe the status light: After a few flashes, the status light on the charging case will switch from amber to white, indicating a successful reset to factory settings.
Step 3: Pairing AirPods with Your Devices
Now that you've successfully reset your AirPods Pro, it's time to pair them with your own devices. Follow these steps to establish a connection:
1. Open Bluetooth settings: On your iPhone, iPad, or other Apple device, navigate to the settings menu and open the Bluetooth settings.
2. Enable Bluetooth: Make sure that Bluetooth is enabled on your device. If it's not, toggle the switch to turn it on.
3. Locate AirPods in the Bluetooth devices list: Under the list of available Bluetooth devices, look for "AirPods." The name may vary slightly depending on the previous owner's settings.
4. Tap on AirPods: Once you've located "AirPods" in the Bluetooth devices list, tap on it to establish a connection.
Confirmation of Successful Reset
After pairing your AirPods Pro with your own devices, you can confirm that the reset was successful. Here's how to do it:
1. Check the status light: The status light on the charging case will now be white, indicating that your AirPods Pro are disconnected from all Apple devices.
2. Reconnect to your iCloud account: During the setup process, you'll have the opportunity to reconnect your AirPods Pro to your own iCloud account, ensuring that you have full control and access to all the features and settings.
Resetting your AirPods Pro is an easy process that allows you to start fresh with your own devices. By following these friendly steps, you can be confident in your ability to disconnect them from any previous owner's iCloud account and enjoy a seamless experience with your new AirPods Pro. Remember to place your AirPods Pro in the charging case and hold the setup button for at least 15 seconds, monitor the reset process by observing the status light, and then pair them with your own devices through Bluetooth settings. With these simple steps, you can enjoy the full potential of your AirPods Pro and personalize them to your liking. Happy listening!
If you want to know how to solve the red exclamation mark error on AirPods Pro, here is a guide.
Pay close attention so you can learn How to fix the AirPods Pro low battery notification too high, because in the following article you will find everything you need to know.

Learn how to fix the "Failed to connect to the Apple ID server" issue. Follow our step-by-step guide for resolving this problem quickly.
Learn how to fix Apple TV Season Pass not working issue. Get step-by-step instructions and troubleshooting tips to resolve this problem.

Learn how to fix the YouTube new tab not working or missing issue in a few simple steps. Get your YouTube tabs back up and running smoothly.

Learn how to fix the issue of Instagram Notes not working for music. Get step-by-step instructions and troubleshoot the problem easily.

Learn how to fix the Pinterest "Validation Error" issue with our step-by-step guide. Fix errors and get your account back on track.

Learn how to unlock the Starfield prison cache and collect valuable loot, including an Epic-rarity Drum Beat rifle and various ammo types. Follow the blue waypoint to cell D-02-106 in D-block, use a computer to unlock it, and head to the security room to open the door. Escape D-block and gain a deve

Learn how to resolve high memory, CPU, or GPU usage issues with Steam Client WebHelper. Disable in-game overlay, animated avatars, visual elements, uninstall Windows update, and reinstall Steam.

Learn how to get the Standard Oven in Palia by reaching Level 4 in the Cooking Guild, crafting it with Stone Bricks, Ceramic, and Copper Bars, and placing it near other cooking stations for optimal use.