

Discover the step-by-step guide on changing graphical effects in Quake II remaster. Elevate your gaming experience with stunning visuals.
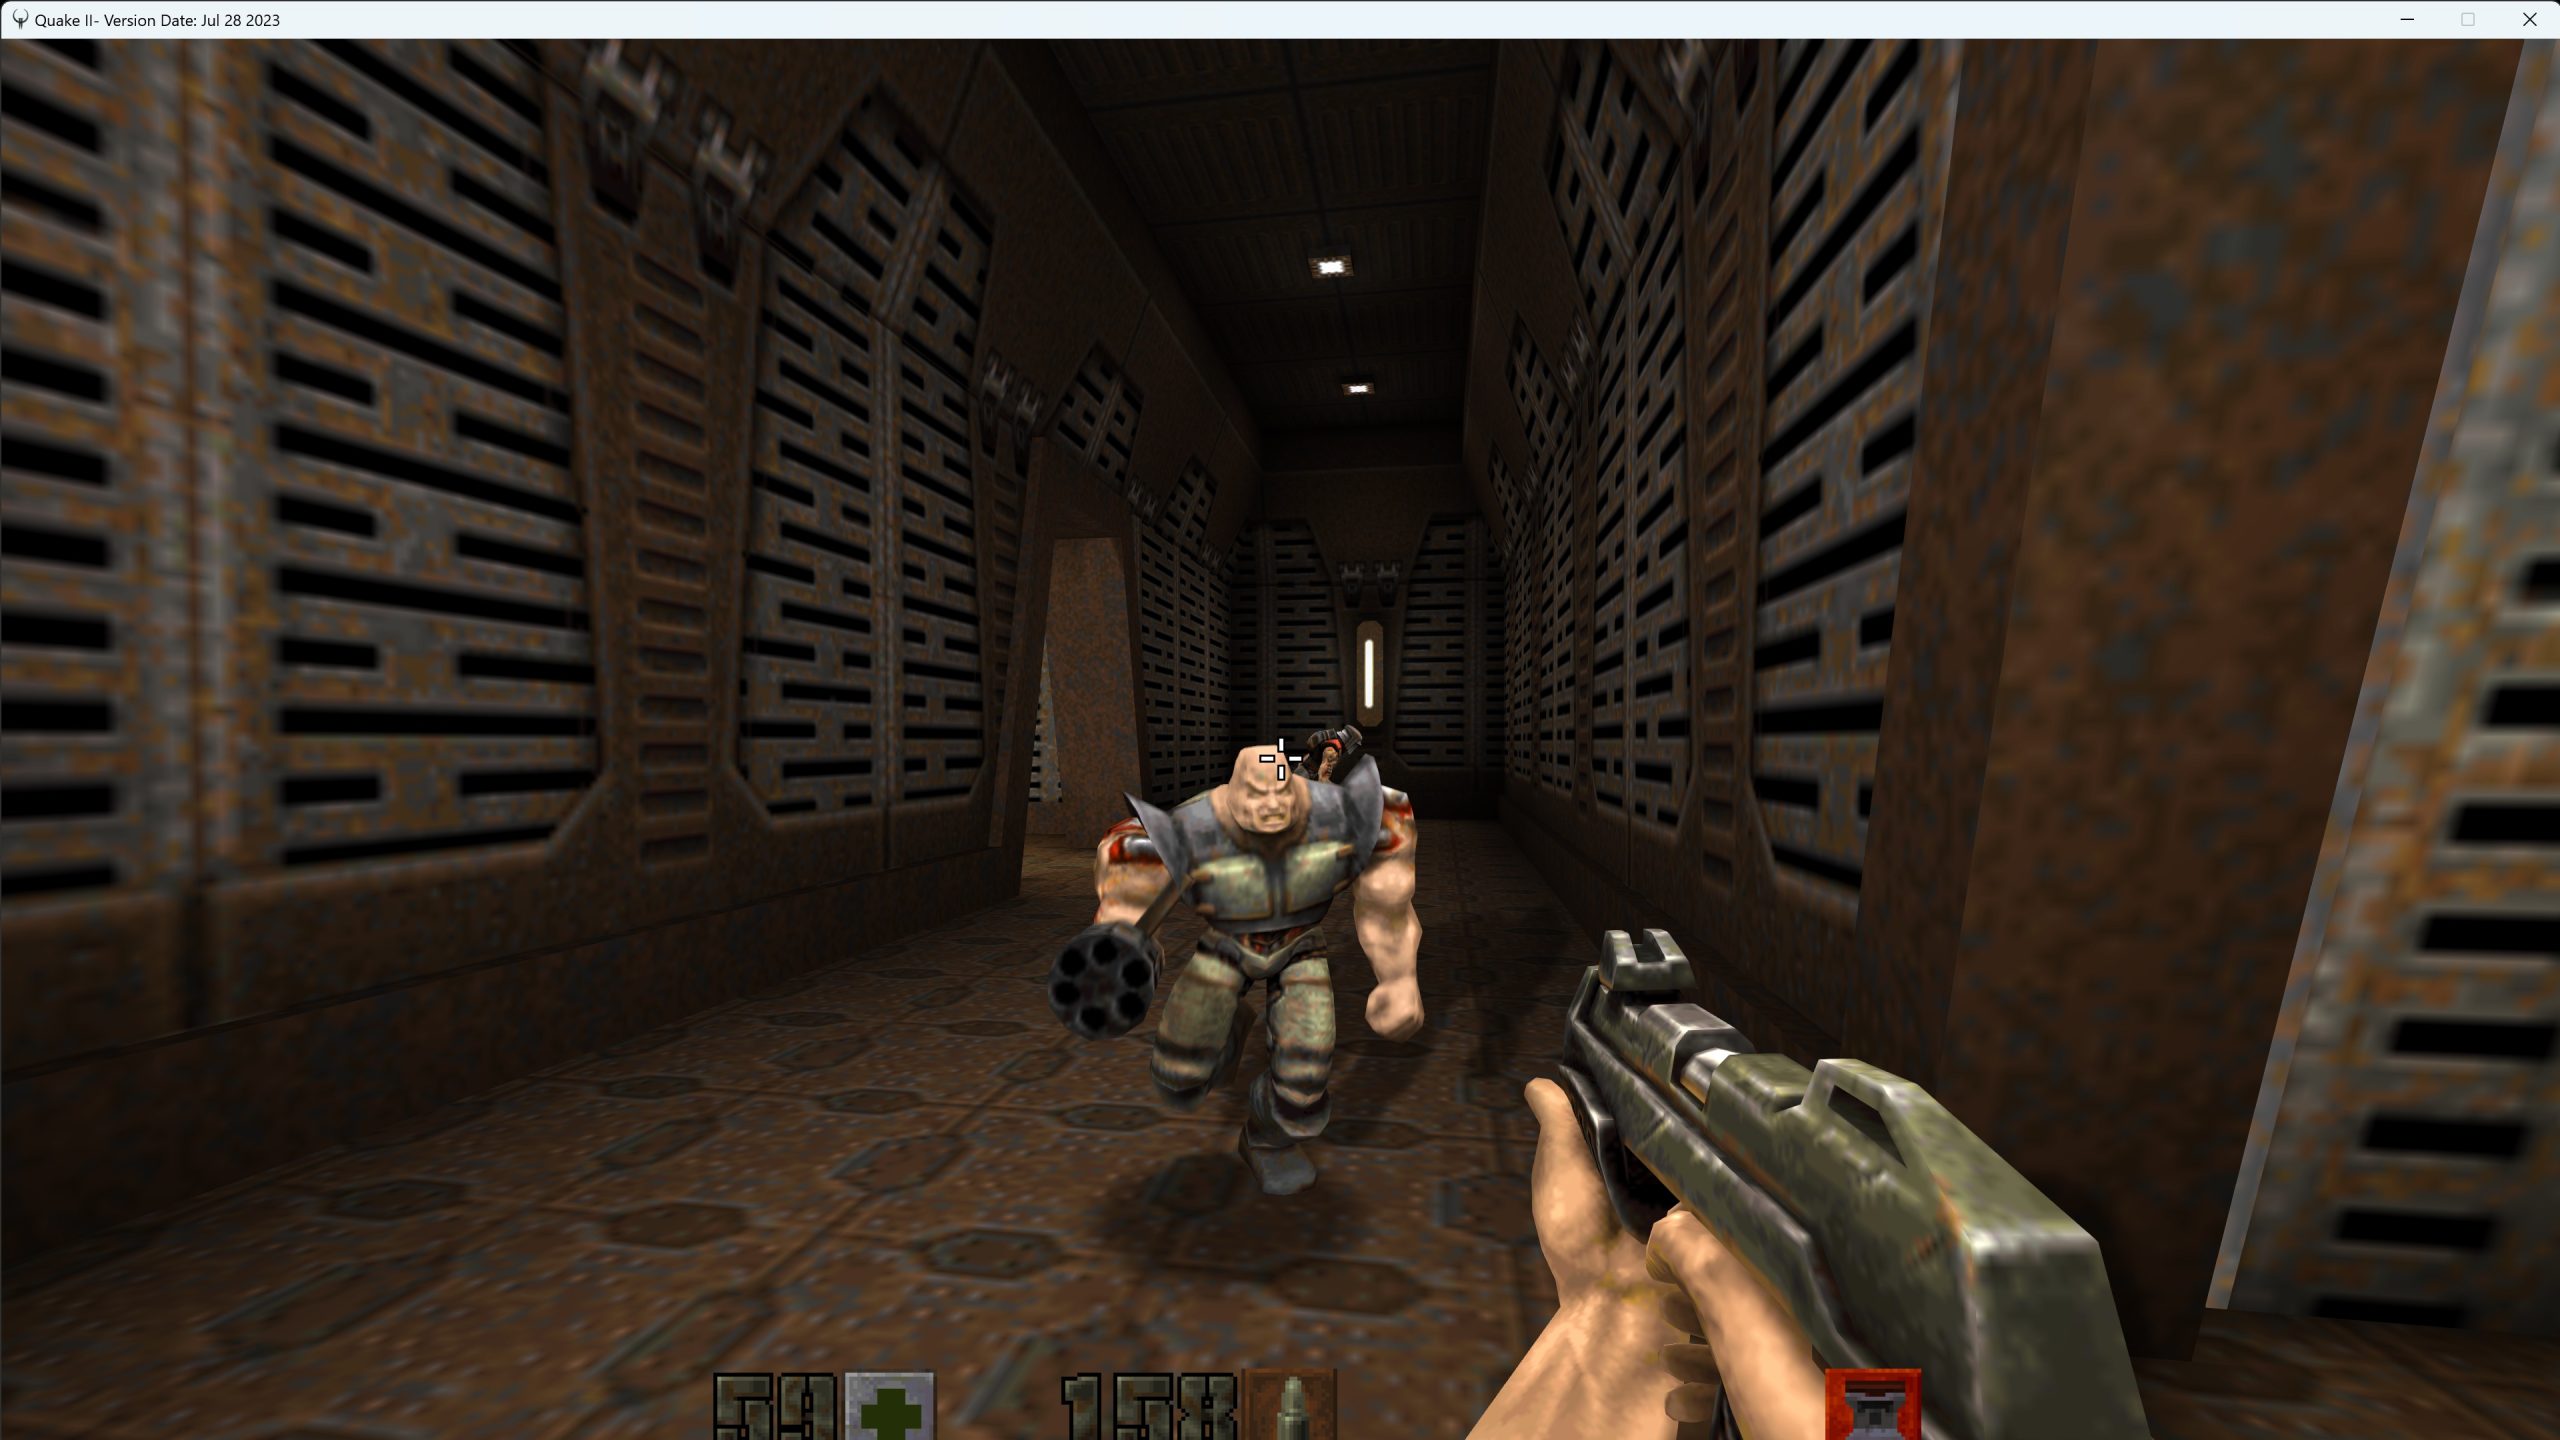
Welcome to the guide on how to adjust the graphical effects in Quake II Remaster! In this blog post, we will walk you through the steps to customize your visuals and make your gameplay experience even more exciting. Quake II Remaster is a modernized version of the classic Quake II game, featuring enhanced graphics and improved performance. By changing the graphical effects, you can tailor the visuals to your liking and create a personalized gaming experience. So, let's dive right in and learn how to change the graphical effects in Quake II Remaster.
Step 1: Accessing the Options Menu
To begin customizing the graphical effects, you need to first navigate to the Options menu. Look for the settings icon in the main menu or press the designated key on your keyboard to access the Options menu.
Step 2: Selecting Display Settings
Once you're in the Options menu, locate and select the Display tab. This is where you can access various visual preferences and make adjustments to the graphical effects.
Step 3: Enabling Texture Smoothing (Optional)
If you prefer a smoother look for your game, enable the Texture Smoothing option. This feature enhances the overall visual quality by reducing pixelation and providing a more polished appearance to the textures in the game.
Step 4: Exploring Enhancements
Scroll down until you reach the Enhancements section within the Display settings. Here, you'll find several options that allow you to customize different aspects of Quake II Remaster's graphics. Let's take a closer look at each one:
- CRT Simulation: Enable this option if you want to recreate a classic CRT monitor feel. This option adds scanlines and other visual artifacts to give the game a nostalgic look reminiscent of older CRT monitors.
- Antialiasing: Choose whether or not you want to apply antialiasing for smoother edges. Antialiasing reduces jagged edges commonly seen in games and provides a more polished and smooth appearance to the edges of objects and characters.
- Depth of Field: Adjust the depth of field effect to emphasize certain parts of the screen. This effect adds a blur to objects that are not in focus, creating a sense of depth and drawing attention to the focal point of the screen.
- Bloom Lighting: Enable or disable bloom lighting for a more vibrant and atmospheric look. Bloom lighting adds a glow effect to bright areas in the game, creating a more realistic and visually appealing lighting experience.
- Motion Blur: Control how much motion blur is applied during fast movements. Motion blur adds a blur effect to objects that are in motion, simulating the natural blurring of objects when they are moving quickly.
- Enhanced Models: Decide whether to use enhanced models or stick with the original ones for a nostalgic experience. Enhanced models provide more detailed and realistic character and object models, while the original models stay true to the classic Quake II aesthetics.
- Muzzle Flashes: Toggle muzzle flashes on or off for weapon firing effects. Muzzle flashes are visual effects that appear when a weapon is fired, adding realism and immersion to the gameplay.
- Color Lightmaps: Enable vibrant color lightmaps for enhanced ambiance. Color lightmaps add colored lighting to the game, creating a more immersive and atmospheric environment.
- Square Particles: Choose between square or rounded particles for different visual effects. Square particles provide a more retro and blocky visual effect, while rounded particles offer a smoother and more modern look.
- Fog: Enable fog to add depth and atmosphere to the game world. Fog creates a sense of distance and adds a mysterious and atmospheric element to the game environment.
- Dynamic Shadows: Adjust the intensity of dynamic shadows cast by objects in the game. Dynamic shadows add depth and realism to the game by casting shadows that change based on the position of the light source and the objects in the game.
Step 5: Personalizing Your Preferences
Experiment with different combinations of these enhancements to find your ideal visual settings. Don't hesitate to toggle options on and off until you achieve the desired effect. Each player has different preferences, so take your time to explore and find the settings that enhance your gaming experience the most.
Step 6: Disabling Texture Smoothing (Optional)
If you prefer a more pixelated look reminiscent of the original Quake II, simply disable the Texture Smoothing option. This will give you a retro gaming experience and bring back the nostalgic feel of the classic game.
Congratulations! You've learned how to change graphical effects in Quake II Remaster. By following these simple steps, you can fine-tune your visuals and create a personalized gameplay experience. Quake II Remaster offers a variety of graphical enhancements that allow you to customize the game's appearance to suit your preferences. Have fun exploring different settings and enjoy your enhanced Quake II Remaster adventure!
Discover how to set up co-op mode in Quake II remaster and enjoy thrilling multiplayer action. Get step-by-step instructions and start playing with friends today.
Learn how to change the split direction in Quake II remaster's splitscreen mode with our easy-to-follow guide. Customize your gaming experience and enhance your multiplayer sessions.
Learn how to enhance your Quake II remaster experience by adding multiplayer bots. Follow our step-by-step guide and bring more excitement to your gameplay.

Learn how to troubleshoot and fix the Tower of Fantasy unknown error issue on both PS4 and PS5. Get back to enjoying your gaming experience hassle-free.
Learn how to disable crossplay in the Quake II remaster and experience the game on your own terms. Follow our step-by-step guide to regain control over your gaming experience.
Discover how to effortlessly use the Sony WF-1000XM5 with two devices simultaneously. Unlock the convenience of seamless connectivity and enhance your audio experience.
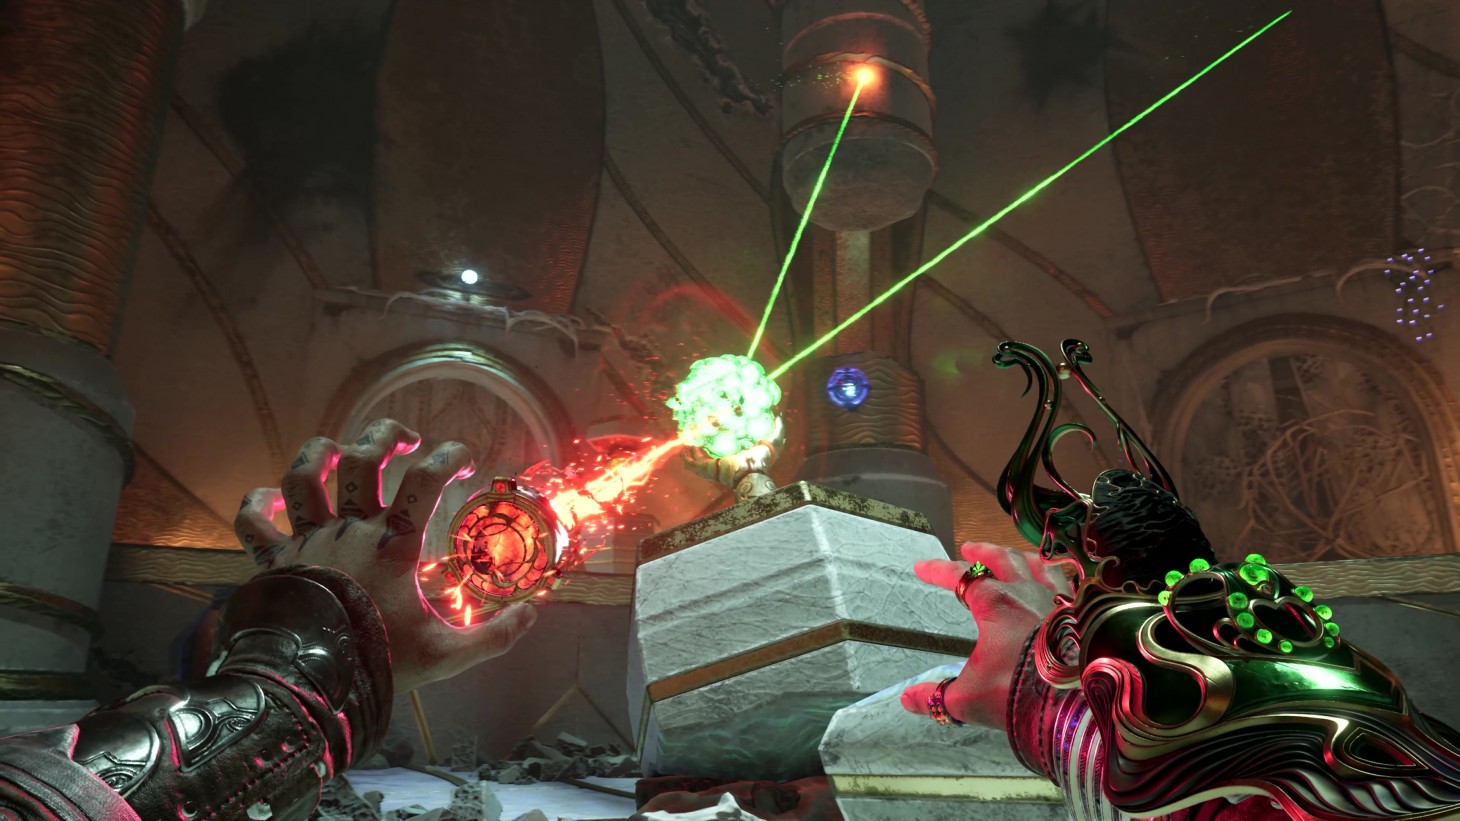
Discover the step-by-step guide to unraveling the intricate tower puzzle in the Immortals of Aveum Greyveil Plaza. Solve the mystery and unlock the secrets hidden within Greyveil Plaza's enigmatic structure.
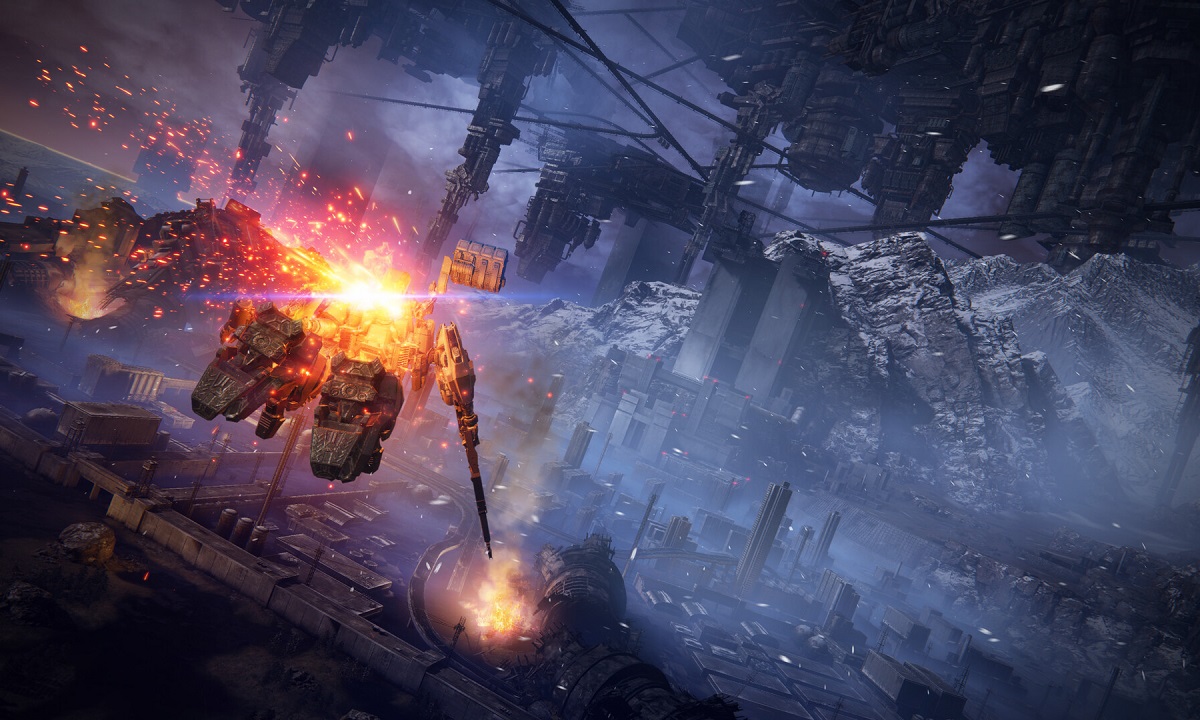
Discover the ultimate guide to fixing the frustrating issue of Armored Core 6 game progress not saving. Get back in the action and never lose your hard-earned progress again!
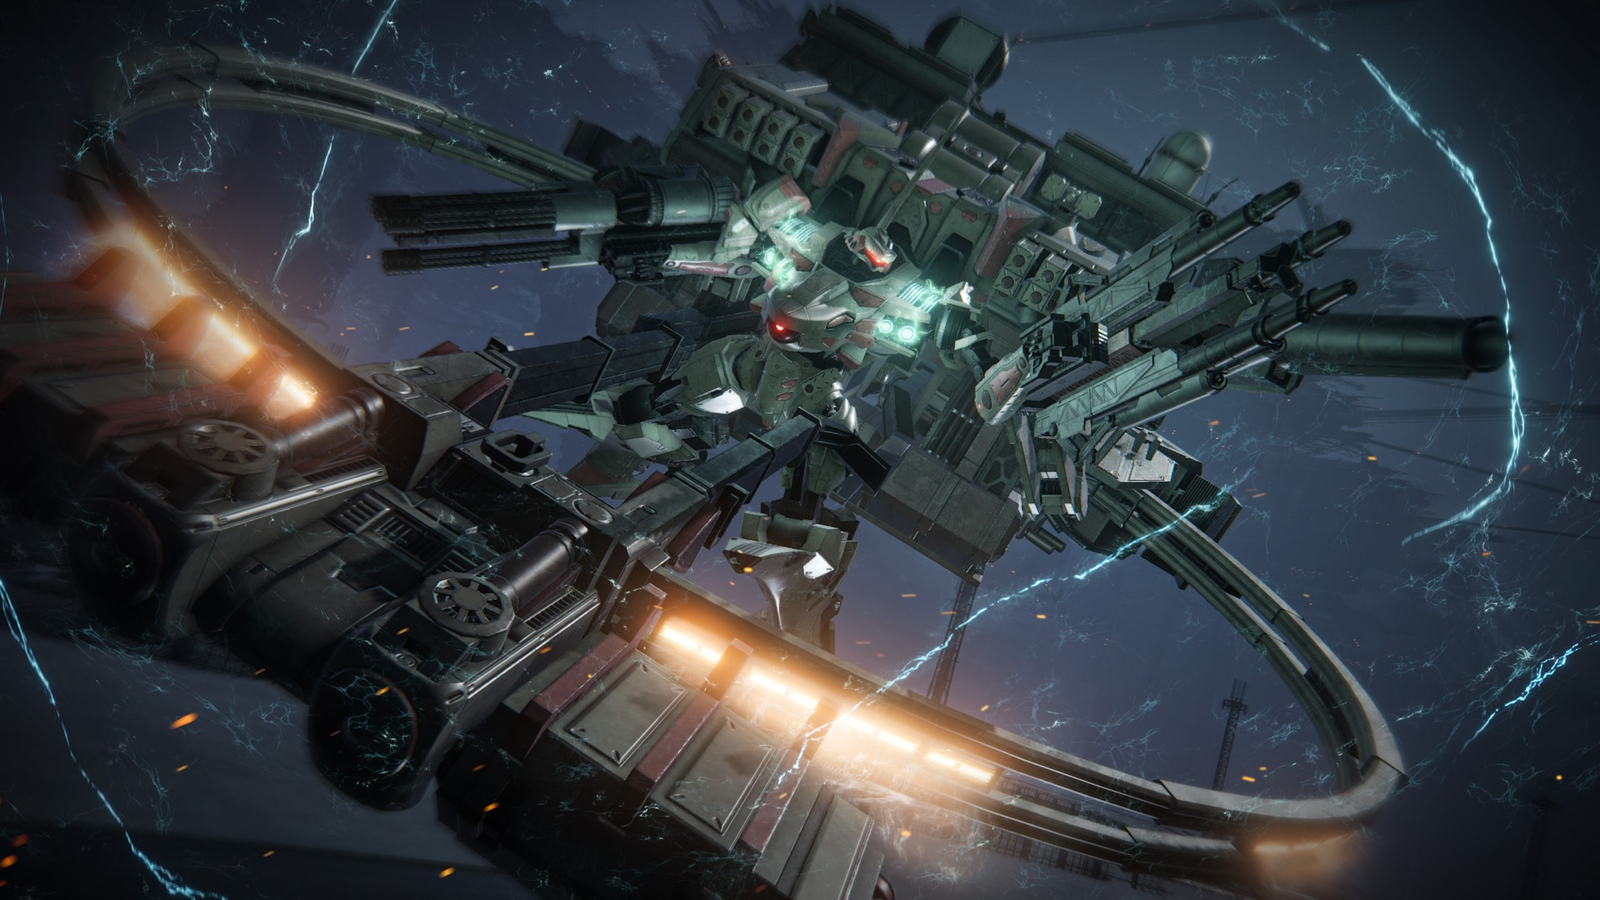
Learn how to save your loadout as a preset in Armored Core 6 with this step-by-step guide. Streamline your gameplay and be prepared for battle every time.

Discover the secrets to obtaining the Glimmering Firework Furnishing in Genshin Impact. Level up your gameplay and add sparkle to your virtual world.
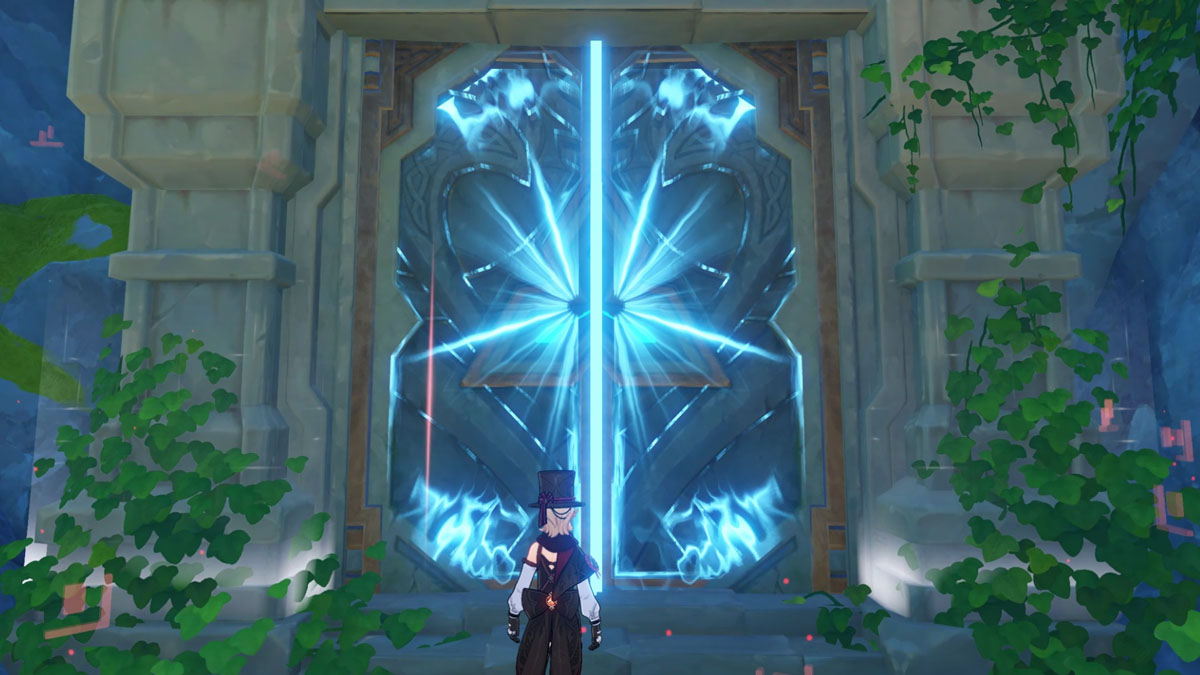
Unlock the Domain Denouement of Sin in Genshin Impact and discover the secrets within. Follow our step-by-step guide to unravel the mysteries and claim your rewards in this action-packed RPG.