
How To Connect Oculus Quest 2 To Apple Mac Or MacBook? - An article that explains the process of connecting the Oculus Quest 2 to an Apple Mac or MacBook.
The Oculus Quest 2 is an immersive virtual reality headset developed by Facebook, allowing users to explore virtual worlds and experience 3D games. It is the latest installment in the Oculus Quest series and can be used in conjunction with a Mac or MacBook. With its advanced visuals, audio, and haptics, the Oculus Quest 2 promises an incredible virtual reality experience.
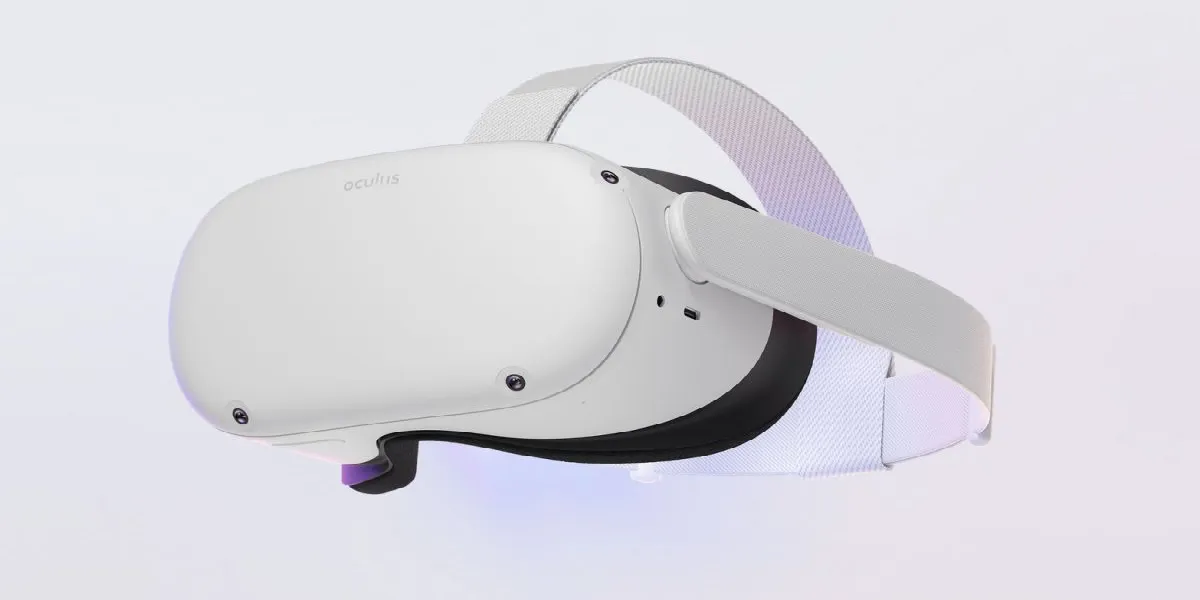
What is Oculus Quest 2?
The Oculus Quest 2 is a standalone virtual reality headset with built-in displays, audio, and haptics. It uses the powerful Qualcomm Snapdragon XR2 Platform to deliver a smooth, immersive experience. Unlike previous Oculus headsets, the new Quest 2 requires no external sensors or wires, making it the perfect device for PC or console-free gaming.
How To Connect Oculus Quest 2 To Apple Mac Or MacBook?
To transfer media to the headset from a Mac or MacBook, you’ll need to use the included USB cable. Start by installing and running Android File Transfer on your Mac or MacBook. Then, enable developer mode on your Quest via the Oculus app on your smartphone and connect Mac with the headset using the USB cable. Power on the headset and select ‘Allow’ from the Allow Access to Data popup. You can then access the internal storage in the Oculus folder.
For a full virtual reality experience, you’ll need to set up Boot Camp and use the Boot Camp Assistant in the Utilities folder in Applications. Set the partition size between Mac and Windows, and download a copy of Windows 10 from the Microsoft website. Then navigate back to Boot Camp and choose the Windows ISO file. It will then reboot and open in Windows, from which you can install the Oculus Rift platform on your Mac or MacBook.
The Oculus Quest 2 is a powerful and immersive virtual reality headset that can be used in conjunction with a Mac or MacBook. With its advanced visuals, audio, and haptics, gamers can experience an incredible virtual reality experience. To transfer media, start by installing and running Android File Transfer. Then, enable developer mode on your Quest via the Oculus app on your smartphone, and connect Mac with the headset using the USB cable included in the package. For VR, set up Boot Camp, using the Boot Camp Assistant in the Utilities folder in Applications. Set the partition size between Mac and Windows, and download a copy of Windows 10 from the Microsoft website. Then navigate back to Boot Camp and choose the Windows ISO file. It will then reboot and open in Windows. After setting up the Oculus Rift platform, you can enjoy an immersive virtual reality experience with your Mac or MacBook.
Other Articles