

Master chapter 4 Lost Convoy in Delta Force with our step-by-step guide. Unlock strategies and tips for a successful mission!
"Lost Convoy," the pivotal fourth chapter of the Delta Force campaign, plunges players into the chaotic heart of Mogadishu, immediately following the Black Hawk downing. This mission is a brutal gauntlet, a desperate race against time and overwhelming odds, where Lt. McKnight's convoy must navigate a labyrinth of hostile streets to reach the crash site. Unlike typical missions, "Lost Convoy" strips away individual loadouts, forcing players into the role of .50 cal gunners aboard Humvees, emphasizing teamwork and vehicle survivability.
Delta Force: chapter 4 "Lost Convoy"
Mission Dynamics and Tactical Imperatives:
"Lost Convoy" deviates significantly from standard mission structures. The convoy, comprised of four Humvees, operates under a unique dynamic. The Lead Car and Member Car 2 act as the spearhead, absorbing the brunt of enemy fire, while Member Car 3 and the Sweeper Car provide rear support and mop-up operations. This formation necessitates synchronized fire and coordinated target prioritization.
- Vehicle Vulnerability: The Humvees are fragile. A single, direct RPG hit results in immediate destruction, eliminating the player. This underscores the critical importance of preemptive enemy engagement and rapid target elimination.
- Co-op Necessity: The sheer volume of RPG threats and the mission's unforgiving nature make co-op play essential. Coordinated fire, shared situational awareness, and mutual support are paramount for survival.
- Civilian Constraints: The mission's initial phases are set within dense civilian areas, demanding strict adherence to rules of engagement. Indiscriminate fire will result in mission failure.
Detailed Tactical Breakdown:
Part 1: The Gauntlet Begins - Navigating the Civilian Maze:
- The mission initiates with Lt. McKnight's urgent command, "Let's Go! Go, Goddammit, go!" setting the tone for the frantic pace.
- Aerial overwatch and C2 Harrel provide crucial navigational guidance, directing the convoy through the treacherous streets.
- The initial civilian-heavy zone requires meticulous target discrimination. Players must exercise extreme caution to avoid civilian casualties.
- As the convoy executes its first turns, enemy militia materialize, primarily on the right flank. RPG threats emerge from elevated positions, demanding immediate suppression.
- The approach to a major left turn is met with barricades and fortified positions, necessitating concentrated fire to clear the path.
- Tactical Note: Focus fire on RPG gunners first, then machine gun nests.
Part 2: "RPG on the Right! Maddox Stay on the Gas!" - Escalating Hostilities:
- COL. Matthews' correction redirects the convoy, leading to a series of high-risk turns.
- RPG threats intensify, with multiple launchers positioned on rooftops and within building complexes.
- Lt. McKnight's warning, "RPG on the right! Maddox stay on the gas!" signals a surge in enemy activity.
- A concentrated barrage of RPGs emanates from a tall building, demanding rapid target acquisition and elimination.
- A subsequent wave of RPGs emerges from the left flank, requiring a swift shift in focus.
- Tactical Note: Utilize short, controlled bursts to conserve ammunition and maintain accuracy. Prioritize targets based on proximity and threat level.
Part 3: "Uniform Six-Four, What Is Your Situation?" - The Market Mayhem:
- COL. Harrel's inquiry marks the transition to a more aggressive phase.
- The convoy encounters a dense concentration of enemies and RPGs, demanding sustained and accurate fire.
- The .50 cal LMGs are unleashed, suppressing enemy positions on both flanks and the road ahead.
- A series of tight turns through a market area elevates the risk of ambush and close-quarters combat.
- The narrow confines of the market necessitate constant vigilance and rapid target engagement.
- Tactical Note: Scan rooftops and elevated positions for hidden enemies. Communicate enemy positions to teammates.
Part 4: "Okay Danny, You're Going the Wrong Way." - The Final Push:
- Lt. McKnight's directional confusion precedes a final, intense engagement.
- A garage ambush, featuring an emerging enemy vehicle, demands swift and decisive action.
- A series of rapid turns exposes the convoy to concentrated enemy fire.
- The final garage encounter features RPG threats within a confined space, requiring precise aiming and coordinated fire.
- Maddox's incapacitation signals a critical juncture, as the convoy enters a civilian-heavy zone once again.
- Tactical Note: Pre-fire around corners and blind spots. Utilize cover and concealment whenever possible.
Mission Conclusion:
- A cutscene marks the end of "Lost Convoy," leaving the player with a sense of relief and the knowledge that the hardest part of the mission is over.
By emphasizing these tactical nuances and strategic considerations, players can approach "Lost Convoy" with a heightened sense of awareness and preparedness, increasing their chances of success in this brutal and unforgiving mission.
Master chapter 7 Mogadishu Marathon in Delta Force with our step-by-step guide.
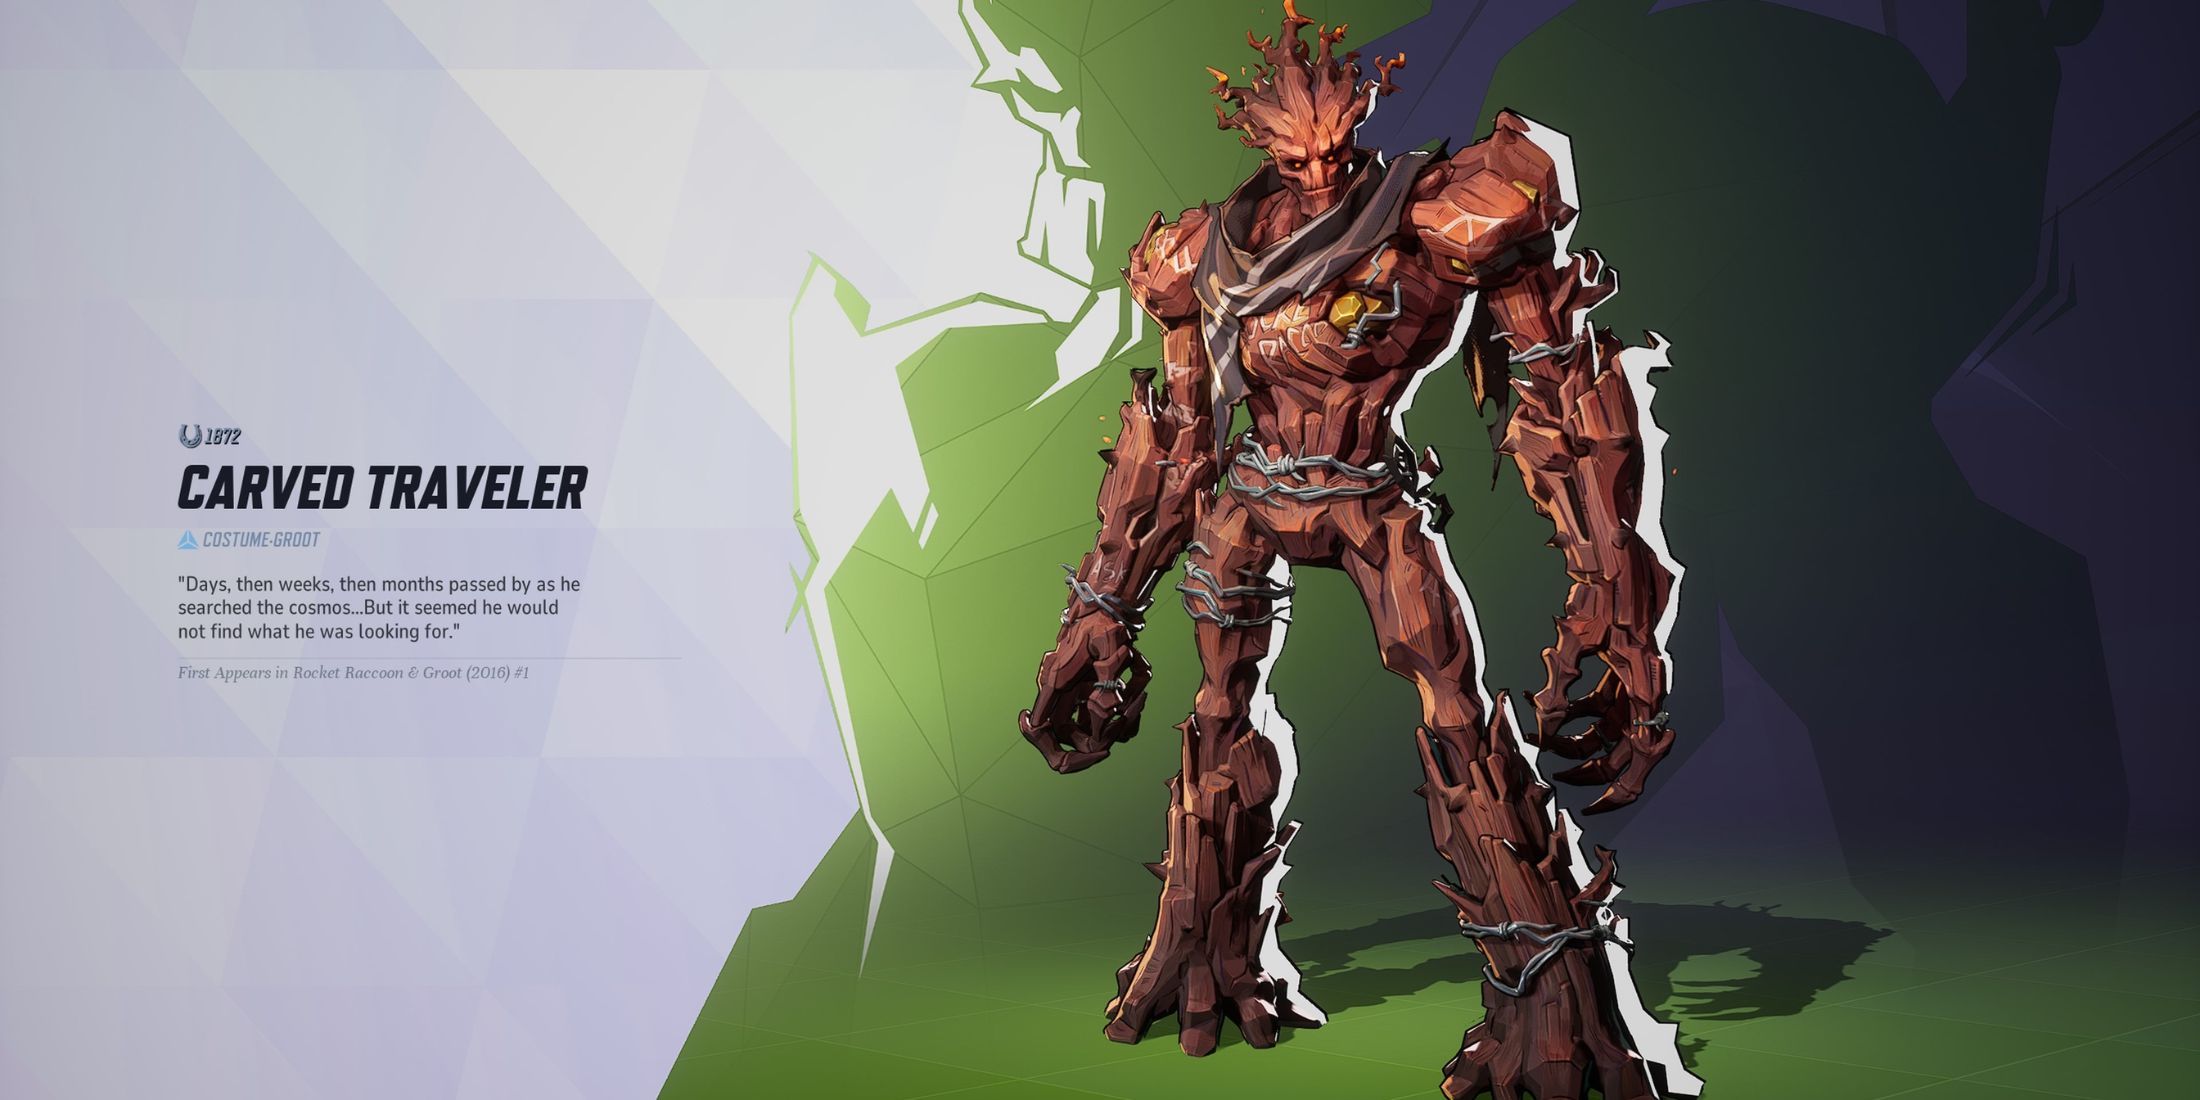
Unlock the Groot Carved Traveler skin in Marvel Rivals with our step-by-step guide.

Master chapter 7 Mogadishu Marathon in Delta Force with our step-by-step guide.
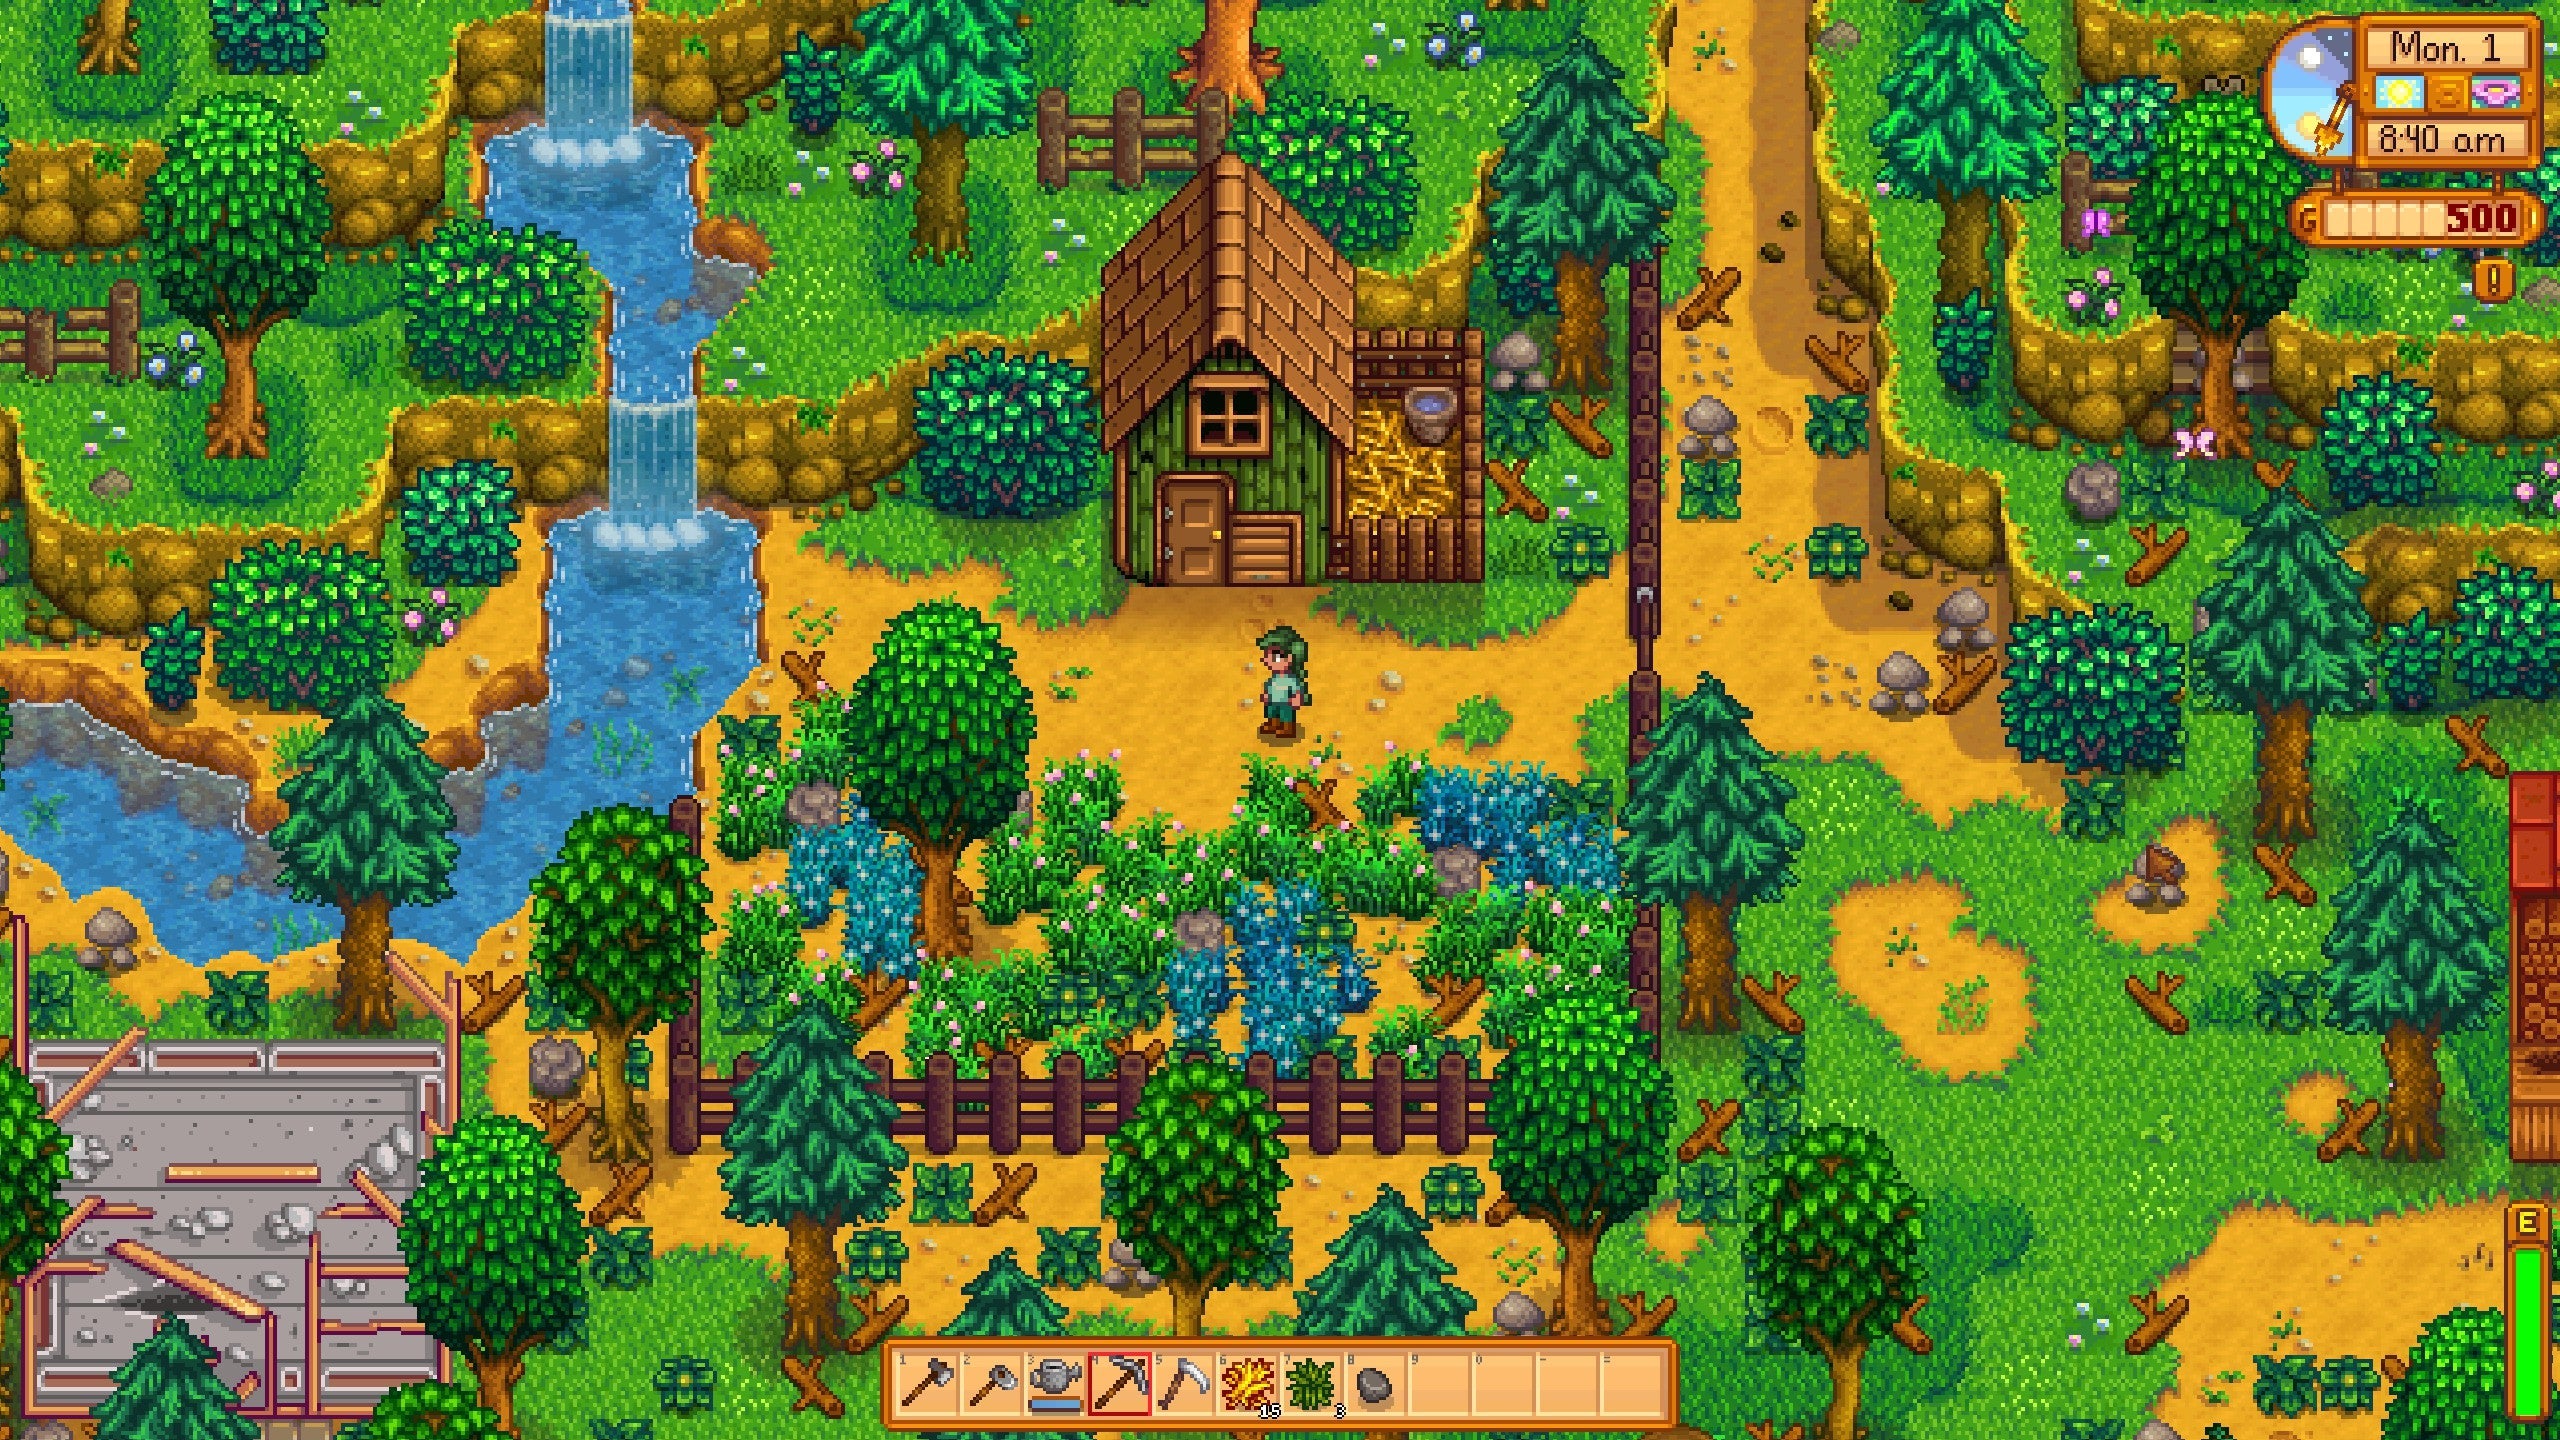
Learn how to successfully marry Sebastian in Stardew Valley with our expert guide.

Uncover the secrets to identifying traps in Avowed. Our detailed guide

Discover the strategies for utilizing merchants in Civilization 7.

As you navigate the world of Online Casino Malaysia, the landscape of payment methods continues to evolve, presenting you with an array of options to enhance your gaming experience

Discover how to unlock the elusive Black Coat in Hades 2 with our comprehensive guide.
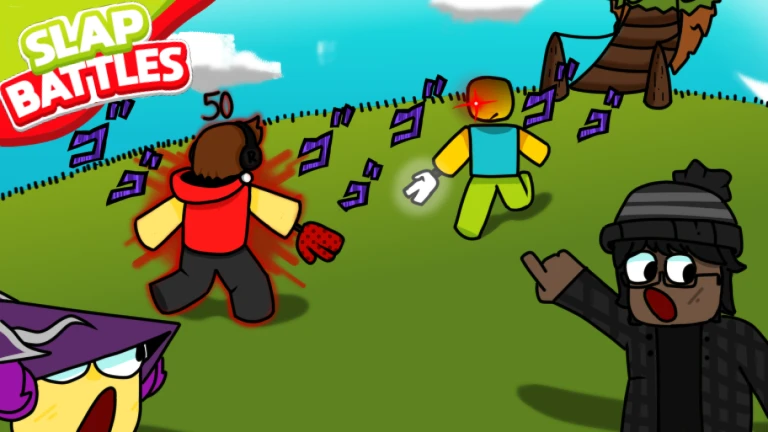
Discover how to unlock the Medusa Glove in Slap Battles with our comprehensive guide.